Thoughts On Marking Gauges
Marking tools get very little attention compared to flashier tools like hand planes and dovetail saws. Let’s face it, once the project is completed, there is usually very little evidence or discussion of what job the marking tools have done. How many times has another woodworker asked you what square you used to mark that tenon shoulder, or what awl you started that nail hole with? Still, even though they receive very little attention, the marking tools are vital parts of our tool kits.
Of all the marking tools available, one of the most important marking tools used by traditional woodworkers is the simple gauge. When we work with hand tools, so little of our work is actually measured. Instead, we gauge dimensions of parts and joinery directly off of other parts, or off of the tools used to make those elements. In this regard, the marking gauge is an invaluable tool. They help precisely locate dovetail baselines, they make it easy to ensure that multiple boards can be planed to the same thickness, and they can lay out mortises that are exactly the same width as our chisels. But there are so many types, which one is best? And do you need more than one? Let’s take a look at several different styles of marking gauges and see.
The Conical Pin Gauge

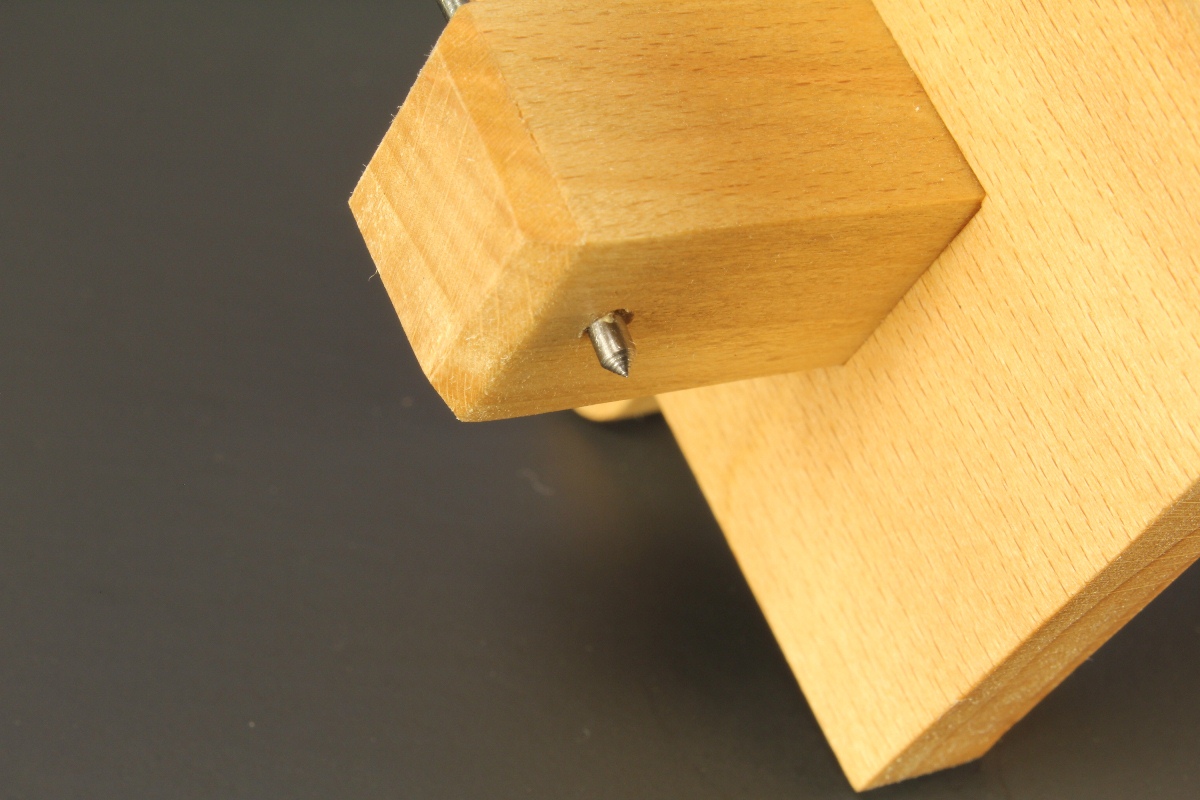
The gauge I want to look at today is the traditional style that uses a pin to do the marking. Not many of the modern marking gauges are available in this style, but that doesn’t mean they aren’t useful. The photo above shows the marking pin shaped to its traditional conical profile. These pins were traditionally left unhardened. This made it possible for them to be easily reshaped or sharpened with a file. This can be a valuable option depending upon the work that you do.

If you’ve ever tried to mark a line in a board along the grain of an open pored wood like oak or ash using a more modern marking gauge, you may have experienced some frustration. Similarly, if you’ve ever tried to use one of these gauges on a piece of green (fresh cut) lumber, you may have wondered if the gauge was even cutting. That’s because the modern styles of marking gauge use a knife style blade that can separate the fibers of these types of woods.
In the dry open grained hardwood, the knife will often fall into the open pores and be forced to follow the grain line instead of marking across it. This is frustrating because it creates inaccurate marks. In the green wood, the knife blade will often split the grain lines open as it is used, only to have them close back up after the knife passes, leaving you to wonder where the gauge line went.
It is in these situations where the conical pin shines. The pin has less tendency to follow the grain lines in open pored species if it is used with a light touch and dragged over the surface. In green wood, the conical pin typically leaves a slightly fuzzy scratch line on the surface, preventing the gauge line from disappearing. So if you’ve been having trouble marking these types of woods using your modern marking gauge, try an old fashioned conical pin and see if your gauge lines don’t become more visible.
The Thumbnail Grind Pin

The primary complaint about the traditional conical pin marking gauge is that it makes a rough scratched line when used to mark across the grain of a board, and can tear out fibers in the process. This is an issue when using a marking gauge to lay out features such as dovetail baselines and tenon shoulders. The traditional solution was to use a file to reshape the conical pin into something resembling the cross section of an American football with a straight knife like edge instead of a point. This allows the gauge pin to cut across the fibers of the board rather than scratch across them, and results in a nice clean line. By rounding the cutting edge over a bit, the gauge becomes very smooth to use across the grain. This style of pin also does an admirable job of marking parallel to the grain, though it is still not the best for use in very open pored or green woods.
How Many Gauges Do You Need?
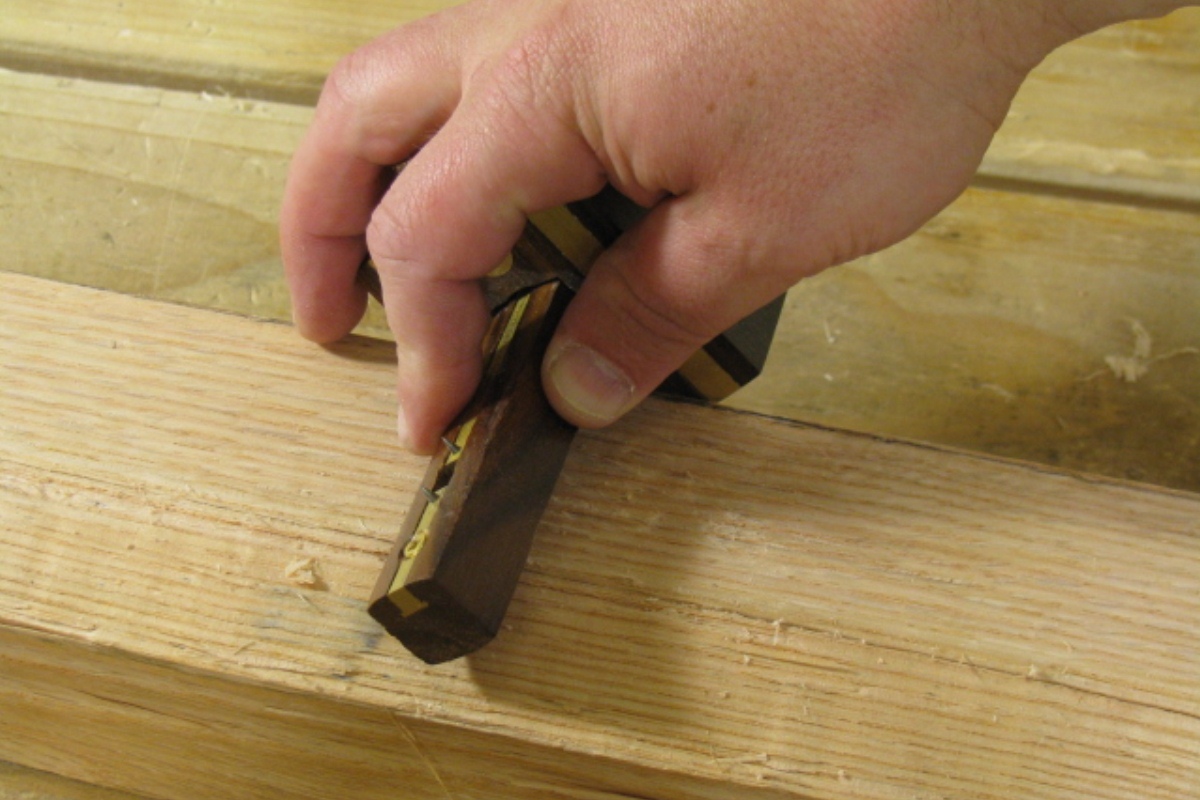
If you’re just starting out, you may not have room in your tool budget for more than one marking gauge. If that is the case, I’d recommend that you start with a combination gauge like the rosewood and brass one in the second picture above. While this type of gauge comes standard with a conical pin, the pin is easily filed to a thumbnail grind, which I recommend that you do as soon as you get the gauge, unless you plan to only work in green wood.
The benefit of this style of gauge is that you actually get two gauges in one. I haven’t talked about the second gauge that the combination gauge includes just yet – I’ll discuss that one next time. Just know that you will need that second gauge sooner rather than later. In fact, I use both types of gauges that the combination gauge includes in just about every project, so you won’t go wrong by purchasing a combination gauge as your first marking gauge. As you start to do more and more different types of projects and work with different types of woods, you will likely find that having a number of different marking gauges will become a necessity, not just a nice to have. I typically have at least two to three different gauges on my bench at any one time during a project, and there are times that I wish that I owned more.
Next time, I’ll talk about two more styles of marking gauges that also play a valuable role in the hand tool shop.
Want to make your own marking gauge like the beech ones pictured above?
One of my most popular YouTube videos was making a marking gauge in the French style like the beech gauges pictured here. You can find it on my YouTube channel.
Tag:Gauges
