
Building a Sliding Lid Candle Box – Introduction
During some recent discussions with the folks at the Chestnut Creek School of the Arts, we agreed that we would like to offer a class on something involving hand cut dovetails. The challenge with classes focused solely on joinery though is that they are a tough sell because the students don’t really go home with anything tangible at the end of the class. It’s much more appealing to potential students if the class involves an actual project that can be used as a gateway to a particular skill.
Designing a class around a small project that is focused on dovetails has the added complexity that there are few projects involving hand cut dovetails that can be completed in a single day. Usually, dovetails are found joining the components of large case pieces, which are much too involved for a one day class, or in drawers, which are kind of useless without a case or table to fit them into. The obvious answer is a small box with a hinged lid, but I wanted something a bit more interesting, with a little more to teach us. Enter the sliding lid candle box.
In the 18th and early 19th centuries, before the introduction of oil lamps, everyday sources of artificial light came from items like the central fireplace, rushlights, and candles made primarily from animal tallow. Rushlights, which were usually homemade, were prepared by soaking hollow reeds in melted animal fat and allowing them to solidify. When burned, the rushlight would hold a small flame and produce a small amount of light. They burned fairly quickly due to their small size. However, being very easy to make, and essentially free, they were probably the most common artificial light source, unless you were among the gentry.

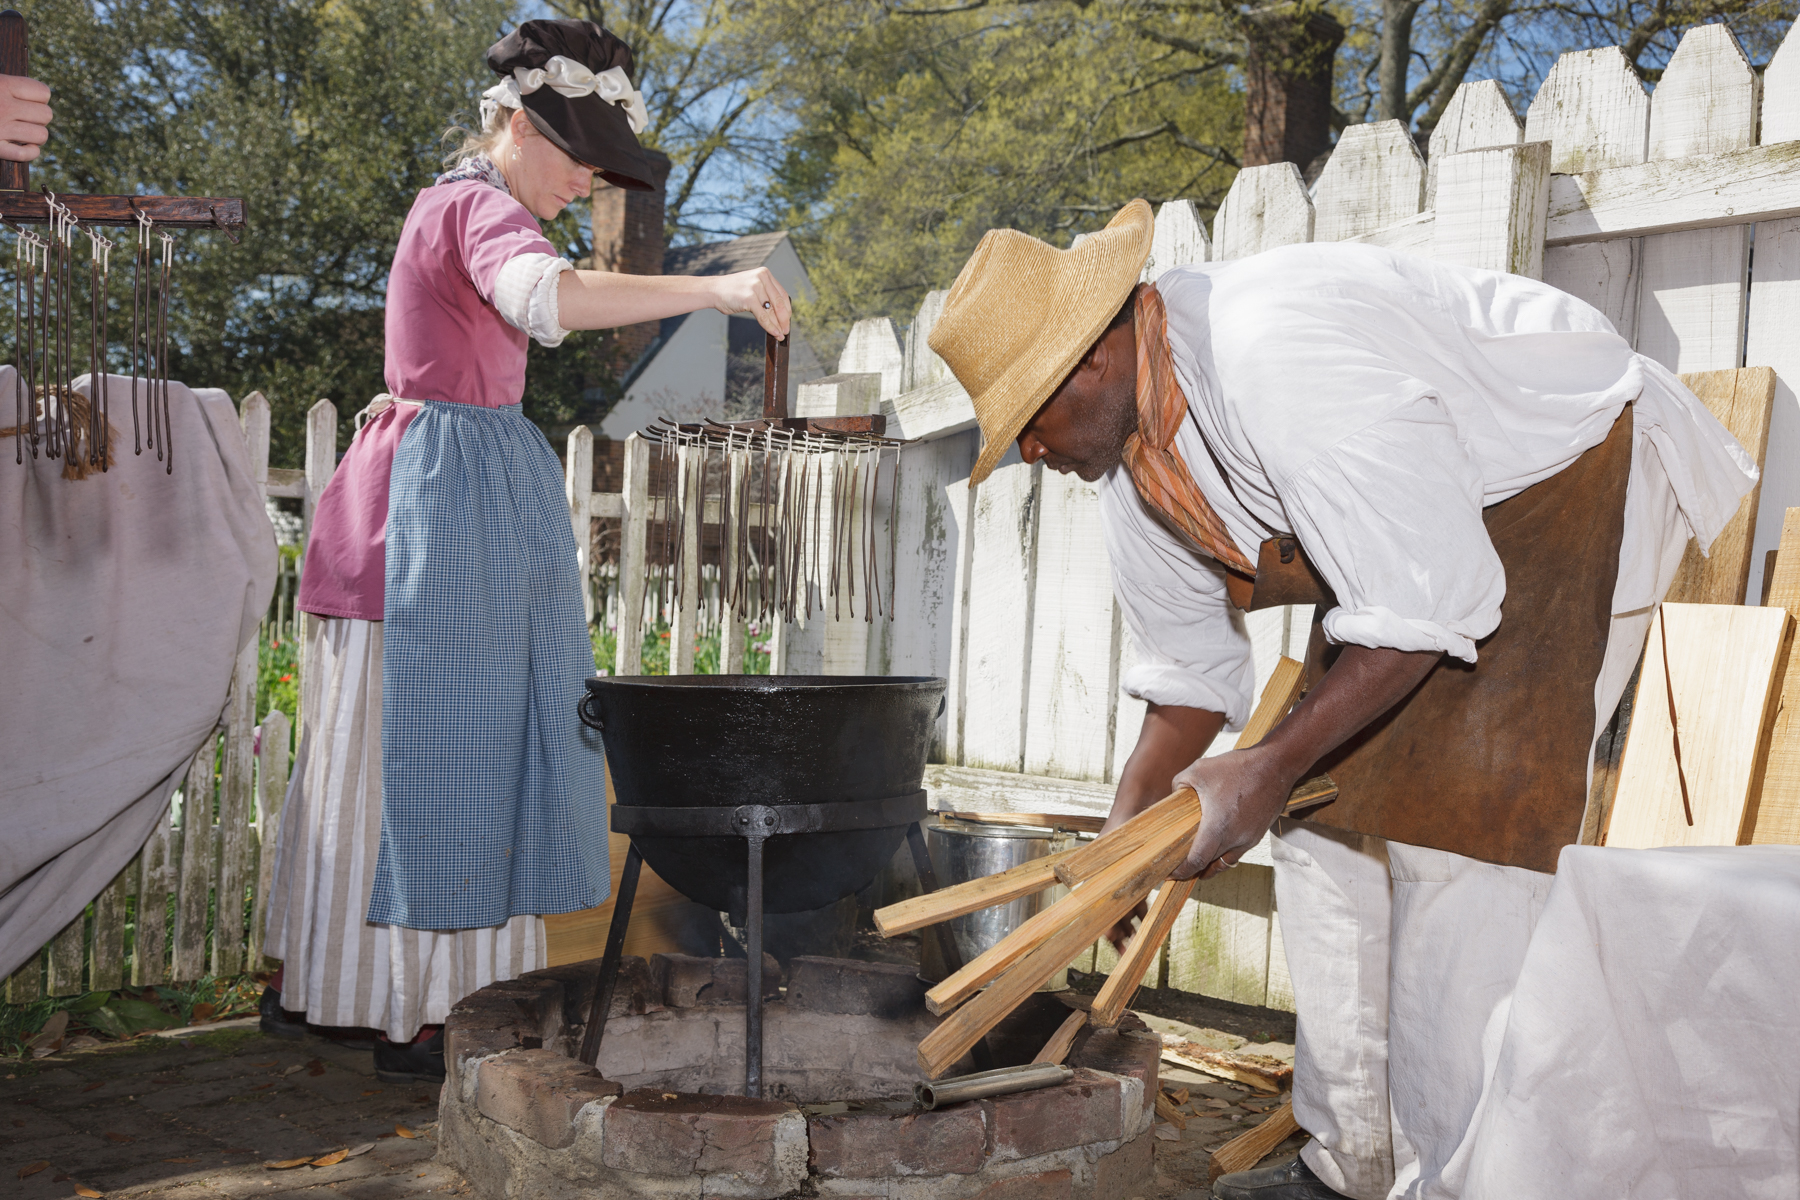
Tallow candles could also be homemade, however, being hand made, the process was very time consuming, with each candle requiring several hundred dips into the molten tallow. So it was more common to employ the services of a professional candle maker, who would travel from house to house, making candles from the household collection of animal fat. Tallow candles were much less expensive than beeswax candles because the tallow could be provided by the household. Beeswax, however, was much more labor intensive to acquire, so the professional candle maker would typically provide the beeswax for these more expensive candles.
While tallow candles would have been used on a day-to-day basis, if a household could afford some beeswax candles, they would most likely have been saved for special occasions, like Christmas dinner. All candles, however, would have been quite valuable to the household as an important source of necessary artificial light. So it would have been important to protect them from bugs and rodents, since they were made from natural raw materials that these pests would just love to munch on. So candle boxes were a very common household item.
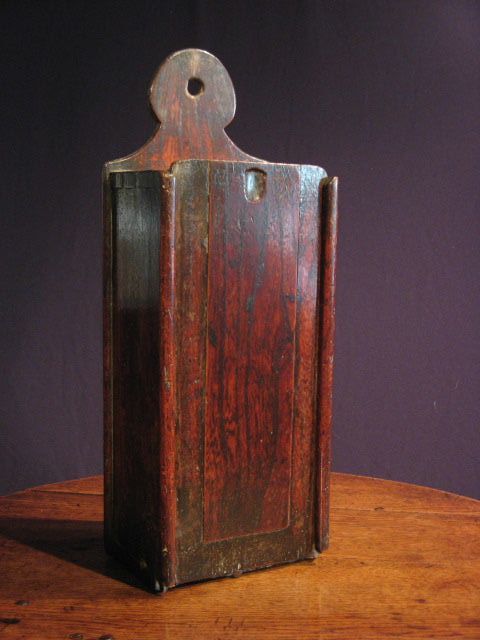
I love these boxes both for their simple elegance, as well as for the lessons they have to teach us. On the surface, they are just a box. They can be designed to hang on a wall, like the antique box pictured above, or sit on a table top. They can be made of inexpensive pine or poplar and painted, or they can be made from more expensive hardwoods and left natural. The corners can simply be nailed or pegged (with or without a rabbet), or, they can be dovetailed. Look beyond their simple outward appearance, however, and the woodworking lessons they can teach us begin to reveal themselves.
Have you ever wanted to learn how period drawers were built? Look at a sliding lid candle box. Do you see it? They’re nothing more than a drawer with a nailed on top. The sides are connected to the bottom with half blind dovetails (just like the front corners in a drawer). The sides are connected to the top with through dovetails (just like the rear corners in a drawer). The lid slides into a groove from the top (just like a drawer bottom slides into a groove from the rear). Without the nailed on back, the candle box pictured above is nothing more than a period drawer.
I recently built a reproduction of the box pictured above (well, my interpretation of it since I did not have access to the original). I’ll share that build in the next few posts. If you like the piece, and you’d like an opportunity to take a more in depth look at it, and learn how to build one of your own, I’ll be teaching a class on its construction this summer. The date isn’t set just yet, but I believe it will be some time in early July. Keep an eye on the Classes page and the blog for updates.
