How to Adjust a Wooden Hand Plane
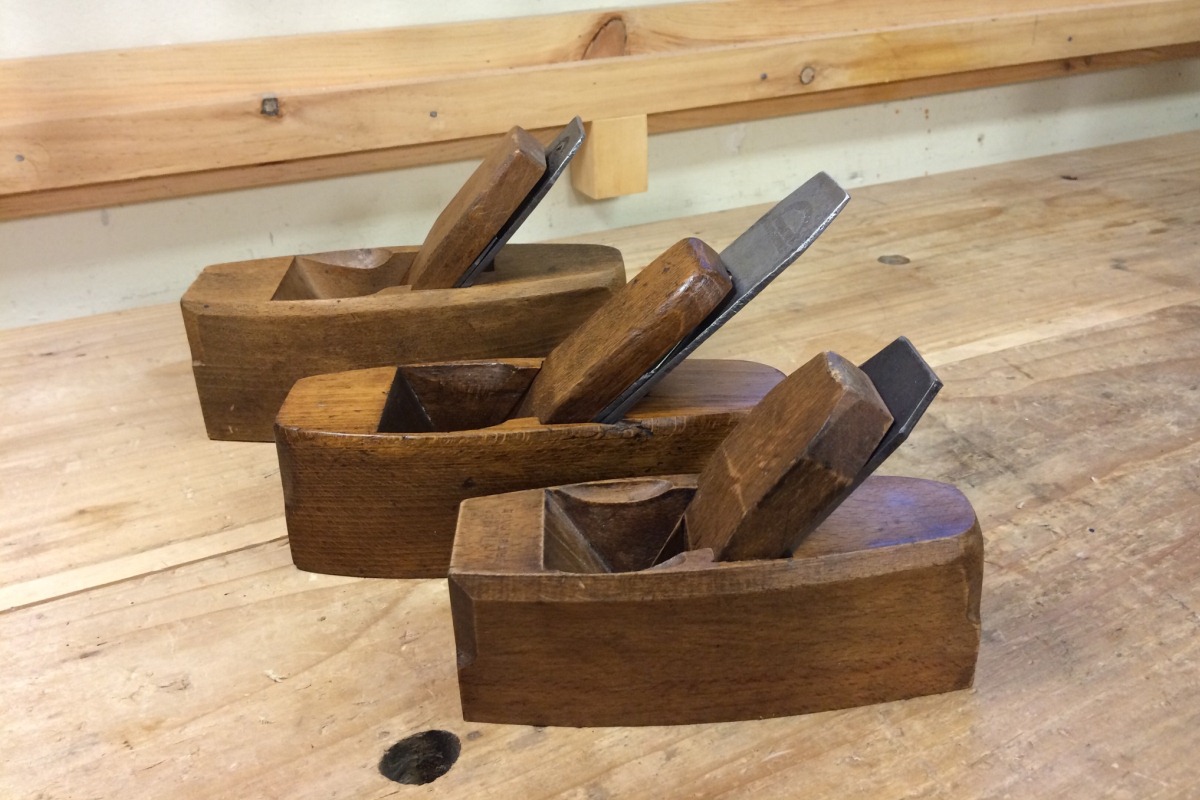
Wooden hand planes can be confusing to the new hand tool user because it isn’t very intuitive how to use them. Bailey style metal planes, while very complex, have obvious depth and lateral adjustments. Wooden planes are very simple by comparison, but it isn’t very obvious how one would adjust the depth of cut or lateral position of the iron. In this video, I attempt to demystify the process.
Tag:Hand Planes, Hand Planing

9 Comments
For adjusting an iron that needs to be centered on the body (rabbet planes), lightly tapping the iron on the right or left above the place where the bevel starts will center it. Sometimes the plane iron is exactly the width of the body and you need to have the iron a bit proud at the plane cheek you are resting on the rabbet shoulder to get a sharp interface. With molding planes, the iron generally rests tight against the left cheek. So sometimes you need to snug the iron in so that the profiles match. In that case, a ball peen hammer with the wedge ground thin is perfect for side adjustments to get down inside the throat.
Thank you Sir
just to the hammer its awesome. I didn’t realize that there was 2 kind of heads.
I meant: just for the hammer information it was pertinent for me!
Bob sorry to ask: do you have a video showing the hammer beign made??
No, I didn’t make a video of making that hammer. I don’t use it anymore. It had some design flaws that I wasn’t crazy about so I abandoned the design.
Oh! Using a standard brass hammer now? or not at all since you don’t have them anymore (only metal planes ) ?
I just use one of my regular wooden mallets. I don’t have a specific hammer for adjusting wooden planes.
fair enough. that said , prefer brass head for adjusting laterally the blade