Making Kitchen Cabinets – The Face Frame
Note: Click here for all the posts in this build series.
At one time, all kitchen cabinets had face frames, because they were built very similarly to the way that furniture is built. These days, frameless cabinets are all the rage, but in my opinion, frameless cabinets are too industrial looking. They’re certainly easier to build than cabinets with face frames, but I just can’t get into the look. I like face frames and inset drawers and doors.
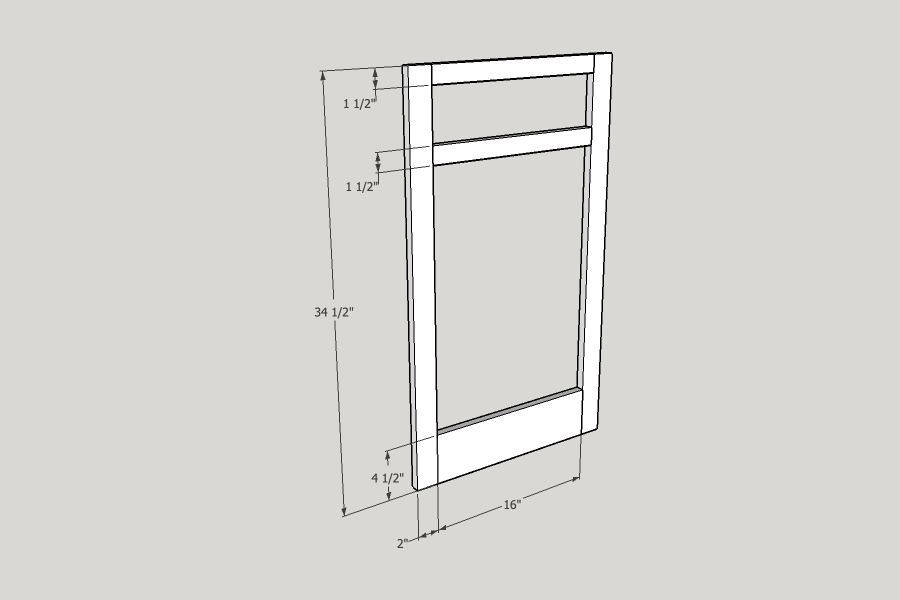
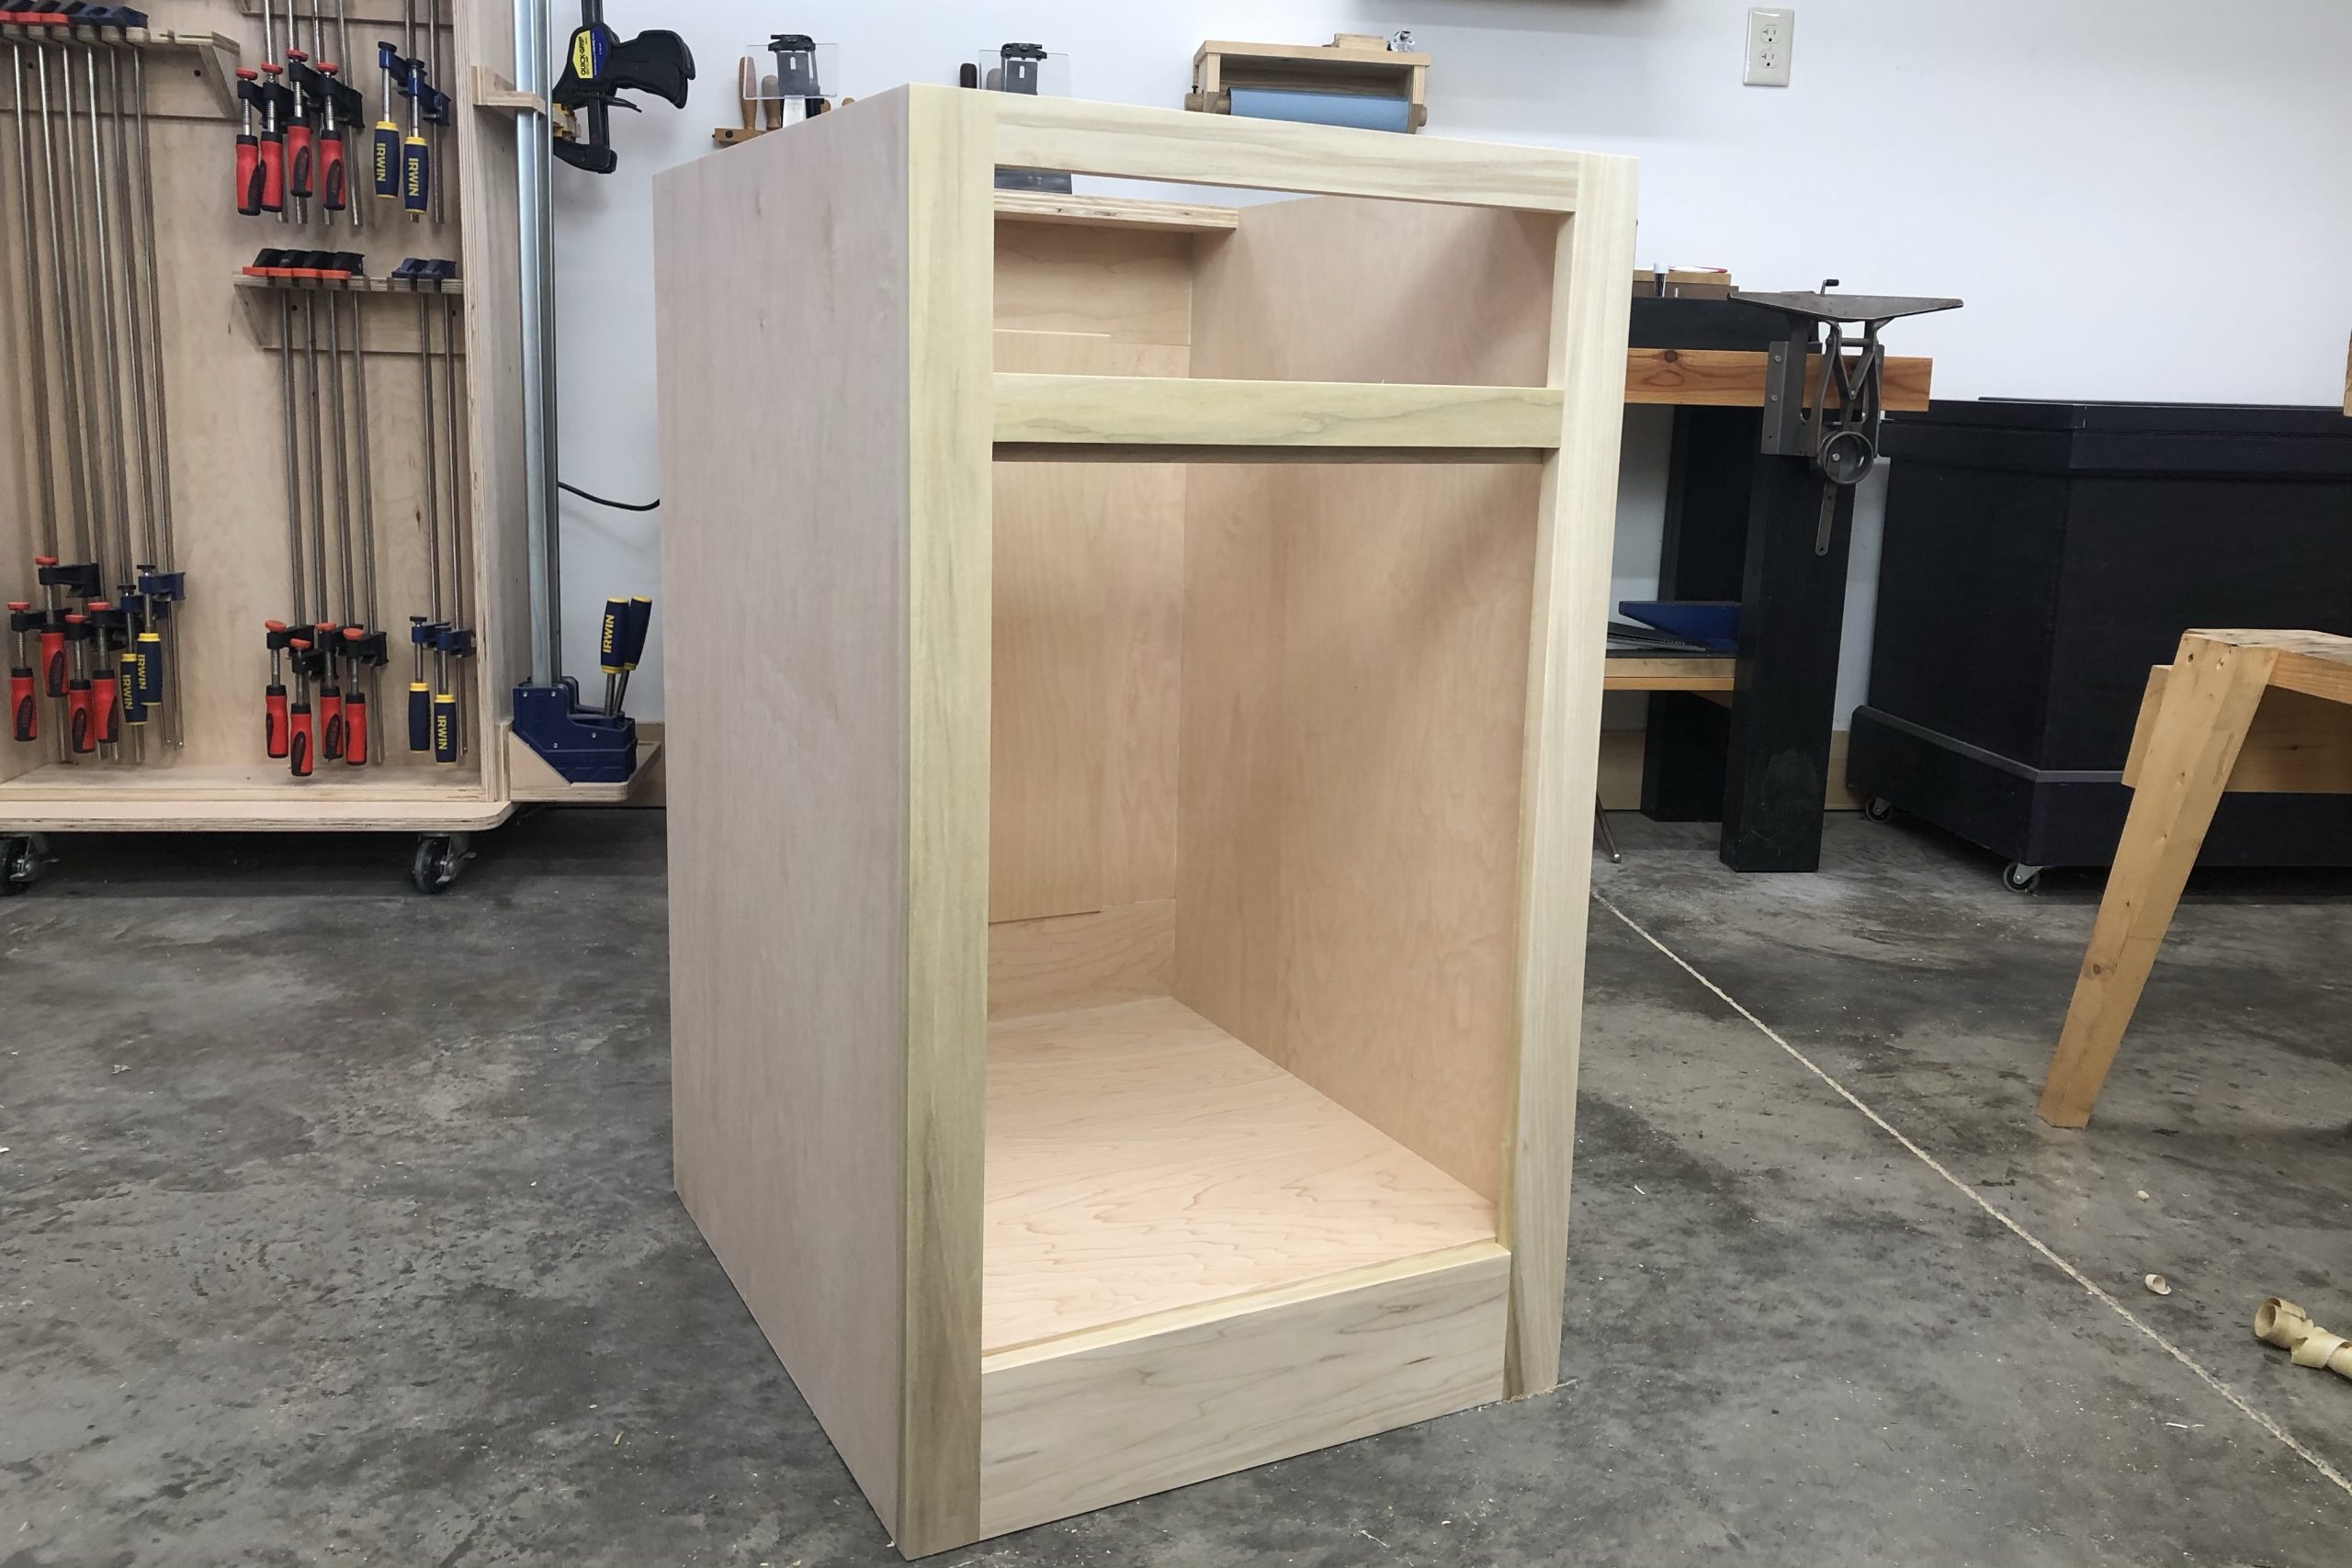
Face frames for single cabinets are simple affairs. Just cut your parts to size and join them up. I use glue and pocket screws because it’s a fast, easy method to make a face frame, and once the face frame is glued to the cabinet box, there’s no worry about any stress being put on the joint. However, the great thing about making your own cabinets is that you can make them any size or configuration that you want, and you can even combine the face frame across several cabinets for a much cleaner look.
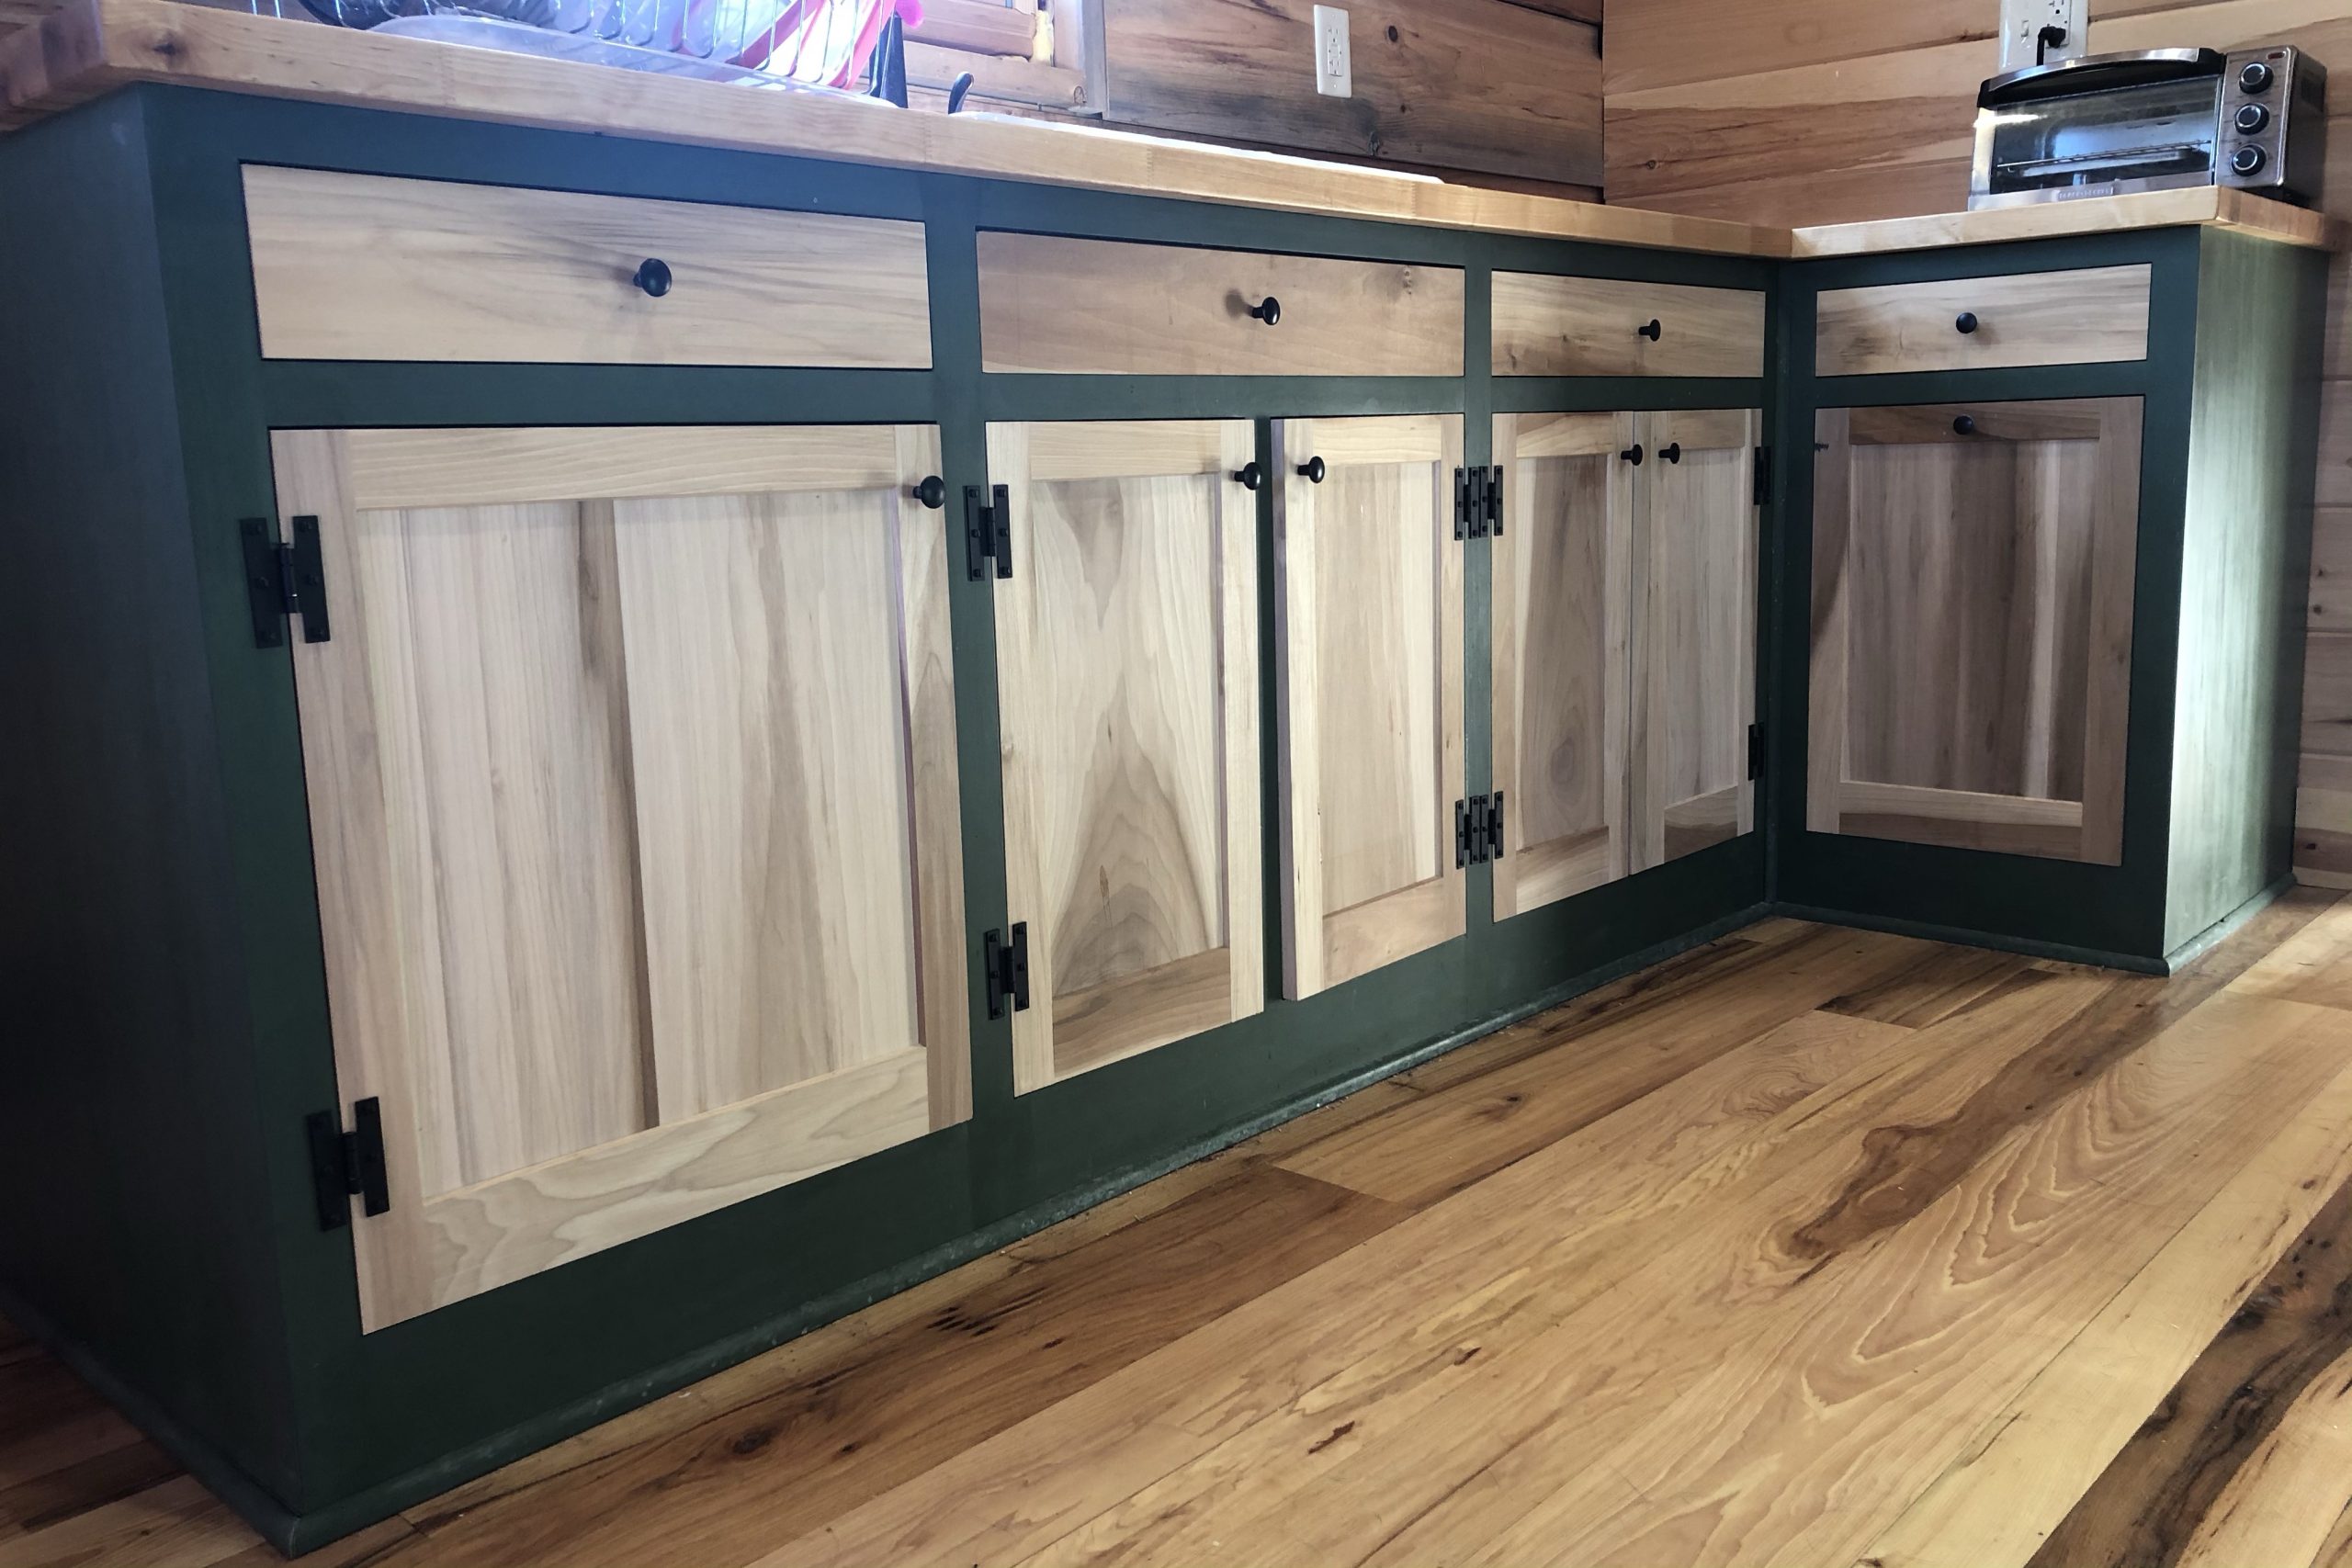
Take the outside wall of our kitchen, for example. To have this arrangement using commercial cabinets would require a total of four separate cabinets. However, I only built two. The “three” cabinets on the left, along the outside wall are actually a single cabinet box and single face frame. So there was no need for me to attach cabinets side by side like there would be in the typical setup. The look is so much cleaner and more consistent than having two face frames screwed together side by side. I was also able to plane the face frame flush on the outside faces of the two cabinets, which also looks so much cleaner and more finished than the typical commercial cabinet.
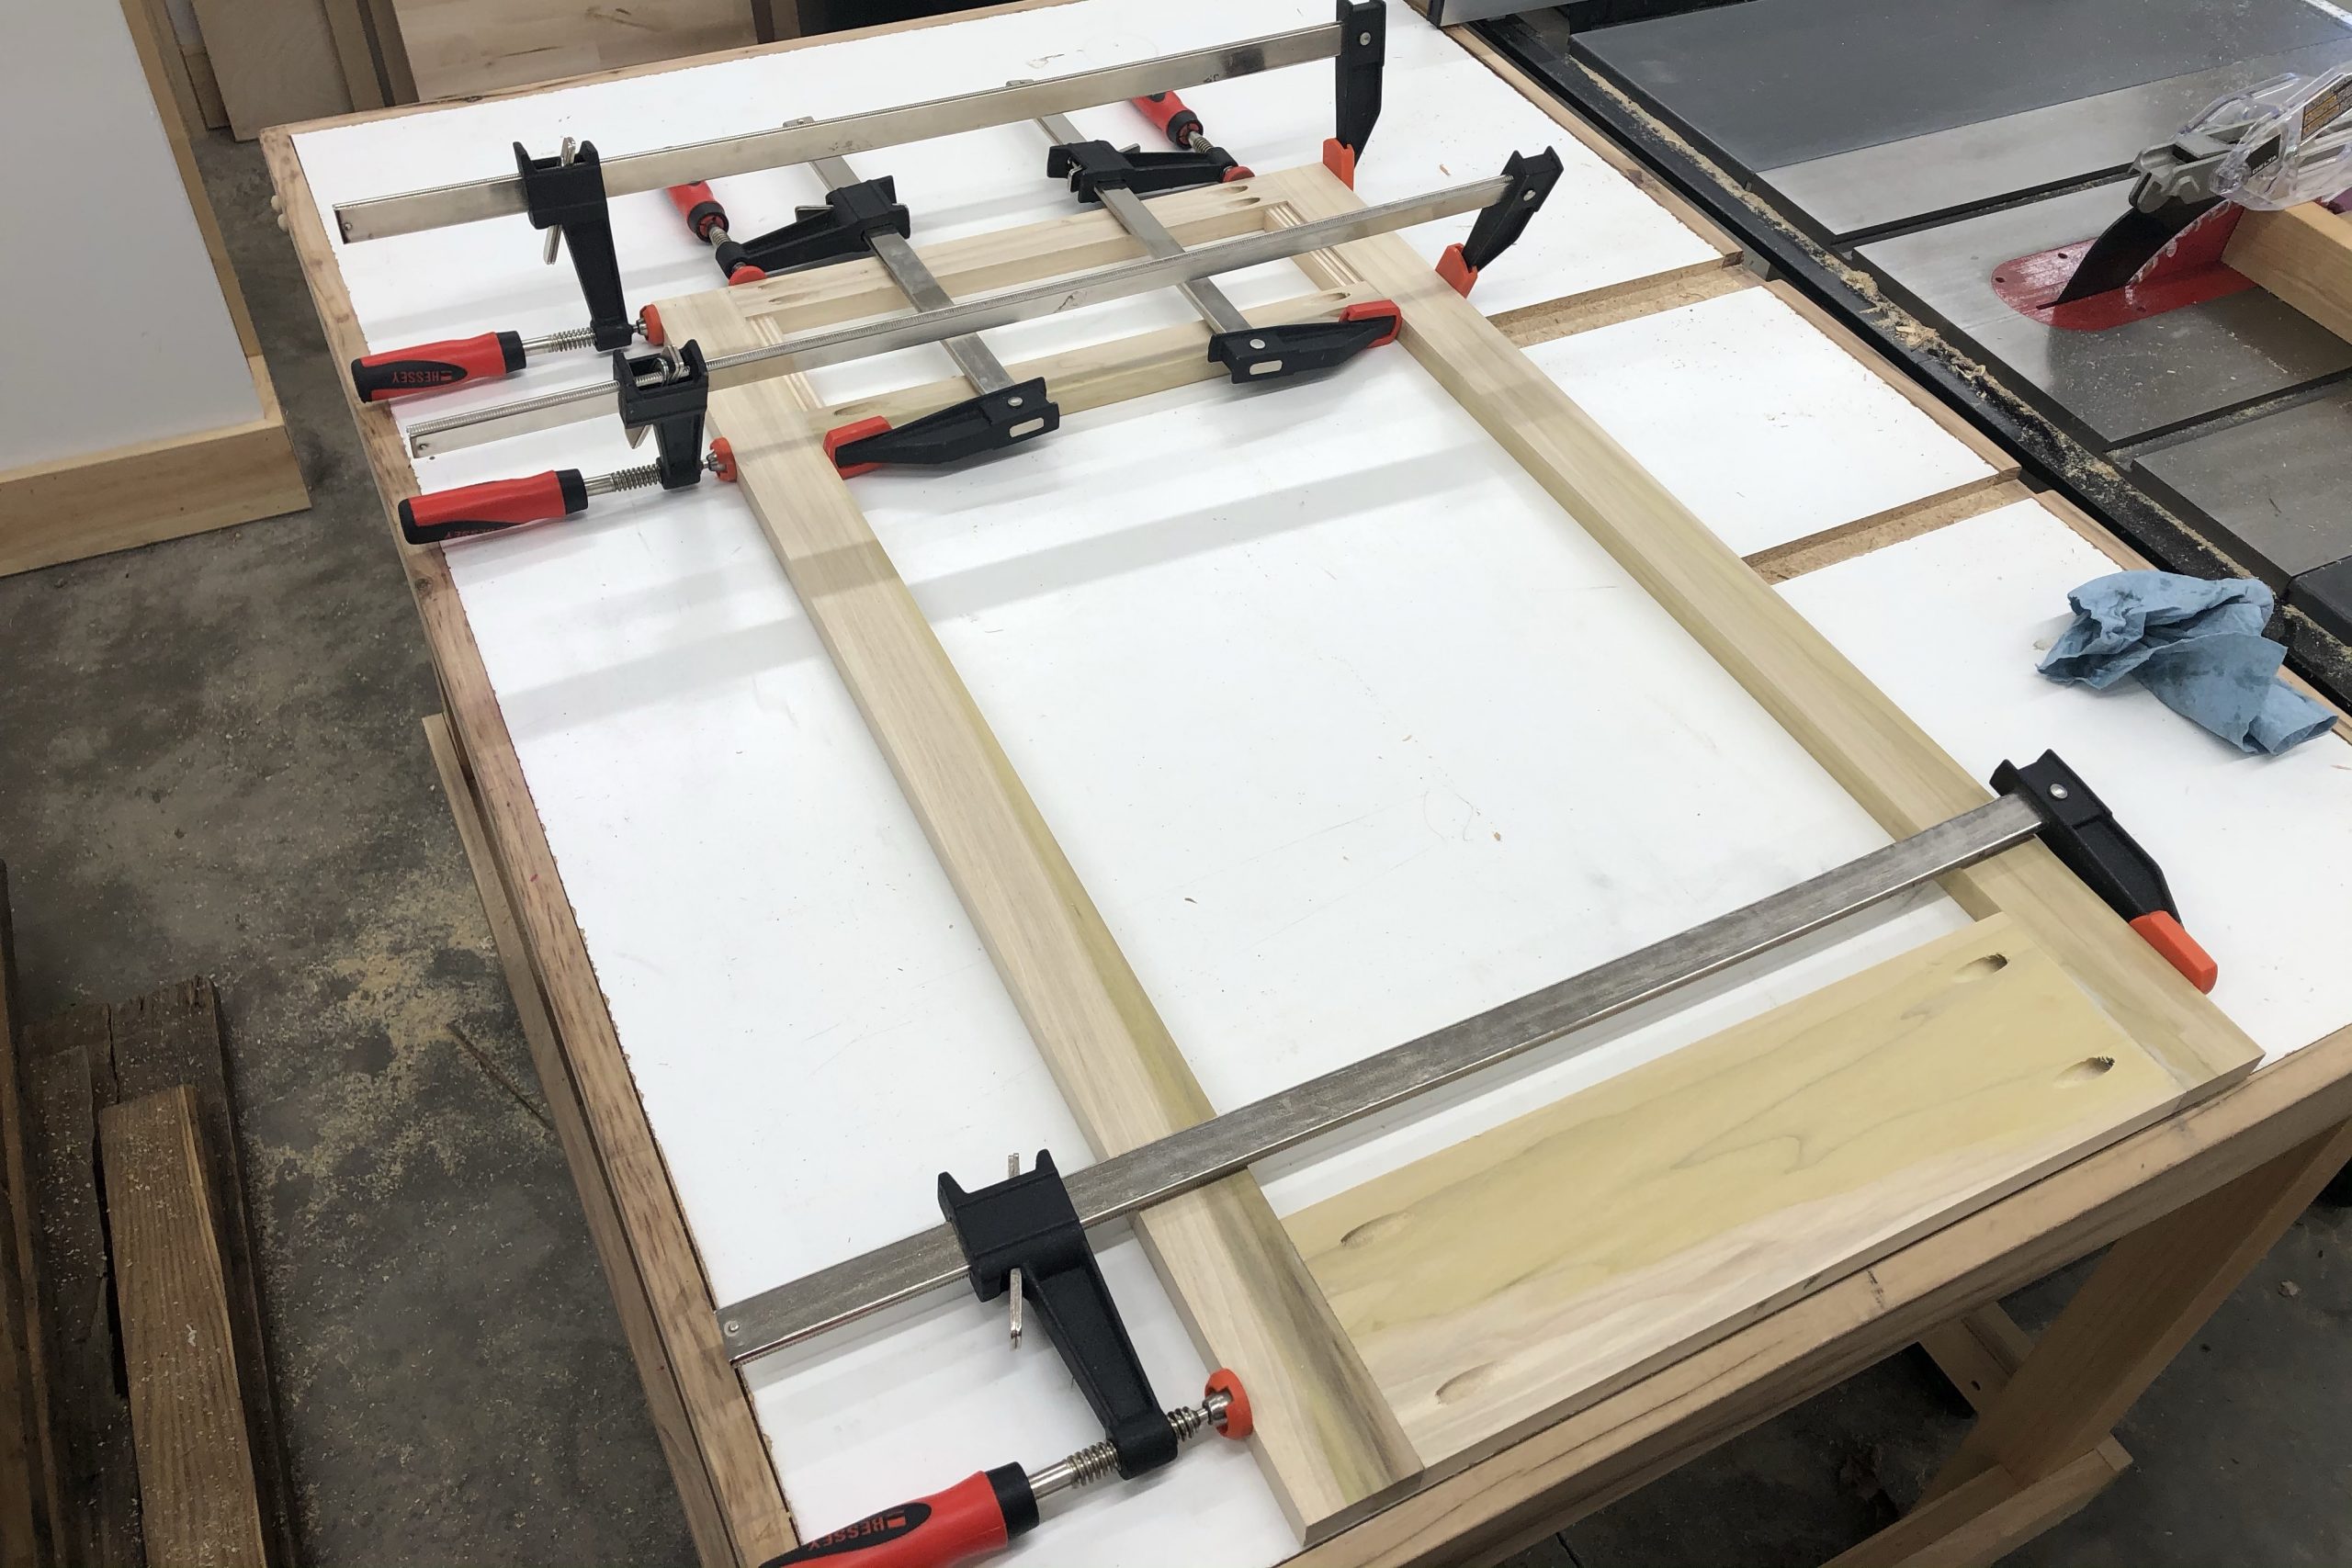
I made the face frame from poplar as it takes paint really well and is not too expensive. The parts were ripped from the board on the bandsaw, surfaced in the planer, and pocket holes were added to the back side of each of the rails. Then it was a matter of gluing and screwing the parts together. The clamps hold everything in position and keep things from shifting while the screws are being driven. A couple of scraps of plywood served as spacers for the drawer divider to make sure it was positioned properly and didn’t move when I drove the screws in.
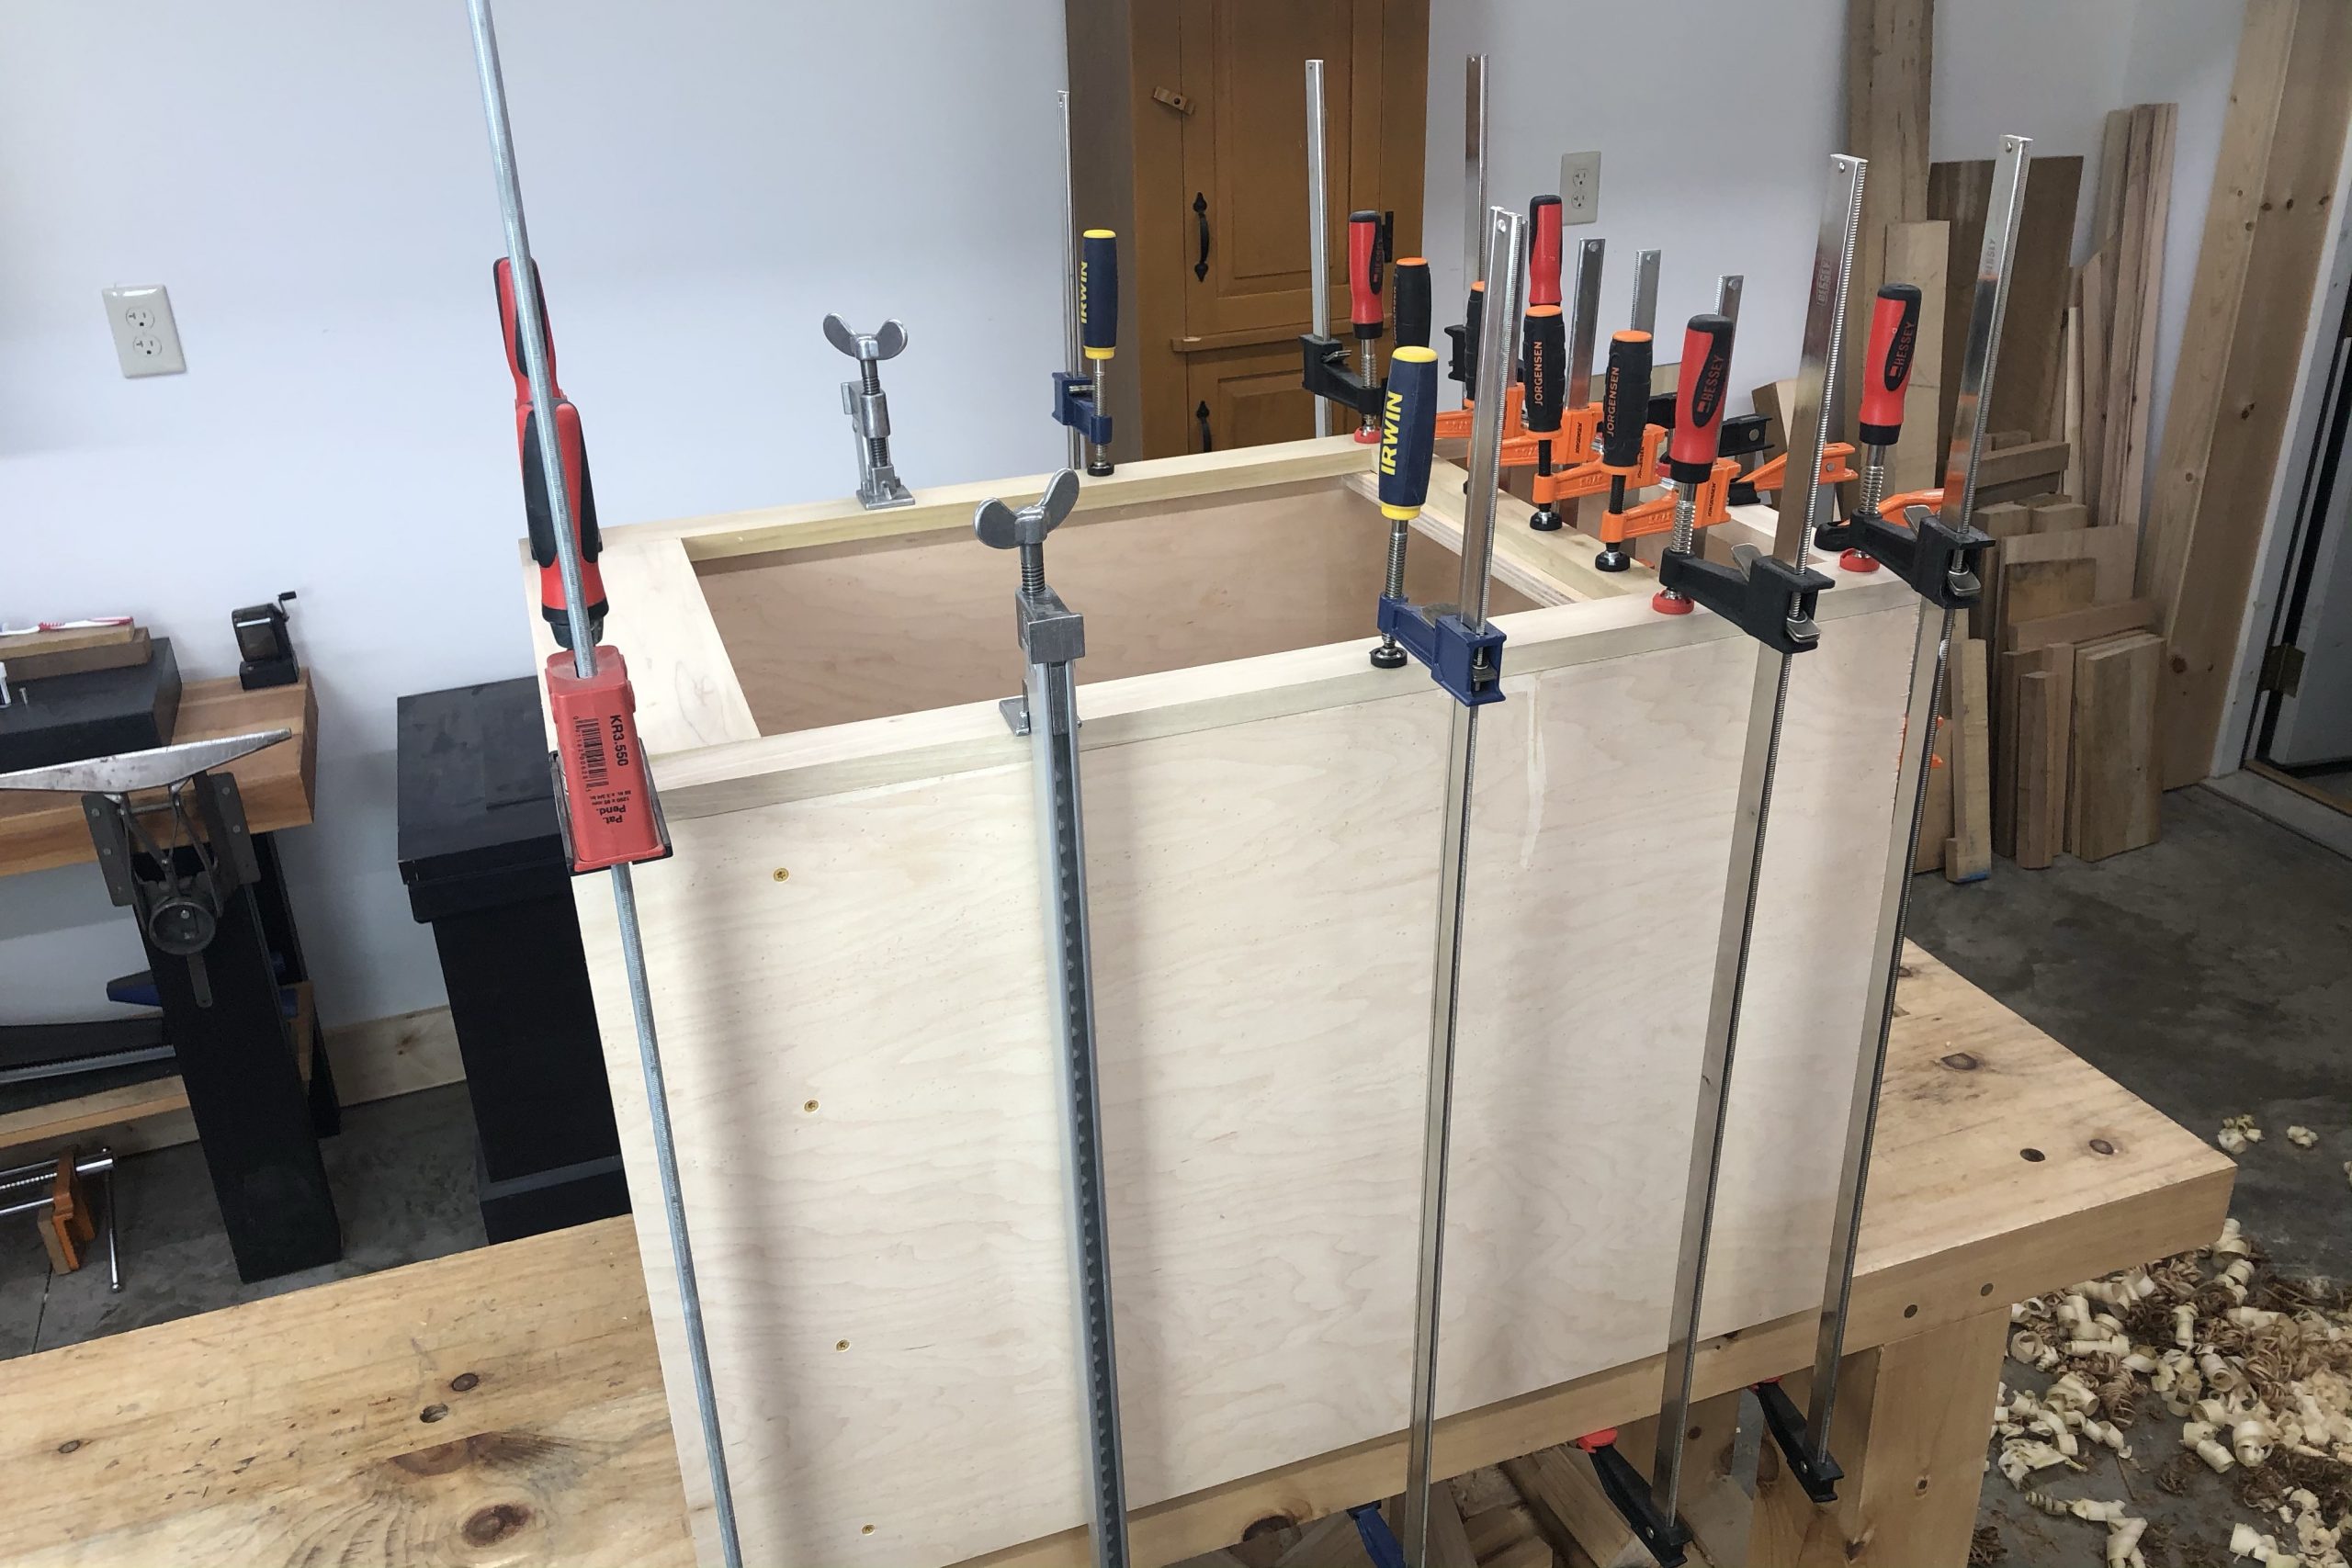
Once the glue in the face frame was dried, I planed the back face to make sure that the rails and stiles were all flush with each other and would therefore sit flat on the cabinet box. To attach the face frame to the cabinet box, I use only glue. I could have shot some nails through the face frame into the box or used pocket screws from the inside faces of the box, but I didn’t want to be bothered seeing or filling nail or screw holes. The glue alone is plenty strong enough to keep the face frame firmly attached to the box. Having lots of clamps doesn’t hurt here.
In this case, the cabinet is small enough that I could do this glue up on top of my workbench. However, for larger cabinets, this isn’t possible. So to make sure that I can get clamps underneath the cabinet box, I will lay the box on the floor on its back on top of some scrap 2x4s. The 2x4s lift the cabinet box off the floor enough that the clamp heads can be slipped underneath the sides of the cabinet.

After the glue dried, I planed the face frame flush to the cabinet box on the show side. On the non-show side I left the face frame slightly proud because I will need to attach this cabinet to a refrigerator surround once I build that. Leaving the face frame slightly proud (about 1/32″ to 1/16″) will ensure that when I make that attachment, the joint between the face frame and the refrigerator surround will close tightly right at the front where it will be visible.
The whole cabinet then got a light sanding with 180 grit to make it ready for paint, and that is pretty much the completion of the cabinet itself. Next up is to make and install the drawer and door.
6 Comments
Nice work Bob. I’ve been interested in building some cabinets for various projects and this is a great help.
Thanks! It’s certainly not the only way to build them, but it works for me and is pretty quick to build.
Bob, can I ask you for the brand & color of that green paint? Thanks!
Hi Fred,
The paint is Lexington Green from the Old Fashioned Milk Paint Company. It’s one of my favorite paints to use and one of my favorite colors that they offer. You do have to mix it yourself, but it’s very easy to do. I use a simple dollar store measuring cup and mix one part paint powder to one part water. Here’s a video I did years ago on using this paint.
https://brfinewoodworking.com/how-to-mix-and-use-milk-paint/
I have also used milk paint from the Real Milk Paint Company (in the video I said I hadn’t but this video was shot about 10 years ago) and their product is just as good, but their colors are slightly different. For period style furniture, I prefer the hues from the Old Fashioned Milk Paint Company. They just seem to be a bit more subdued and less vibrant to me, and that’s the look that I’m usually going for.
Great series, thanks. What are the hinges you used? I build my doors similarly to yours, but struggle with hinges. So many of the non-euro style hinges are just so cheaply made and hard to install/adjust. I’ve been using Amerock, but they are not great quality in my opinion.
Also, hoping you’ll get back to some in-person instruction once this mess is behind us. I got my first shot on Monday, so there is light at the end of the tunnel.
The hinges are from a company called Williamsburg Blacksmiths in Williamsburg, MA. It is NOT the Anderson Forge Blacksmith in Colonial Williamsburg. They’re decent hinges. They are not precision machined hinges like Brusso or the Horton Brasses machined brass hinges, but they’re not priced like those either. They’re just a decent machine made rolled barrel hinge (not a period correct hinge forged by hand), but when you need 40 pair of them, price is a consideration. For kitchen cabinets or vernacular style cupboards, they’re a good option. They are US made and assembled and the guy that assembled mine actually contacted me when he was putting them together to see how many rights and how many lefts I would need so that he could assemble and label them appropriately. I definitely recommend them for a decent hinge at a price point.