Minimum Space Needed for Hand Tool Woodworking
Most of us in the US are blessed in that finding space to put a small workshop is not typically a difficult proposition. Houses here usually have at least a one car garage and/or a basement, and as a result, most woodworkers in the US put their workshop in one of these spaces. Even for home owners or home renters that don’t have one of these spaces, garden sheds are very common here as well, and also can make a good work space. For the most part, in the US, if you can’t find room to put a small workshop, it’s probably because you have too much crap.
But not everyone has an over abundance of extra space. City dwellers, apartment renters and folks who live outside the US often have to deal with a serious lack of space. Living in one of these places can pose challenges if one desires to set up a woodworking area. Mobile and multi-purpose workshops are common in these cases. Many folks will work outside or in a shared space when possible, choosing to store their tools out of sight in a closet or out of the way corner when not in use. Still others may choose to hide the workshop in plain sight by using the workbench as a dining table (or vise versa) and the tool chest as a coffee table. Whatever the solution, if the will is strong enough, there is a way to accommodate.

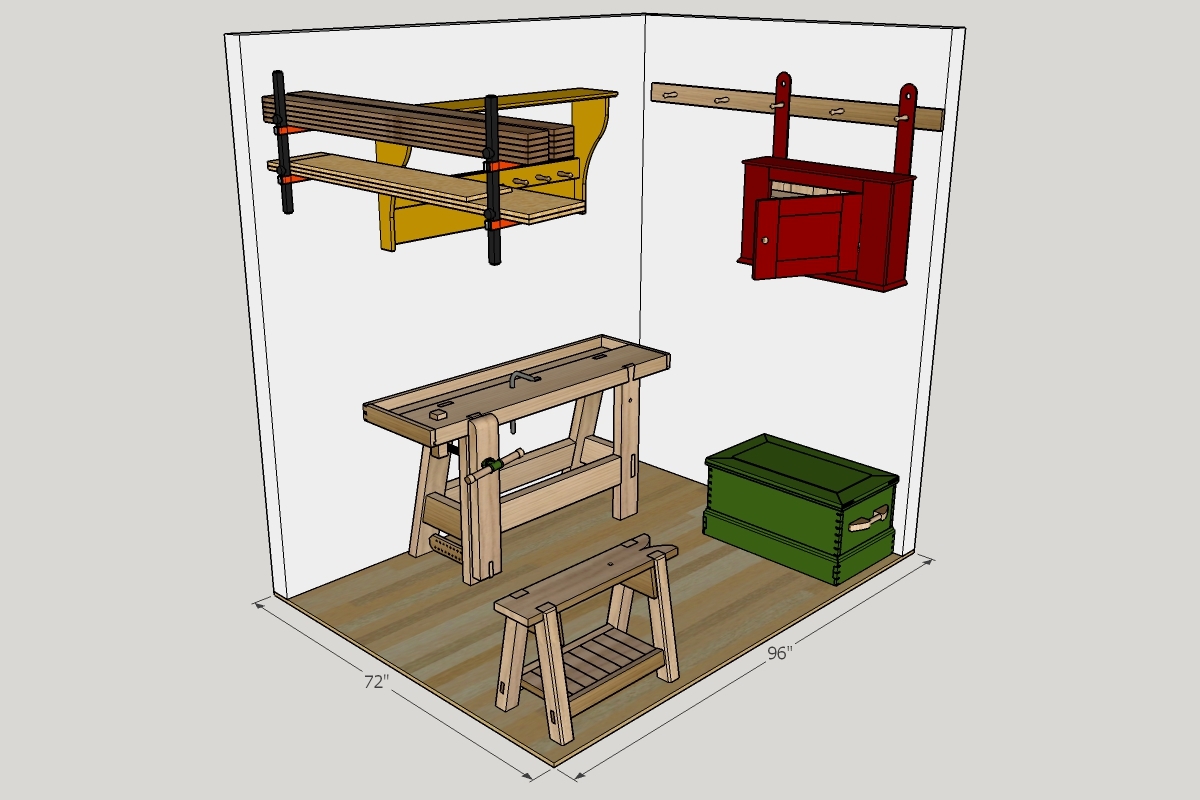
But how much space is really required? Even if you use one of these mobile options, you still need some space to roll everything into to work. My old shop in NJ was a small spare room that measured about 7′ x 13′ (about half of the square footage of a typical one car garage) and it was more than enough space for me to work in using hand tools. So how small of a space can you really work with?
Of course it all depends upon what you want to make. If all you do is make small boxes, for example, you can really work in a space that’s no bigger than would be required for a small workbench, your tools, and you. But what if you want to build some larger projects as well? In order to work on small to moderately sized furniture, like say a side table, chest of drawers, or a chair, you will need a bit more space. Your workbench will likely need to be a bit larger in order to work on longer stock, and you will need some space to set parts and partial assemblies aside while you work on other parts.
So let’s take a look at how large of a space one might need for working on projects like these.
Start with the Workbench
In a workshop based upon machines, the table saw is often considered the heart of the shop and is typically the first major tool purchased and moved into place. But if space is a concern, a table saw is a tool you’ll want to avoid as they simply require way too much space to store and use. Instead, the really small shop is going to be focused on working with hand tools, with maybe a small bandsaw for long rips and resawing.
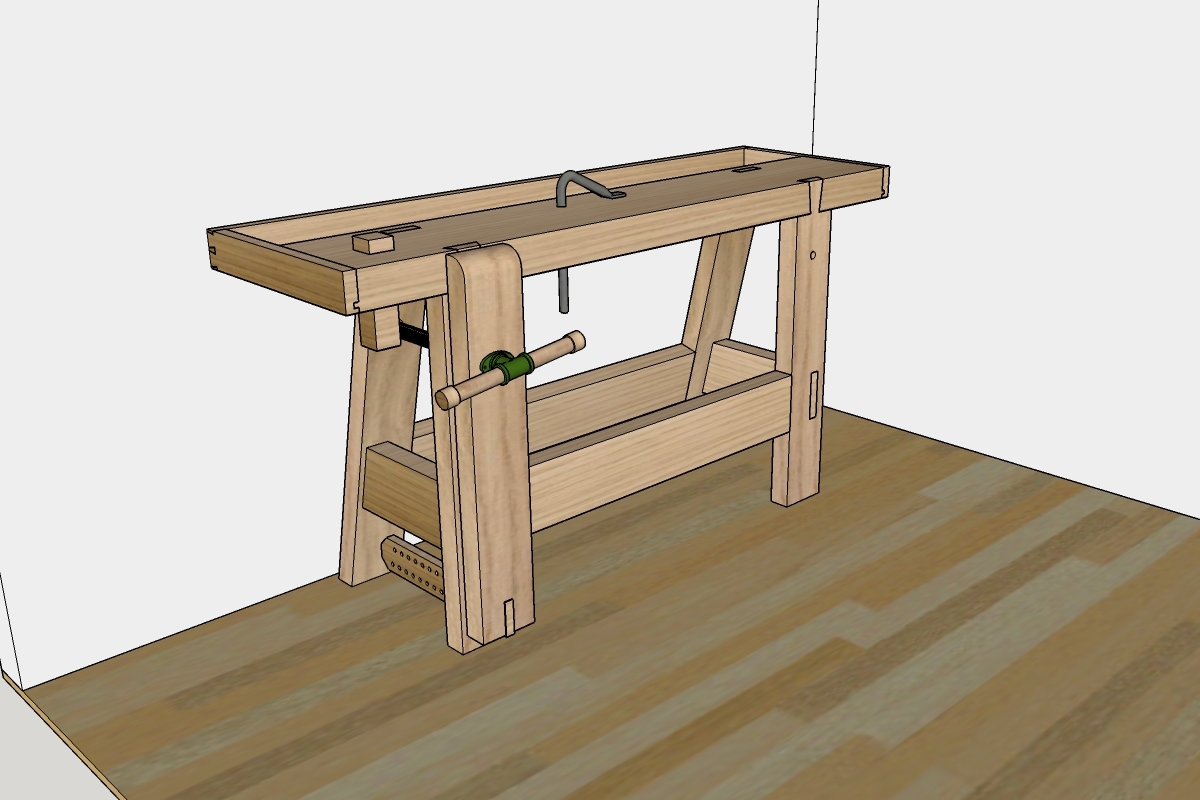
Instead, start with a good, solid workbench. Regardless of your preference in woodworking methods, no shop can function efficiently without a solid, flat workbench. In a small shop, the workbench is where just about every process takes place. It’s the layout area, the joinery bench, the assembly table and the finishing room. So it makes sense to start with a good, solid bench, and fill in around it.
I think a workbench should be as long as you have space for. Mine is 8’ long and there are times that I’ve wished it were longer. However, small spaces don’t usually permit a workbench of this size. You should, of course, build your bench as long or short as your space will allow, but for small to moderate scale furniture work, I think a 5’ long bench is about as small as I’d want to go. A 5’ bench is long enough to build projects as large as a chest of drawers, and still permit longer appliances to be secured to it for working longer stock, like moldings.

For bench depth, I recommend at least 18”. Shallower than this and case sides begin to slip off the bench top. I also don’t recommend the bench be much deeper than 24”. A 24” deep bench is about the maximum that most people can reach across to get at things on the wall behind the bench. Roy Underhill built a neat, small Roubo style bench on his show several seasons ago that would make a great bench for this space. You can find plans for that workbench in his book “The Woodwright’s Guide”. Another option if you prefer the English style workbench would be the 5′ long version in Charles Hayward’s book “How To Make Woodwork Tools”.
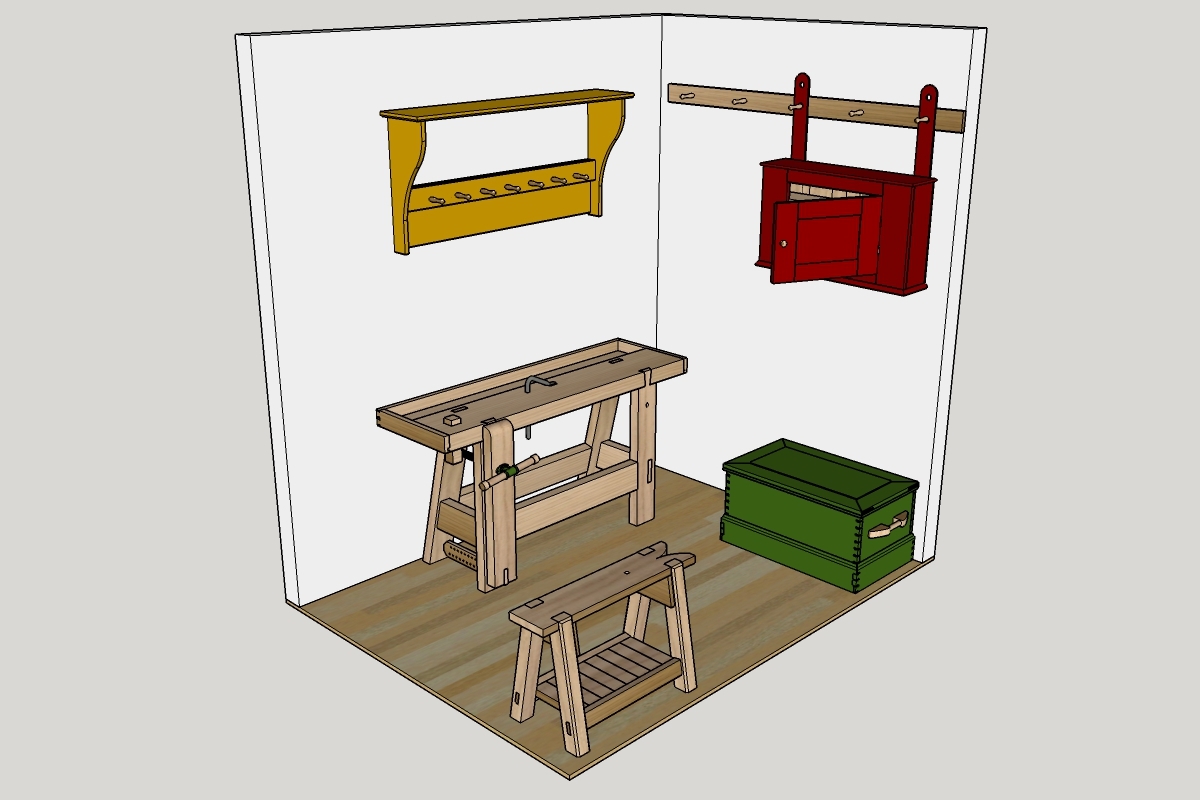
The workbench should go along the longest wall to allow the most space to either side of it. For right handers, I think you need at least a foot to the right side of the bench (enough room to start a jointer plane). I also like at least two feet to the left side of the bench for planing off the end of a board, and for shavings to pile up. A trash can also fits well in that space.
A Home for Tools
In a small shop, floor space is typically the most limited resource, so minimizing the footprint of everything you can becomes extremely important. This means storing as much on the walls as you can. You’ll probably have close to three to four times as much acreage on the walls as you will on the floor. However, if you live in a humid region of the world, you will quickly find that storing tools on open shelves and racks on the wall is an open invitation for rust to invade every tool you own. So even though floor space might be limited, I still prefer a tool chest for my tools to protect them from rust.
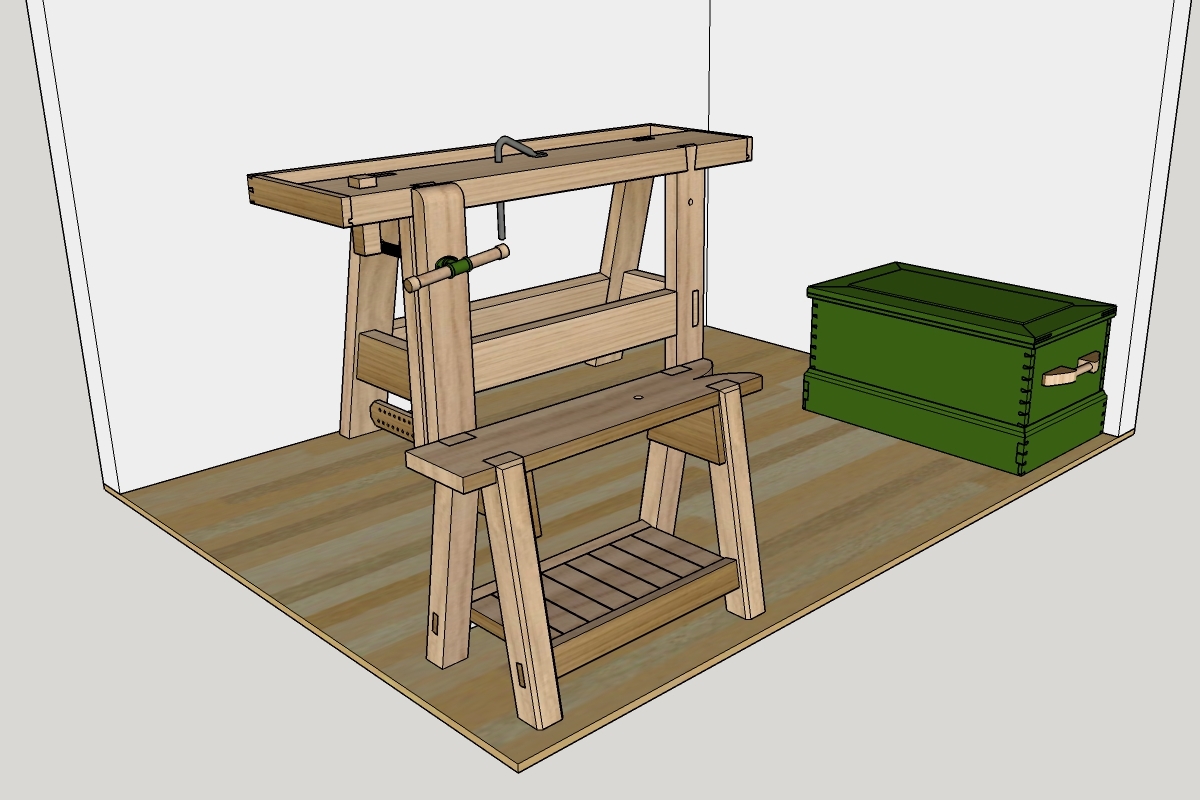
You might not have room for a full sized traditional tool chest, so I’d opt for a smaller version. While it does take up floor space, it can sit underneath the overhang of the workbench if needed, where it is basically out of the way. It can also serve double duty as a saw bench and a decent place to sit down to take a coffee break. Once again, Roy Underhill has a fantastic design for a medium sized tool chest that he published in Popular Woodworking Magazine in June 2009 (he also built a version in Season 28 of The Woodwright’s Shop).

A separate saw bench is invaluable in the shop as well. I use mine for way more than just sawing. It’s my shop stool, it’s a step stool, and it’s an extra flat surface that I can use to set project parts on while I’m using the workbench for other tasks. So I’d include a saw bench too since it really doesn’t take up much room and has so many uses in the shop.
Storage, Storage, Storage
Even in large shops, there never seems to be enough storage space. You could store things like solvents, finishes, glues and hardware somewhere else, but it’s really inconvenient to have to go out to the garage or down to the basement a hundred times during a project when you need that stuff. You don’t need it all close at hand, but it’s nice to have a few frequently used items readily available. A shallow wall hanging cupboard is a great addition to the space. They don’t take up a lot of room, and can be hung in an out of the way spot, like above the tool chest. You can store things in them, as well as on top of them. Add a Shaker peg board or two for additional space on the walls to hang stuff.

While we’re hanging stuff on the walls, how about a tool rack and shelf over the bench. In my old shop I stored a lot of my most frequently used tools on the wall over my bench and on shelves above the bench. This kind of tool storage is so convenient, I consider it borderline must have, especially for a small shop (unless your shop has serious moisture issues). It doesn’t require any additional space because the workbench is already there, and it keeps frequently used tools and appliances right at your fingertips, but up off the bench and out of the way when they are not being used. You can even keep some books and magazines handy for reference on the shelf.
Lumber Storage is a Luxury
In a small space, there isn’t much room for lumber storage. But that’s not as big of a deal as it may seem. If you purchase lumber only as needed, you can hand select boards for your particular project. So you really don’t need to have more than a couple of boards on hand, until you’re starting a new project. When you do make a lumber purchase, cut boards that are too long for the shop into shorter lengths in the driveway or parking lot, and then bring the shorter boards into the shop for storage during the build. If you have a few extra feet of space, adding a small lumber rack up high on an unused wall will allow for storage of enough lumber for at least the current project and probably a good bit of extra.

All-in-all, I think this space would be quite comfortable to work in. You could certainly cram things into a smaller space. However, I’m not sure you could actually move around and work in the space if it was much smaller, unless all you made were small projects. So don’t be discouraged if you don’t have hundreds of square feet of basement, garage, or outbuilding space. If you have a desire to start woodworking, just do it in whatever space you have. With a few hand tools and small, sturdy workbench, there isn’t much you won’t be able to make.

1 Comment
Thank you !