
More Thoughts on Marking Gauges
In my last post, I talked about marking gauges that use a pin to mark the work. I left out one style of gauge that technically fits into that family but I did so intentionally. So I’ll start with that gauge in today’s discussion.
The Mortise Marking Gauge
So the first gauges I want to discuss today are the mortise marking gauges. These can also be thought of as tenon marking gauges. In fact, in the traditional practice, they are actually much more important for marking the tenon than they are for marking the mortise.

The concept of the mortise or tenon marking gauge is that the dual pins or knives will mark both walls of the mortise or tenon at the same time, ensuring consistency from joint to joint. This is actually more important when marking the tenon than when marking the mortise. That’s because the mortise chisel actually defines the width of the mortise. So you can actually lay out a mortise using a single pin gauge and just marking one wall of the mortise. When you chop the mortise, the chisel will define the width of the mortise.

However, to mark the tenons, you would then set the double pin tenon gauge to the exact width of the chisel used to create the mortise which will result in a perfectly matching tenon. I prefer a mortise and tenon gauge with fixed pins set to the exact width of the mortise chisels in my set. This way, all I have to worry about is getting the fence setting correct and I don’t have to worry about the position of a movable pin or knife shifting. The fixed pin gauge pictured above (which I either sold or gave away at some point, I can’t remember) was set to match my 1/4″ and 3/8″ Ray Iles mortise chisels.
The Cutting Gauge
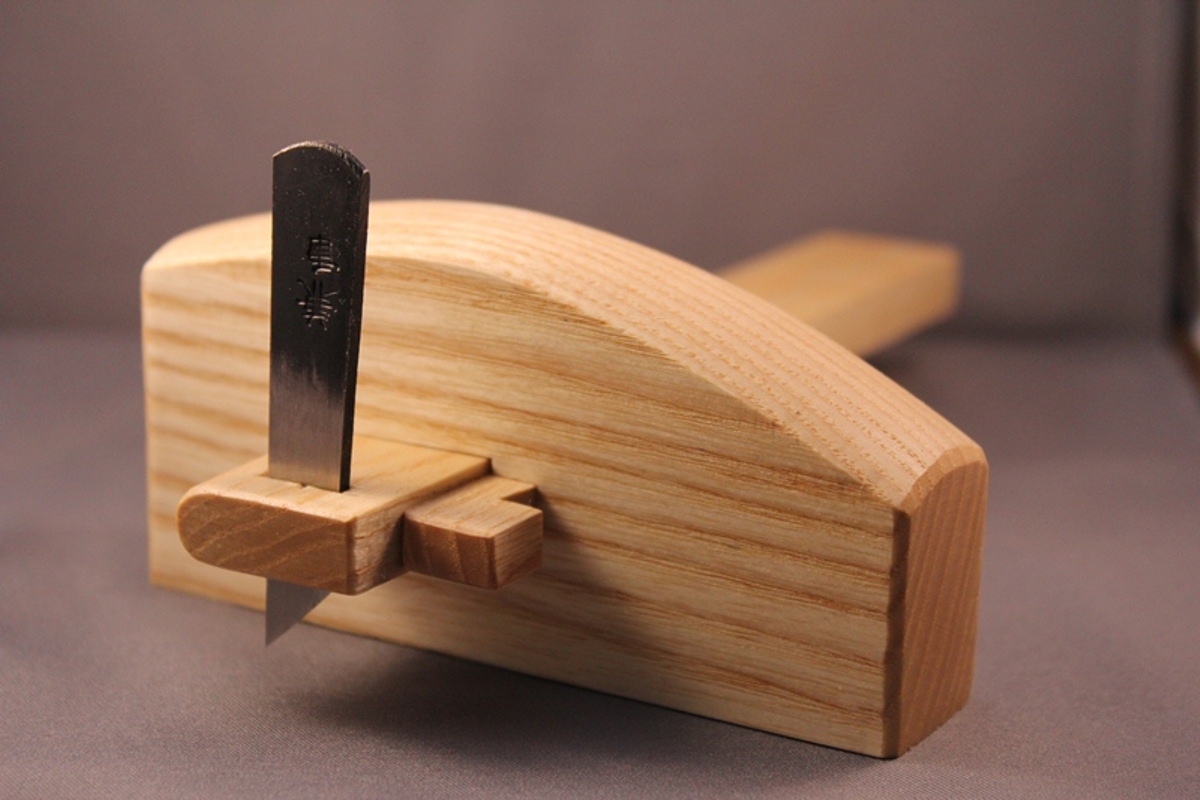
The second style of marking gauge that I want to discuss today is what’s traditionally known as a cutting gauge. These are similar to the pin style marking gauge, except that they use a wide bladed knife to do the marking instead of a sharpened pin. In the traditional Western style cutting gauge, the knife is fixed in place using a small brass or wooden wedge.

Japanese style cutting gauges use tapered knives rather than the parallel sided knives traditionally used in Western style gauges. These knives are self wedging, therefore, no separate wedge is needed. In addition, the blade in a Japanese style cutting gauge is typically just as sharp as a chisel. This results in a gauge that will mark an extremely fine line.
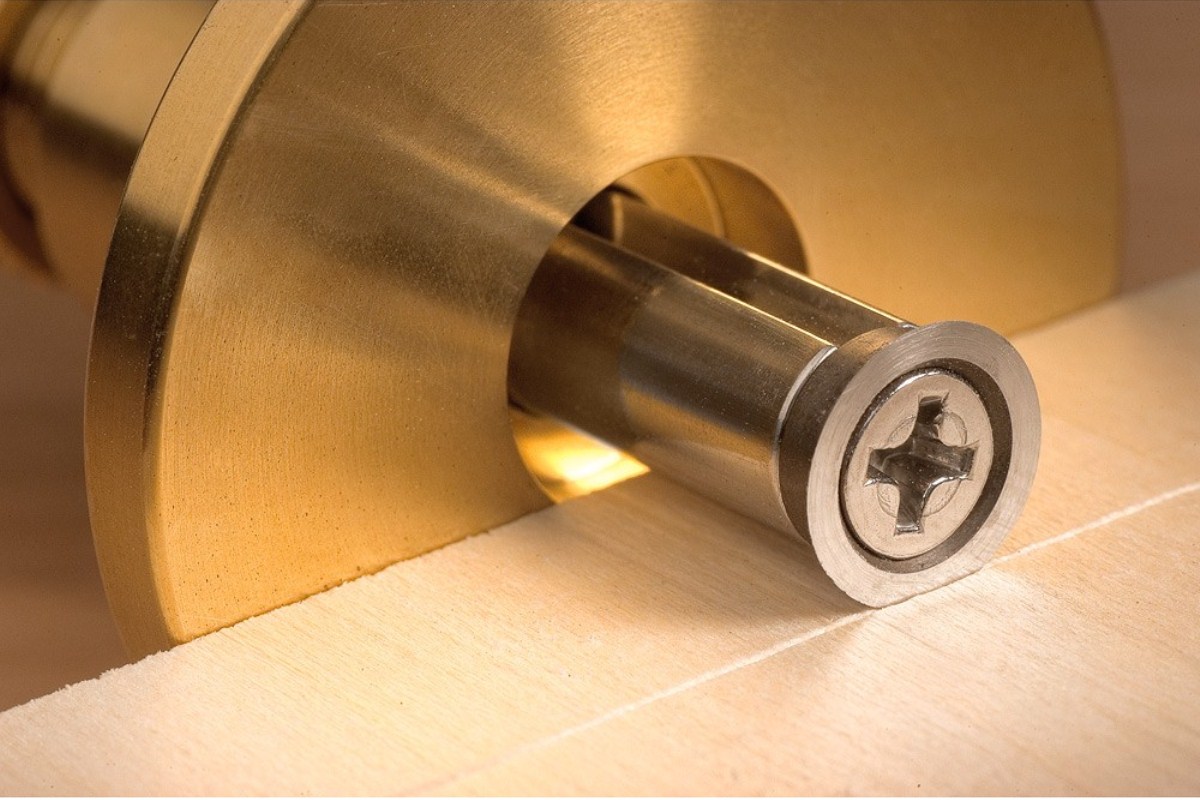
Modern, round marking gauges also fall into the cutting gauge category. These gauges use a circular knife shaped cutter to mark the work. They too work exceptionally well across the grain, but, like the other cutting gauges, can follow the grain when used parallel to it.
There is no better tool than a sharp cutting gauge for marking across the grain of a board. These tools shine for marking dovetail baselines and tenon shoulders on stock that has been precisely squared across the ends. The knives are easily removed and sharpened on a bench stone or using small slip stones, ceramic files or diamond hones.
Cutting gauges are also useful for slitting, or cutting a piece off of the edge of a thin board. In stock 1/4″ and thinner, these gauges can often be used instead of a saw to rip strips off of the edge of a board. They are also excellent at cutting through veneer that has been glued to a substrate before it is removed to be replaced by another embellishment, such as banding.
The main drawback to cutting gauges is that they can be tricky to use to mark along the grain of a board. Depending upon the grain density of the board, the fine knife tip can get trapped between grain lines and follow the path of the grain, forcing the fence away from the board. This can result in a mark that does not parallel the edge of the board as intended. To combat this tendency, use these gauges with a very light touch along the grain and make multiple passes to establish the desired depth of the gauge line. By starting off with a very fine score line, the knife is more likely to cut across grain that is running off of the edge of the board rather than get caught in it and follow it.
There’s one more type of gauge that I haven’t discussed yet, and that will be the topic of my final post on the subject.
Tag:Gauges
