
Setting the Mouth Opening on a Smooth Plane
In general, I tend to stay out of discussions on plane mouth opening. When I’m using a hand plane, I’m typically trying to take the thickest shaving that I comfortably can that will get the job done. My goal is to remove material as quickly as possible with the least amount of effort, and leave the best surface for that specific situation (not every surface needs to be perfect). I don’t want to spend all day getting the job done. So my experience has shown that in general, the mouth opening on a hand plane really doesn’t matter – until it does.
In rare cases, when using highly figured wood, tightening up the mouth on a smooth plane can be beneficial. Users of old wooden smooth planes often installed a mouth patch to accomplish this. However, with the invention of the Bailey pattern iron planes, the process became even easier. Since the surface that the blade beds to in an iron plane (i.e. the frog) is separate from the body casting, it is easy to simply move the frog forward to close up the mouth. The question is, how much do you move it.
In a bedrock style plane, like the one I’m going to use for this demonstration, the process is simple because you do not need to remove the blade to adjust the frog. So you can move the frog with the blade in place and simply watch the mouth opening while you do so. However, in a Bailey style plane, the blade needs to be removed to access the screws that hold the frog to the body casting. Without the blade in place, how do you know how much to move the frog? I use a simple trick that I learned years ago that involves nothing more than a little blue (or green in this case) tape.

Take the iron out of the plane, and remove the chipbreaker. Place one to three layers of tape on the face side of the blade, depending upon how tight you want the mouth opening to be. More tape for wider, less tape for tighter. I typically settle right around two strips.

You’ll want to trim the edges of the tape off so that they don’t overhang the sides of the blade. If they do, the blade might not fit in the mouth opening. I use a razor blade, but you can just carefully rip it as well. Then reinstall the chipbreaker, but leave about 1/4″ to 3/8″ of blade exposed.

Once the blade set is reassembled, slightly loosen the screws that secure the frog to the main casting (for a Bailey style plane). You want these screws loose enough to allow the frog to move, but not so loose that it rattles around freely. With the frog screws slightly loosened, reinstall the blade into the plane. If your plane has a frog adjusting screw, turn it clockwise to move the frog forward. If your plane does not have a frog adjusting screw, just nudge the frog forward by hand. Move the frog forward until the tape on the iron just touches the front of the mouth. Ensure that the opening is even, then carefully remove the blade to tighten the screws that secure the frog to the main casting. Try not to let the frog move while you are removing the blade. Again, with a bedrock style plane, all of these adjustments can be made with the blade in place.

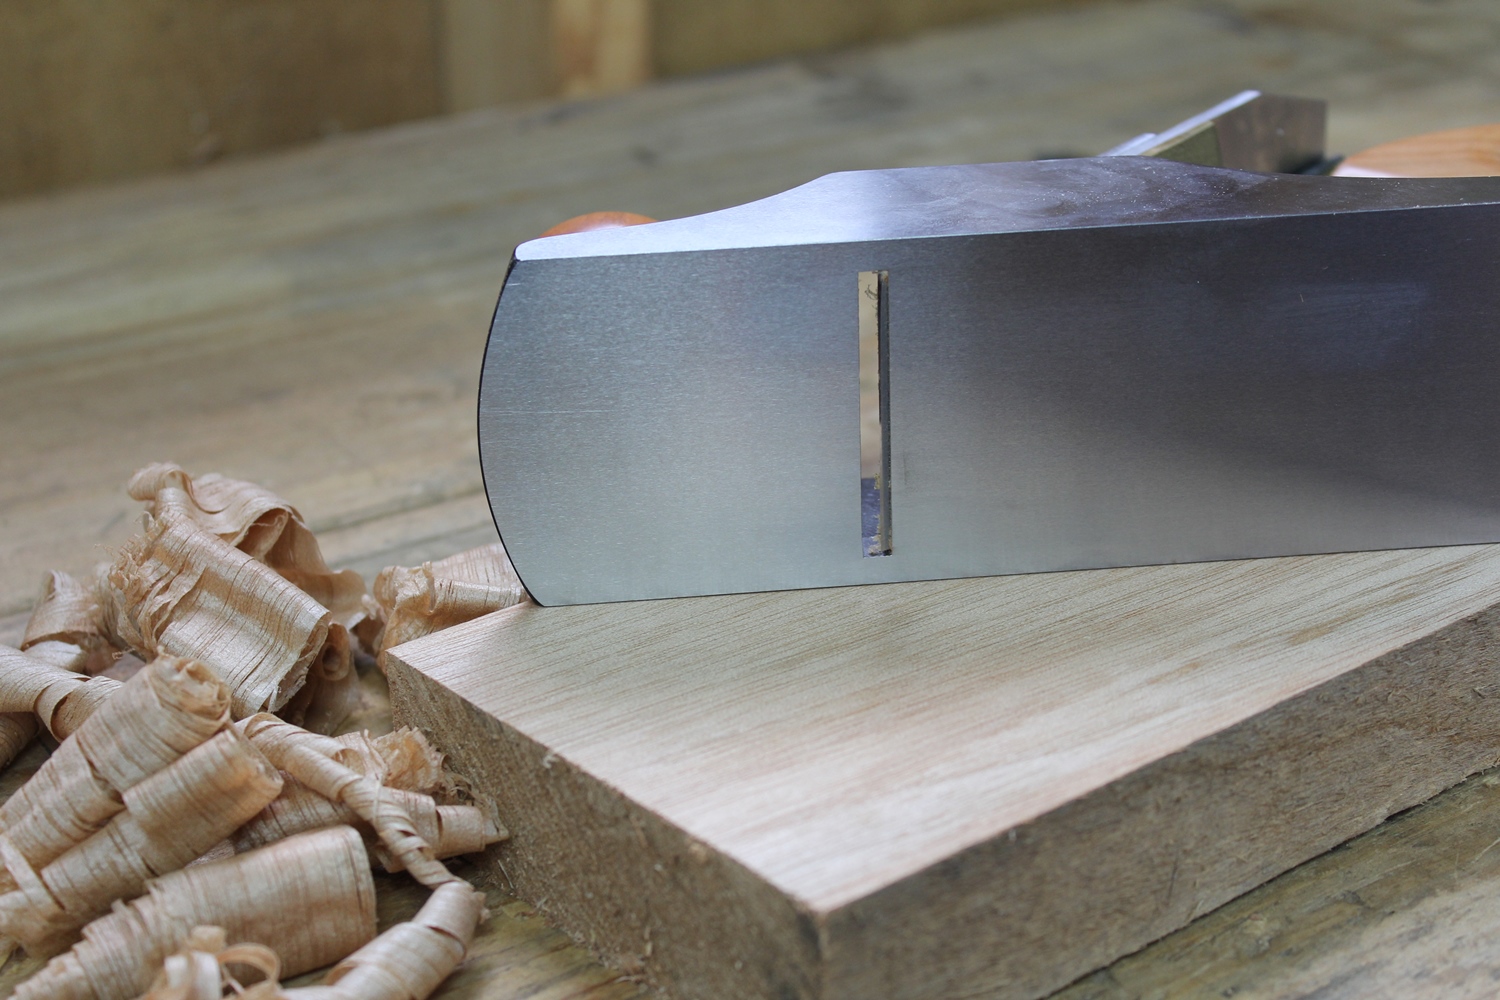
Now remove the tape from the blade, reset the chipbreaker as close to the edge of the blade as you can, and reassemble the plane. The smooth plane should now be set up with a tight mouth that is just wide enough to pass a fine shaving through, but help to alleviate tearout in stubborn figured boards.
And if you want to see this process done in real time, here’s a video I did several years ago demonstrating this technique with a Bailey style plane.
Tag:Hand Planes
