

State of the Shop and Tools for Sale
So if you’re not a user of social media, specifically Instagram, you might be wondering what happened to me. Rest assured that I’m alive and well. The blog has been silent for a few months, and for that I apologize. But I just haven’t had much time to write, nor much to write about that I felt would make for interesting blog content.
Since my last post, we’ve gotten the Certificate of Occupancy for our new cabin, and we moved in back in the beginning of December (OK, we’re still technically moving in as not everything has been moved yet, but we’re living in the new cabin). It’s been really nice to be able to slow down on cabin projects and not feel rushed to get things done. In fact, other than building a few drawers for the kitchen cabinets, I haven’t really done much work on the cabin at all since late November. It’s been a nice, welcomed break.

I have also been putting in some time here and there working on the shop itself. Since it’s been the heart of the cabin building operation for the last couple of years, I haven’t really had time to stop and organize the space much. So over the last few weeks, I spent some time on a couple of shop projects that have been long overdue.
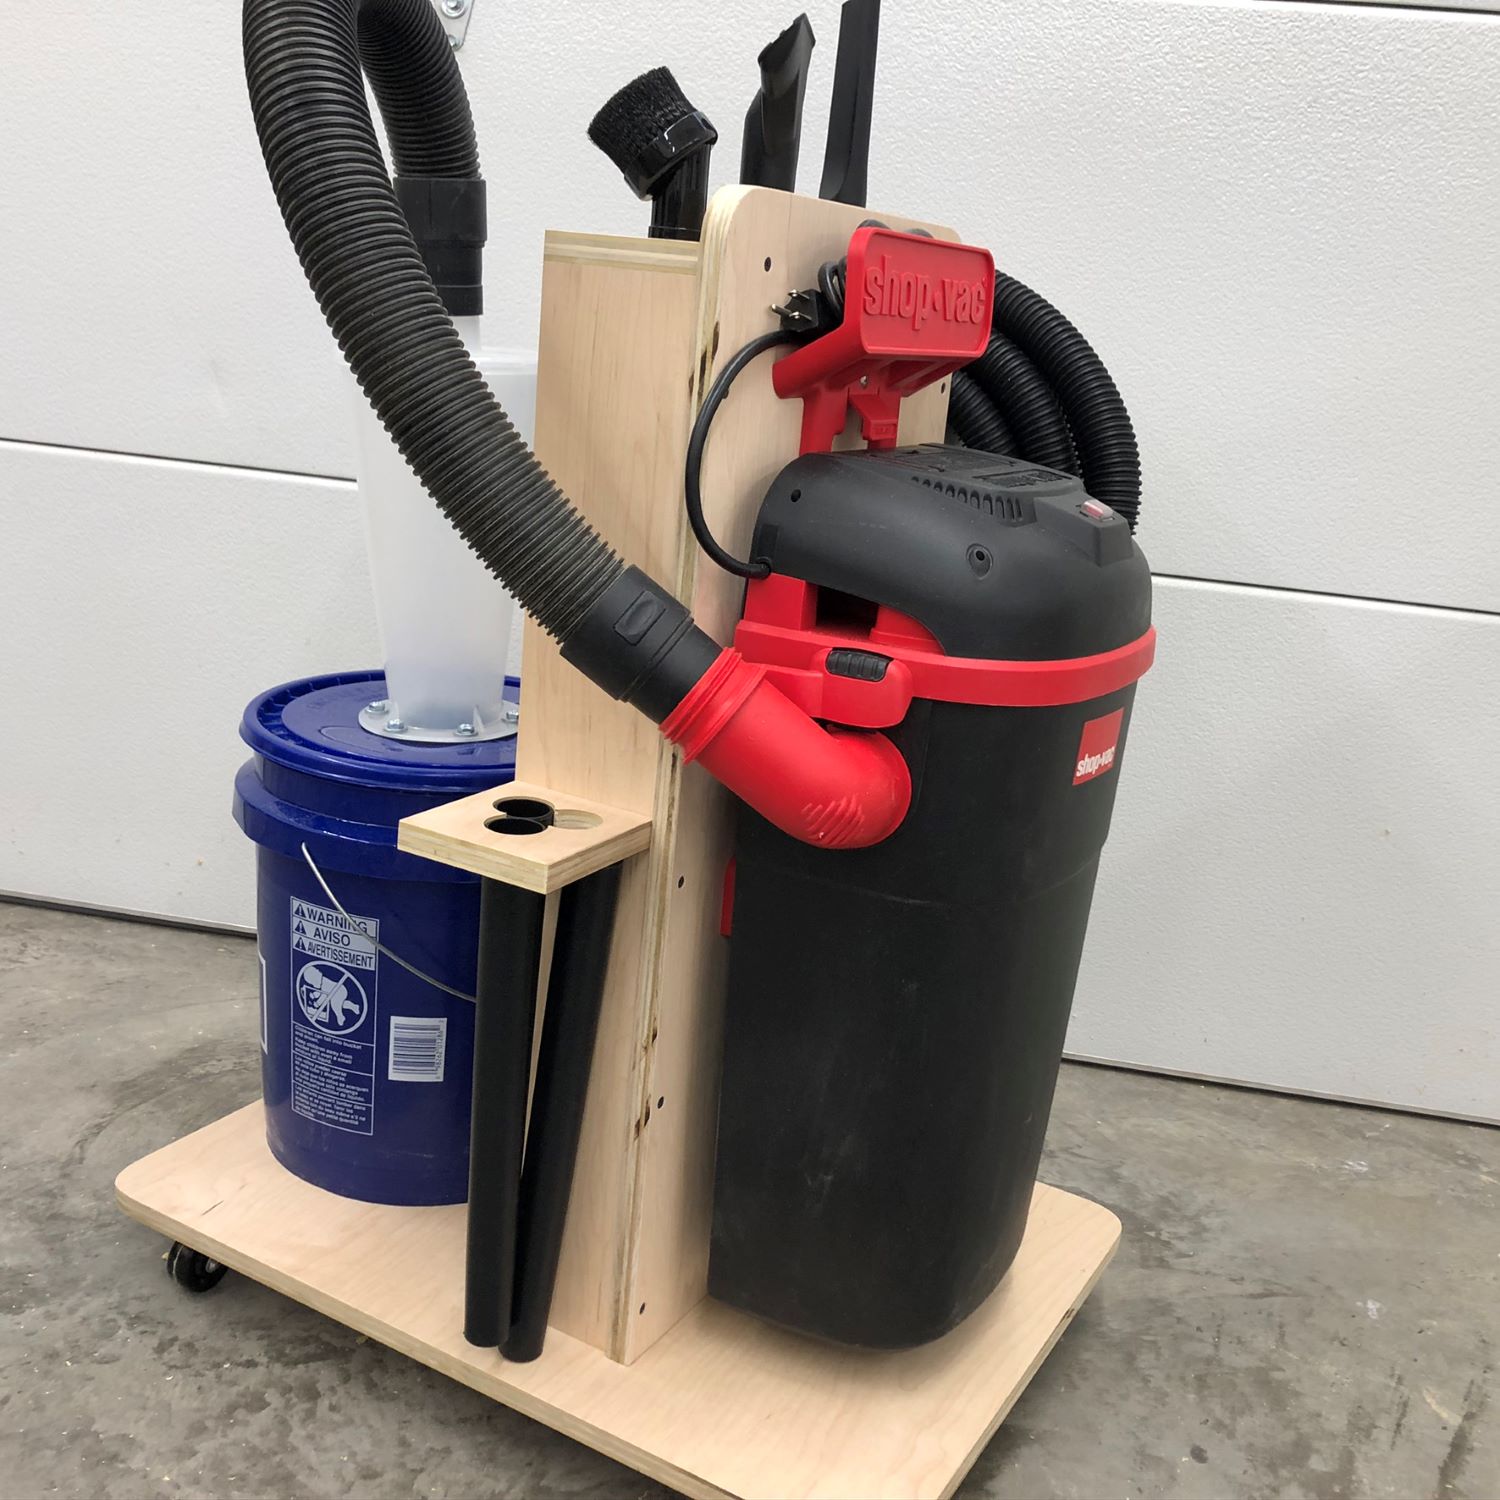
The first was a new shop vac cart. My old shop vac has been all but destroyed using it for the major construction of the cabin. So when I received my 20 year service anniversary award from my day job this year, I decided to replace and upgrade it. Using the wall mounted shop vac really makes these shop vac cyclone carts much more compact. I like that it comes with a much longer hose too as it will make vacuuming the shop much easier. The longer hose will also allow me to more easily connect the rig to my hand held power tools and help keep more of the dust from the circular saw, router and ROS at bay while I continue building more plywood cabinets for the kitchen. While I didn’t use many hand tools to build the cart, it was still a fun little project.
Next up was a project I’ve been wanting for the shop for years. This clamp cart was based on a picture of one designed by Woodsmith Magazine that I saw in a Google image search. I have historically put my clamps on the wall, but I always wished I had room for a cart instead so I could roll them over to the bench rather than making multiple trips back and forth across the shop to retrieve and then replace the clamps when I need them. I never really had the floor space for a cart in my old shops though. Now that my shop has a bigger footprint, I can justify taking up some real estate with a clamp cart. I must say, this is a really nice design. There’s plenty of room for all of my current clamps, plus a bit of room to spare for any future additions to the family.
But really, the majority of my time, since September, has been taken up by my second love. I started skating and playing hockey when I was 7 years old. Two seasons ago, my two daughters got the bug to play, so we found an all girls program not too far from us and we’ve been a hockey crazy family ever since. I help coach both of my girls’ teams, and this season, I started playing again myself in an adult league. So since October, pretty much four days of every week have been filled with hockey when we’re not working or in school.

That really won’t change until mid to late March when the season is over, so woodworking will be sporadic until then. But I’ll continue to check in when I can, probably more on Instagram than here, but I’ll try to be better about blogging too.
Oh, and if you haven’t stopped by for a while, I still have a few excess tools available for sale here. I’ve priced them to move at this point as I really just want them gone. So if you’re interested, check them out. If you want more than one, shoot me an email first. For some reason, the shopping cart really tends to overestimate shipping when the order contains more than one item. I really can’t figure out how to fix that, so it’s easier if I just figure it manually if you want more than one item. It is pretty accurate if your order contains just one item.

4 Comments
You should tryout half lapped dovetails. These will eliminate that nasty little gap from the bottom groove. If you want the strength of full through dovetails, but don’t want to make little plugs! The groove is centered where the bottom tail will be. and the dovetails are laid out symmetrically. The bottom dovetail is paired down in thickness to just below the depth of the groove. I use a marking gauge to set this depth. Then I shorten (lengthen?) the complementary pin socket with the same gauge setting. Thaangle.t eliminates the groove opening. The tails look good face on, but the joinery looks a bit odd on the adjacent
Thanks Bill! Believe me, I’ve cut plenty of half lapped dovetails. These just happen to be for kitchen cabinets that will ride on full extension ball bearing slides and have false fronts attached. The gap left by the groove will be covered by the false fronts. I wouldn’t make drawers this way for a piece of fine furniture but for this application through dovetails were way faster to cut.
And just for the record, I really dislike drawers where dovetails show on the drawer front face ????. My taste is much more consistent with pre-industrial aesthetics. I feel that joinery should be hidden whenever possible. I’m not a big fan of showing it off. Not my style at all.
Good to hear you’re well Bob. Happy hockey season 🙂
Thanks!