
What is Sawing to the Line?
In my last post I talked about practicing your hand sawing skills with longer saws and less critical cuts in order to help improve your joinery cuts. The ultimate goal of such practice would be to saw the line when making your joinery cuts, allowing your joinery to be assembled right from the saw, without any additional fitting. That’s all well and good, and you’ll often hear the phrase “saw to the line” used when referring to making a cut with a hand saw. But what exactly does “saw to the line” mean? It turns out, it may not be as straight forward as it sounds.

In fact, sawing to the line in my mind means different things depending upon what kind of cut I’m making. For example, let’s consider making a rip cut on board with a long rip saw. In this case, the surface left by an aggressive rip saw is typically not good enough to use right off of the saw. Therefore, when I’m finished making the cut, I am almost always going to be cleaning up the saw cut surface with a hand plane before I do anything else with that board. So there has to be enough material left behind to plane away, otherwise, I would overshoot the line when I cleaned up the edge with the plane.

In this case, I try to saw as close to the line as possible while still leaving just a small amount behind to be cleaned up with the plane afterward. I leave no more than 1/16″ if I can help it, and in most cases I try to leave even less than that. Leaving such a small amount means that I can plane down to my line in just a few passes, so that the cleanup is done in seconds. If you’re just starting out, or don’t have a lot of experience with hand saws, you may need to leave a bit more than 1/16″. However, as your sawing improves, try to leave less and less each time, because the less material you have to plane away, the more efficient you will be.
Crosscuts are a bit different. In the case of a rough crosscut that I may make while I’m just breaking down stock, I’m typically not even really concerned with my line. Often I’ll just draw a line in chalk or lumber crayon to give me a rough idea of where I want to make the cut, sometimes without even using a square. That’s because these cuts are usually made 1-2″ oversize and the boards are cut to finished length later. However, because these cuts are so non-critical, they are excellent opportunities to work on sawing right to the line.

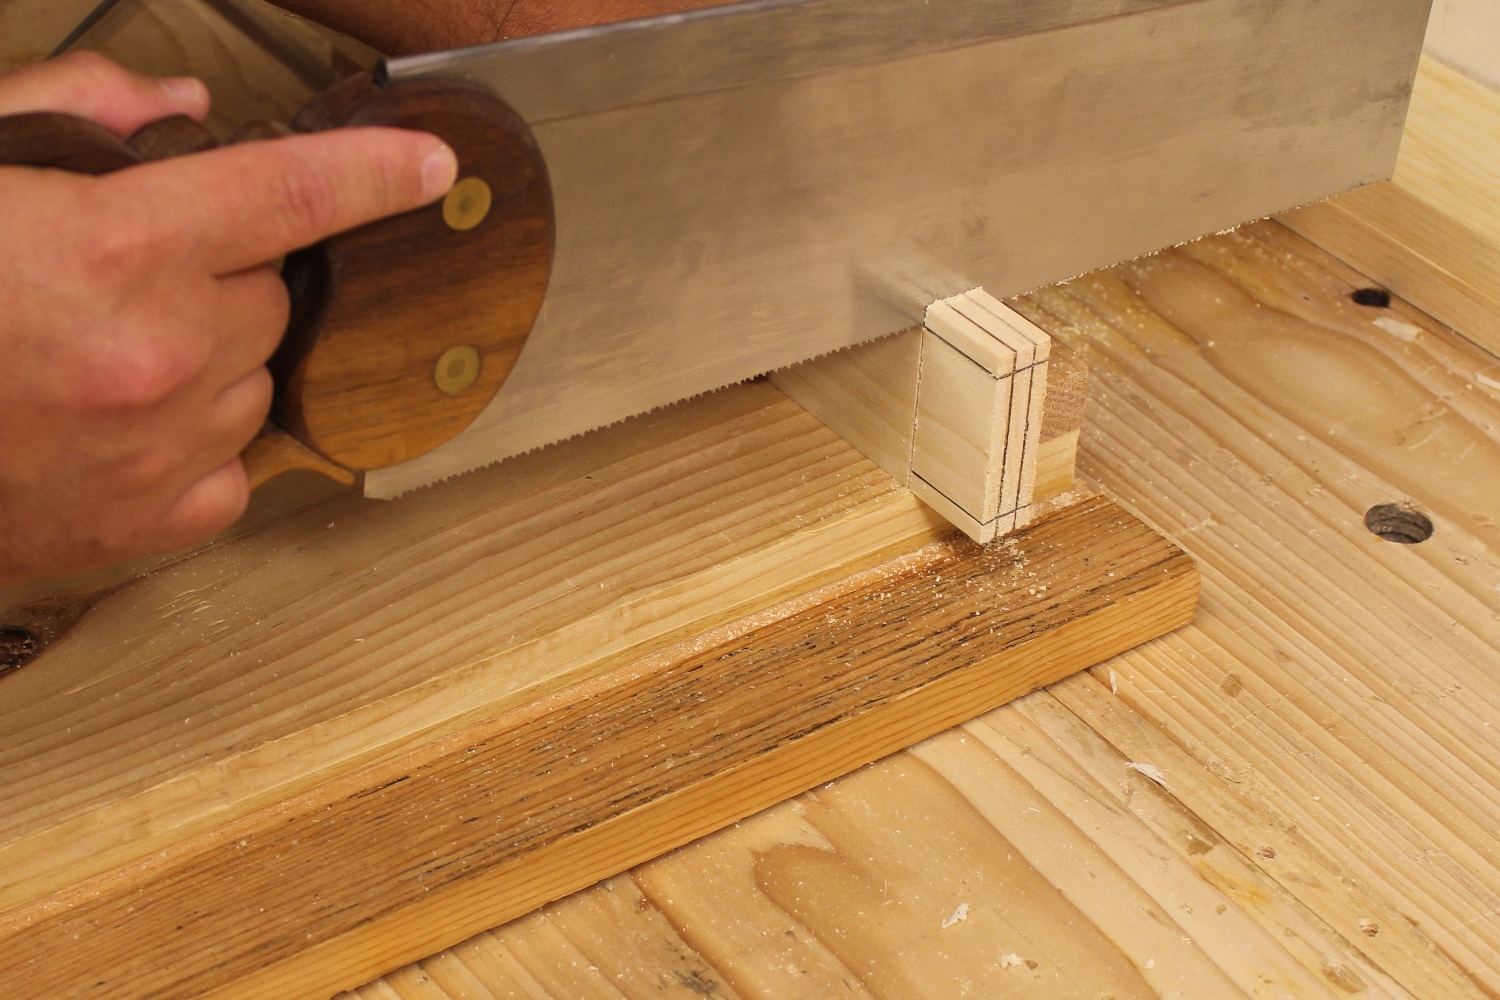
If I haven’t done any woodworking in awhile and need to get back into the groove, I’ll use these cuts as a warm-up and saw them right on the line, leaving no extra at all. If the stock has already been planed (like the big box store pine pictured above), I’ll even go as far as to use a marking knife to mark my cut on all four sides and saw right up to the knife line. In this case, if I can saw precisely enough (or if the nature of how the part will be used doesn’t require it), I may not even need to plane the end grain at all. In fact, this is always my goal with a finished crosscut. Planing end grain is kind of a pain in anything harder than cherry. So if I can avoid it altogether, so much the better.
When I saw joinery, my goal is to not have to adjust anything after the saw cut. So I mark all of my layout lines with a knife and I place the teeth of the saw right up against the knife line. Sometimes I may miss the mark, but when I’m in the groove, I hit it more times that I miss it. This mean that while I may occasionally need to trim a slightly tight fitting joint, or shim a slightly loose fitting joint, I still spend far less time adjusting the fit of my joinery because the majority of it fits perfectly right from the saw cut. Over the years, this has saved me hours of time.
One more thing I should mention. In terms of joinery, it is extremely important to consider how the parts of the joint are marked. Even if you are able to make dead perfect saw cuts, if you are not marking things out precisely or if you are misinterpreting your layout lines, then the fit still may not be perfect. Marking the second half of a dovetail joint from the first half of the joint comes to mind. In this case, especially if you use a pencil, when you mark the second half of the joint, you are putting that pencil line completely on the side of the joint that you need to keep. So if you saw away any of the line, or if you place the kerf of your saw on the wrong side of the line, the fit will be loose. Draw it out yourself and you’ll see what I mean.
Alternatively, take a few minutes to watch the video below. I did a podcast episode on this topic back in 2011 for my previous web site. While the video isn’t HD quality and I tend to talk too much, I think the podcast still manages to demonstrate these points pretty well.
Tag:Hand Sawing

6 Comments
Great video Bob, one of the better that I have seen. Especially the way you showed the dove tall cuts. The second cut is the key and where most make their errors
Good show buddy
Thanks buddy! Great to hear from you again. Hope you’re doing well.
Is the old site still active, how about a link. I have a feeling there is a lot more good stuff there.
Yep, the old site is still active for now. I’m [very] slowly going to be moving things over here from the old site. But until then, you can find the old site by going up to the menu and hovering over the Blog link. You’ll see a drop down with the link to my old Logan Cabinet Shoppe blog there.
Hi Bob, Great video I really enjoyed it. I need to practice my sawing this helped me a lot.. thanks..
Thanks Richard! Glad you found it helpful!