
Working with Reclaimed Barn Wood
Note: To read all of the posts in this series, click here.
When my family and I moved from NJ to our farm in VA in 2015, we became the proud owners of a small, run down pole barn. Unbeknownst to us when we bought the property, the previous owner (a woodworker himself) left a large stash of lumber in the loft of the barn. Most of this lumber looked like it had been felled and sawn locally (the board ends were not cut square, sealed, or color coded like lumber yard boards) and air dried in the barn loft.

Back in the spring of 2016, we took most of the “good” lumber out of the barn loft and moved it to the shed that I was using as my shop at the time. Overall, I’d say there was about 100-150 board feet of walnut, oak, ash, and cherry, with a couple of boards of maple, mahogany, and hickory mixed in. It wasn’t the highest quality material, but it was (and still is) usable, for the most part.

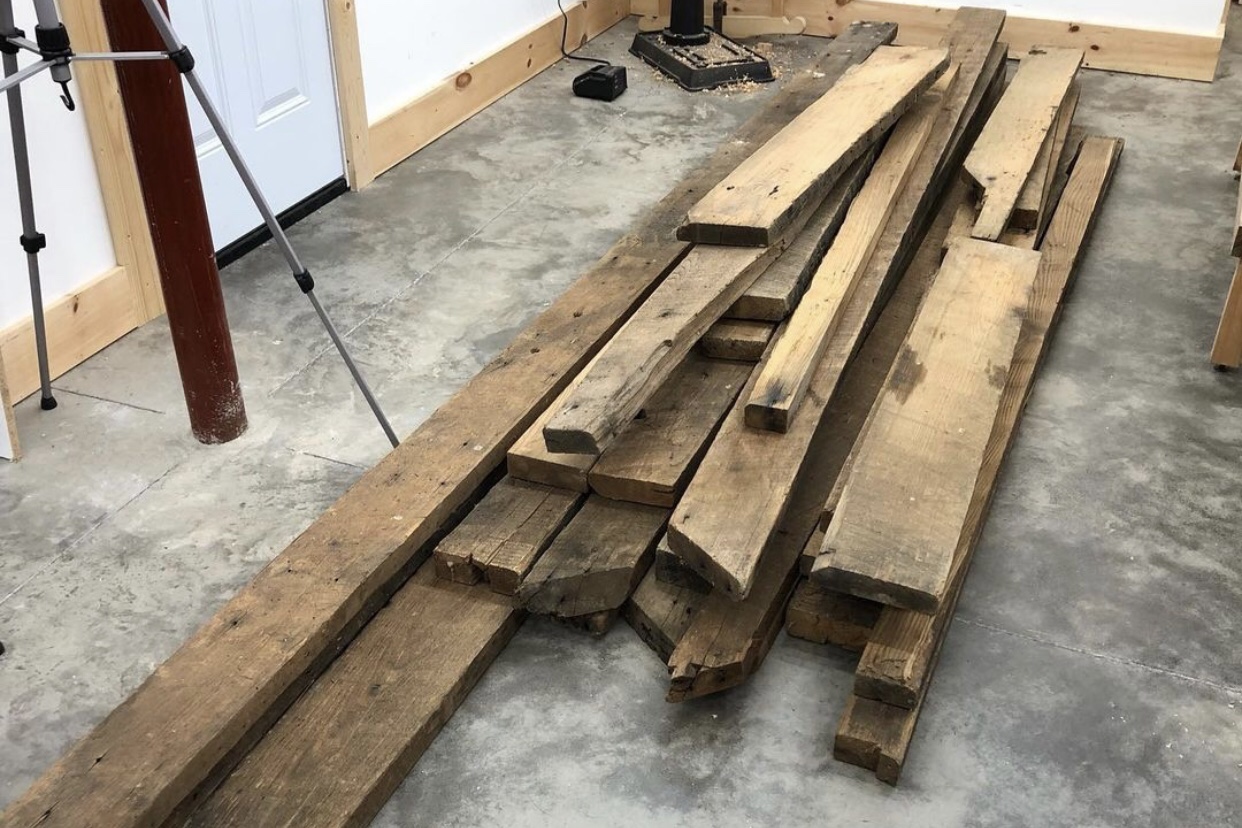
In addition to the more desirable hardwoods, there were several more piles of lumber in the loft that we left in the barn for another day. The largest pile was comprised of rough sawn pine, intended for board and batten barn siding. The second largest pile were oak tongue and groove wall boards that had been removed from a house somewhere. The last pile were boards of 8/4ish and thicker that appeared to me to have been salvaged from an old barn. A little bit of research led me to conclude that it was likely American Chestnut, and there was about 100-150 board feet of it as well.
Recently, my wife asked me for a table that she could put her sewing machine and lay out fabric on. We decided that the chestnut that was up in the barn would make a good candidate for this table if enough of it could be salvaged. So we went back up into the barn loft, cleared out the rest of the lumber, and brought the chestnut into the shop to sort through.
Looking the pile over, I determined that there should be plenty of it to make the table requested by the missus. But to be sure that it would clean up well and that we would like the look of the material after it was processed, we decided to first use it to make a smaller and less critical project, a place to hang coats and store gloves and hats. So I picked out a few smaller boards, and got started with the milling.

Being reclaimed from an old barn, the potential for the boards to be full of old nails, screws, or other bits of metal was high on the list of concerns. However, as I don’t normally work with reclaimed material, I do not own a metal detector, so I had to come up with another solution. My idea was to use some rare earth magnets to “detect” any metal in the board. It worked a treat, and I was able to find and remove several old staples from one of the boards before they found my sharp tool edges.

Unfortunately, none of the chestnut boards were wider than about 6″, which wasn’t nearly enough for the 9″ wide sides and top of my design. So I was faced with edge gluing two boards to make wider panels. Since all of the chestnut boards that I have are 6/4 and thicker, and I wanted to end up at about 3/4″ thick or more, I decided to resaw some of the 8/4 boards rather than plane 3/4″ of thickness off of the 6/4 boards.
So after milling the faces of the boards flat and parallel, I turned to the bandsaw to resaw them. While I could have done this by hand, my Roubo style frame saw has developed a twist and needs to have the long stretchers remade to remedy the situation. Plus, I had five boards to resaw, which would have taken much longer than I wanted to spend on the task.

Once resawn, the boards were sent through the thickness planer to bring them to final thickness and the mating edges were jointed for gluing into a wider panel. When the boards are thin like these, I find it easiest to edge joint by match planing. I clamp the adjacent boards together, face to face, and joint both edges simultaneously. By doing this, I only have to ensure that I plane the edges straight from end to end. If the edges aren’t dead square, it doesn’t matter, because when the two edges are put together, the complementary angles on the two edges will cancel each other out, resulting in a flat panel.

I glued the boards together using liquid hide glue, which gave me plenty of working time to get the two edges nicely aligned all along the 48″ long panel. Using liquid hide glue also makes cleanup of the squeeze out easier. A bit of warm water and a rag cleans the majority of the glue off before it starts to set up. Since liquid hide glue is more or less transparent to finishes, even if I miss a little during the cleanup and finish preparation steps, the final finish still won’t be affected.
With the panels all glued up, it was time to cut some joinery.

2 Comments
Can’t believe your good fortune in scoring some American Chesnut. There are still suckers sprouting from the roots of old stumps, but they seldom get above 10 feet before they succumb to Chesnut Blight. Can’t wait to see the finished product.
Yeah, it’s not easy to come by. The stack I was left isn’t the best quality stuff, but then again it wasn’t sawn for furniture, it was sawn for barn framing. It was also mostly de-nailed already, and it was free, so I really have nothing to complain about.