Working with Very Hard Woods by Hand
Some months back, I wrote a series of posts on working more efficiently with hand tools (the link will take you to all of the posts in that series). I also talked about these principles in Episode 16 of the podcast. One of the blog posts in the series (and a principle discussed in the podcast episode) had to do with choosing woods that allowed you to work more efficiently by hand (i.e. woods that are less dense and lack an interlocked grain structure). The recommended species weren’t chosen at random. Rather, they were based upon my observations of woods that were used historically in furniture that was built before the industrial revolution, when the use of hand tools was at its peak.
These days, however,we have a lot more options in lumber species for our projects, not just in terms of domestic species, but in imported ones as well. This is due primarily to the use of machine power making it easier to harvest and process these timbers, as well as the modern global economy, which expands our choices outside of our immediate locale. Many of these woods can be extremely dense, hard, and abrasive to our tool edges. There are also furniture styles that are very popular that practically require the use of these very hard woods. Take, for example, the Arts & Crafts and Mission style pieces from designers like William Morris, Gustav Stickley, and the Greene brothers. Reproducing furniture in this style all but requires the use of quarter saw white oak, a very dense and difficult wood to work by hand in its kiln dried form.
So in the most recent episode of the podcast, I found myself pondering more efficient ways of working with these denser woods in order to respond to a question submitted by my friend Andy Margeson. Andy is a big fan of Arts & Crafts furniture, which, as mentioned, is almost always made from white oak. Even though the majority of the original furniture in this style (1880’s into the 1920’s) was made after the industrial revolution with the aid of machines, Andy likes to do a lot (most?) of the work by hand. There are plenty of other folks who like this style and like to work by hand as well, so lots of us who prefer to do the majority of our woodworking by hand are going to be faced with working with these really hard, dense woods. What’s a galoot to do?

When I answered Andy’s question on the podcast, I tried to be thorough in my response, but I always tend to put together a better, more comprehensive response when I’ve had some time to think about these things for awhile (I try to be a bit more spontaneous on the podcast, lest it sound too scripted). So after thinking about it for some time, I want to take another stab at the question, and maybe expand on the response from the podcast.
Sharp Irons Are Your Friend
I know it goes without saying that sharp tools are the most important ingredient in any successful woodworking endeavor. However, when you are hand planing really dense, really hard species of wood, using a sharp iron becomes doubly important. When you are working in woods like walnut, mahogany, or poplar, you can get away with tools that are a bit less than freshly sharp. That’s because these woods are less dense and therefore there are fewer cellular bonds that need to be broken in order to separate a shaving from the surface of the board. In essence, there is more air between the fibers of these woods than there is in a denser species. So even after the edge of the iron gets a little dull, it can still wedge its way between the cells of the wood and break the cellular bonds.
However, as those cells are packed tighter and tighter together, there is less and less air space for the edge of the tool to fit into, and more attractive forces between the cells holding them together. As a plane iron starts to get dull in these woods, it will tend to start skating across the surface rather than biting into it. The natural tendency when this starts to happen is to turn the depth adjustment knob until the iron starts to bite again. When you do this, though, you end up working extra hard, because now, not only are you trying to remove more wood than before, but you’re also trying to do it with an iron that is less sharp than before. Unless you’re built like Hulk Hogan, working this way will wear you out mighty quickly.
Instead, when you find that the iron isn’t quite biting in like it did before, but is starting to skate across the surface, stop planing, and take a break to sharpen. Not only will your plane work better after touching up the edge of the iron, you’ll have given yourself a, likely, much needed rest from planing. Believe me, take the rest when you can, because no matter how you slice it, planing these woods is a lot like hard work.
Work with Quarter Sawn Material
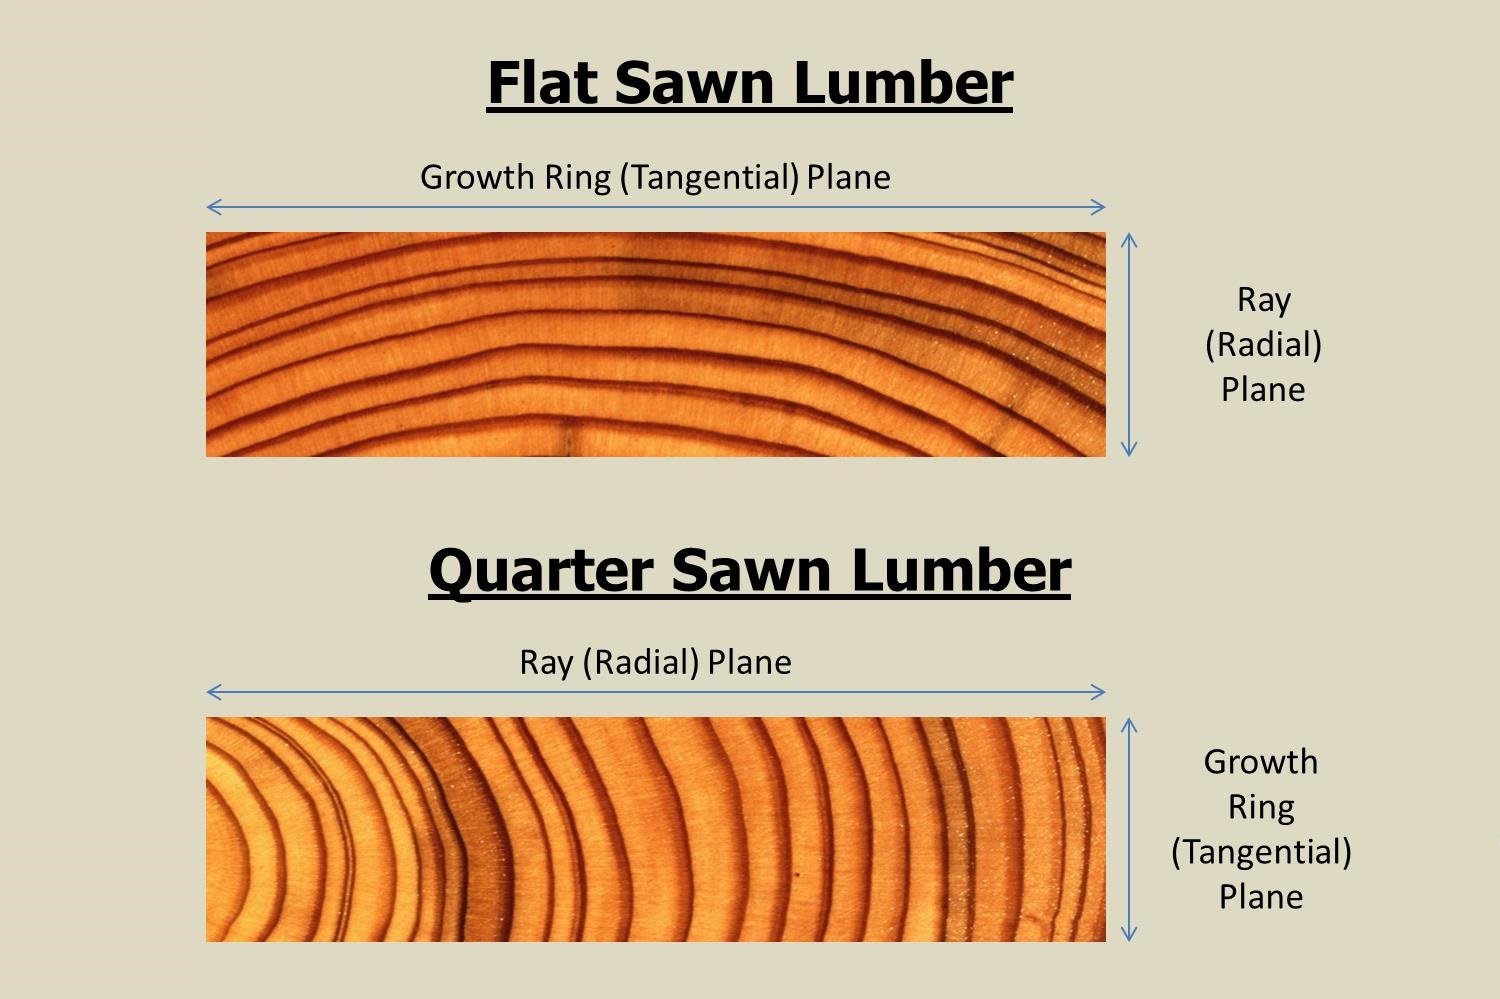
Those of you who like Arts & Crafts furniture will be happy about this one. If you choose to work with really hard and dense woods, try to get boards that are as close to dead quarter sawn as you can get. By doing so, you’ll find that face planing will be a much more enjoyable task than it would be if you were to use flat sawn stock. This is because almost all woods have weaker bonds along their radial plane (the plane that runs from the pith out to the sapwood like the spokes of a wheel) than they do along their growth ring plane (the direction parallel to the growth rings). As a result, planing the radial face of a board is almost always easier than planing the growth ring face of the board. In softer woods, the difference isn’t that noticeable. But in really hard woods, like oak, the difference is quite significant.

In flat sawn material, the growth ring faces of the board are the wide faces while the radial plane lies along the board’s edges. So face planing flat sawn boards in dense woods is a really trying experience. Planing the edges, on the other hand, is a piece of cake. In a quarter sawn board, the wide faces of the board are the radial plane and the edges of the board are the growth ring plane. This means that planing the wide faces of a quarter sawn board is going to be a lot less tiring. The edges, being the growth ring plane, will be a bit more challenging, but the effort will be minimized as much as possible since you’ll only be planing a narrow edge.
Rough Cut Close to Final Size BEFORE Planing
Again, this one might seem obvious, but it is extra helpful when working with really dense woods. Almost every board has some degree of cup, bow, crook, twist, or some combination of them all. To hand plane all of these defects out of a large board of dense oak would take a lot of time and effort. However, by crosscutting the board into shorter lengths and ripping it into narrower widths, the impact of the warp is minimized and it becomes much easier to remove the defect. So whenever I work with really dense woods, I try to cut them as close to final length and width as I can while they are still in the rough, in order to minimize the amount of hand planing I have to do.
Wet the End Grain
Shooting the end grain of really dense boards can seem like trying to hand plane granite. To do so successfully, your plane iron must be razor sharp, and you will need to take very thin cuts. However, an often overlooked aid to planing the end grain of really hard woods is to wet them with something to swell the fibers and soften them up a bit. Some people recommend alcohol, but I find that alcohol evaporates too quickly to provide much help. Some folks like mineral spirits for the task while others like plain old water. Both do the job just fine. I will sometimes use raw linseed oil if I don’t have mineral spirits or water handy. Regardless of what you use, you want to apply it liberally and let is soak into the end grain for a minute or two. Don’t try to plane immediately after moistening the end grain. Give the liquid a chance to swell the fibers and soften things up. A bit of patience can make the job of shooting dense woods a much less aggravating one.
Bore and Saw Instead of Chopping
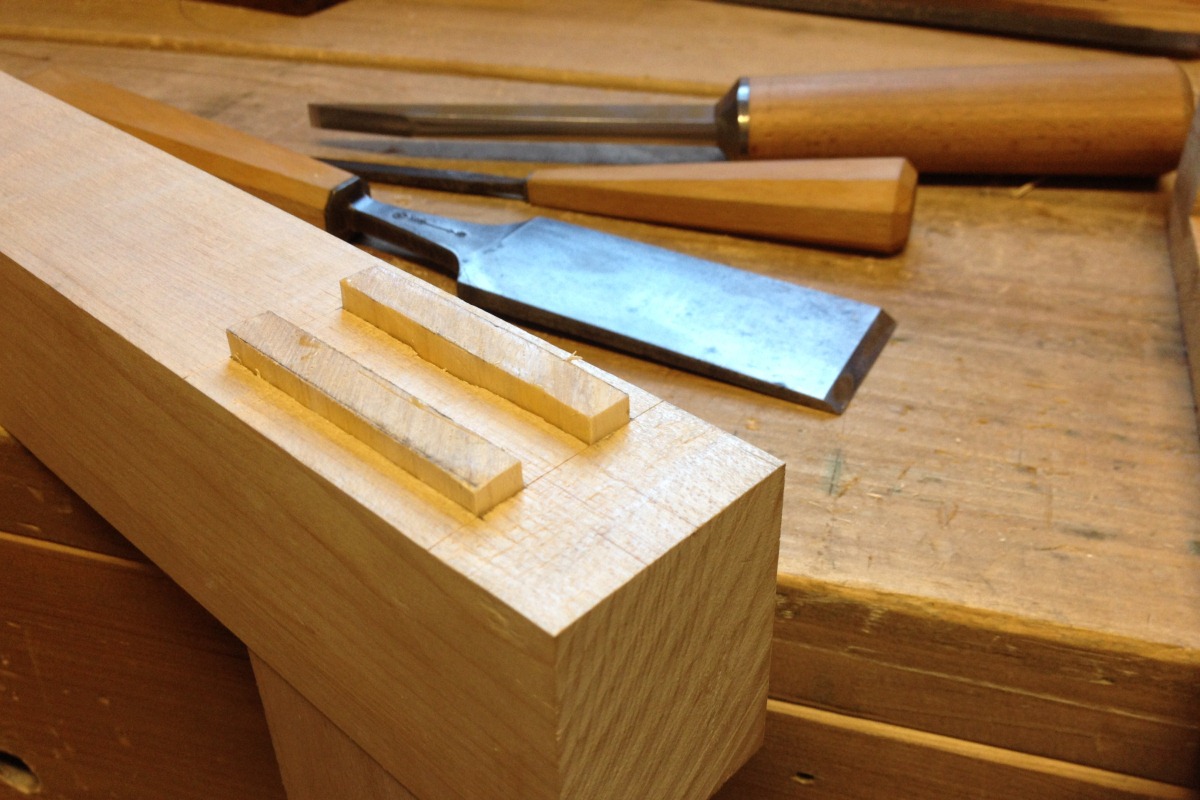
If you typically chisel out the waste in your mortises and between your dovetails, you might find that you have a tougher time of it when working in really dense woods. These species tend to compress much less along their grain, which means that each chop of the chisel is not going to penetrate nearly as far as it will in a less dense material. This isn’t a big deal as long as you have the extra time. But if you want to speed up the process a bit, consider using some other tools to remove the bulk of the waste before cleaning up with the chisel.
I’ll use a coping or turning saw to cut as close to the baseline as I can when removing the waste between dovetails. This leaves only a small amount of chisel cleanup to do, which is a much easier task than trying to remove all of the waste by chopping. Similarly, I’ll use a brace and bit to bore out a lot of the interior of a mortise before I clean everything up with chisels.
In softer woods, these steps don’t save that much time, and may even take longer than just chopping the waste away. But in really dense woods, boring and sawing as much waste away as possible before turning to the chisel can save a lot of time and effort.
Divorce Yourself from “Standard” Thickness
Modern sawing and milling processes have trained us that the standard thickness for furniture sized lumber is 3/4″. However, if you look back at historical furniture pieces, you might be surprised to find that 3/4″ was hardly the standard. In fact, you’re more likely to determine that there was, in fact, no standard at all. Sometimes boards were planed to 7/8″, sometimes 15/16″, sometimes 13/16″, sometimes 27/32″ – you get the point.
Cabinetmakers working prior to the industrial revolution planed a board to fit a specific situation. Sometimes only one face was planed, and it may not have even been planed perfectly flat. Sometimes both faces were planed, because both were going to be seen in the finished piece, but the two faces of the board may not have been perfectly parallel. Sometimes boards of multiple, different thicknesses were used. In all of these scenarios, the maker decided what was important, and focused on that. When working by hand, this can save a lot of time.
Of course this applies to any wood species, but the easier a species is to work with, the more likely we are to just go ahead and plane all of our boards on both faces and make them all a consistent thickness. When working with really dense woods, though, doing so takes a significantly greater amount of time. To speed things up, sometimes it helps to prioritize. It’s not cutting corners or taking short cuts. It’s putting the focus on the important aspects of the project.
Accept the Fact that Tasks Are Just Going to Take Longer
Some time back, I timed myself ripping a 40″ length of a 4/4 board of black walnut. It took me about 2:00, give or take. For a similar sized piece of white pine, I’d expect it to take about half that long. Not long ago, I had to rip a similar length of 8/4 hard maple. It took just over 13:00. Same saw, same sawyer. But it took almost 7 times as long.

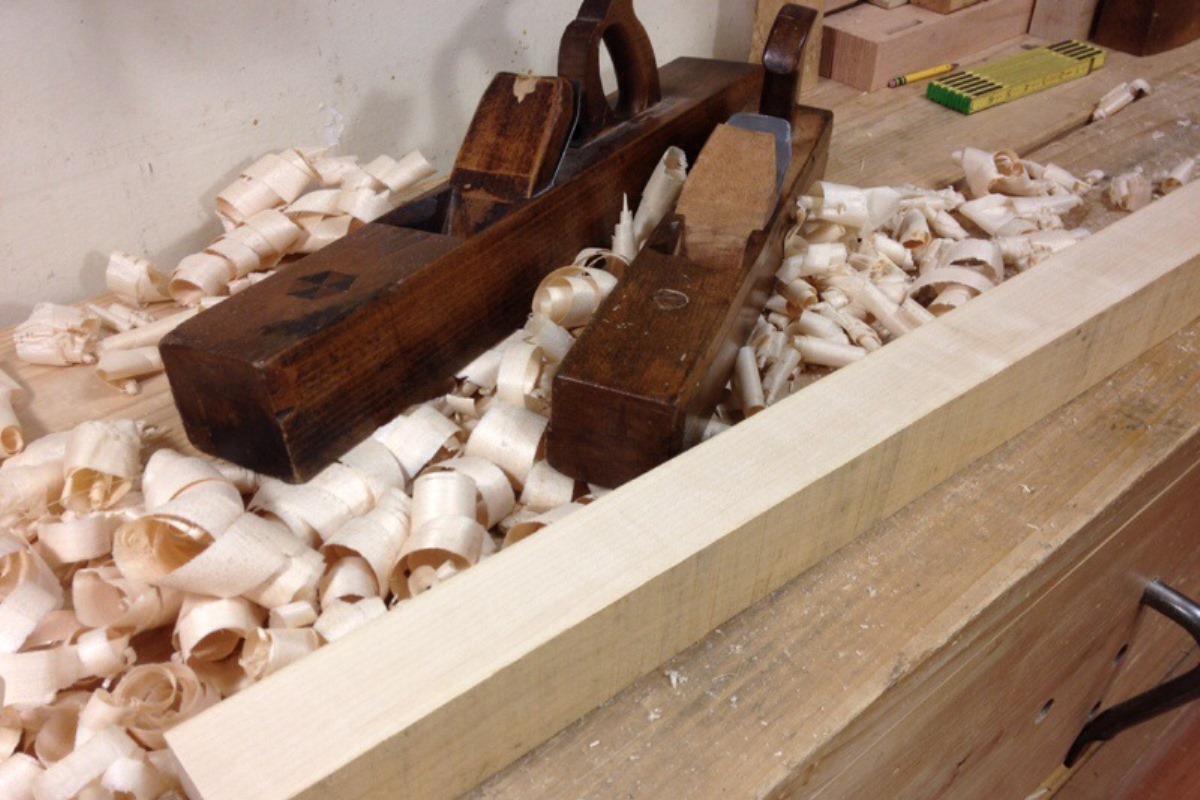
Here’s another example. You may have seen my video on YouTube where I timed myself planing the face of a piece of walnut about 10″ wide. It took about 5-1/2 minutes to surface one side of that wide board. The maple pictured above took about 13:00 for a face a bit longer than the walnut board, but about 1/3 of its width. Once again, same tools, same craftsman, much more difficult material.

How about two 3/8″ thick through mortises in 3″ hard maple. These were chopped with a 3/8″ mortise chisel. Let’s just say they took quite a bit longer than the same sized mortises in pine would have taken. I didn’t time myself, but, for me, it was borderline embarrassing. The mating double tenons took even longer as they had to be very precisely fit since maple does not compress nearly as much as a softer species. After some paring here and there, they were finally “persuaded” into position. In this case, the final result was certainly worth the extra time and effort, because this was an item that would be subjected to extremely high stress. So rigidity and strength were much more important than ease of working. But working these timbers made me ready for a nice piece of Eastern white pine.
The fact of the matter is, no matter what kind of efficiencies we employ, working with really dense woods by hand is just going to require more time and effort. If we are going to choose to work with these woods, we are just going to have to accept that fact. I know that when I work with oak or maple, I can expect to double or even triple the amount of time it takes me to do certain things. I’m not always happy about it, but I know it’s something I have to accept when choosing to work with these denser woods.
Tag:Wood, Working Efficiently

4 Comments
Bob, great post!! I couldn’t agree with you more on all the points you made, and thanks for the great tips and advice. I am slowly moving more towards hand tools during my projects, but in terms of cutting these dense hardwoods, you certainly need a good sharp blade if you are cutting these woods a table saw. Especially if the TS isn’t a cabinet saw. It takes me considerably more time to work hardwoods by hand, but I just pace myself, and now that you provided some great tips, it will definitely help speed things up on my next projects.
Scott
Bob,
Thank you very much for writing this informative and useful post. I will put it to good use.
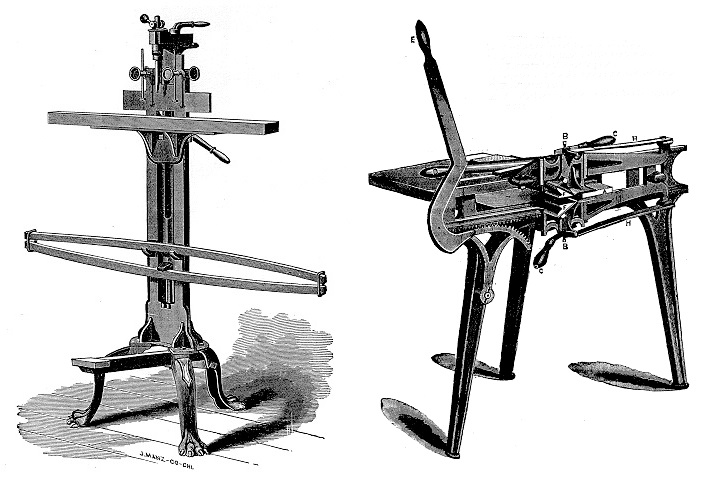
I do drill out mortises in white oak first and then just pare it to final width. Making them isn’t really that bad when you do this, although it would be fun to find one of those machines you pictured. I think I recall Roy Underhill using one on his show. I appreciate the tip about linseed oil because I try to avoid mineral spirits and water in my shop.
Andy
What you say here rings true, and I’ll add another suggestion: avoid commercially kiln-dried wood when possible. I have used almost as much wood that was either air-dried, or dried slowly in my own solar kiln, as store-bought wood that’s been through a commercial kiln. If I have a lot of hand work to do, I’ll take the air-dried stuff any day. The only species where I’ve worked commercial and air-dried stuff side by side is white oak, and I have to say the difference in working quality is remarkable. I haven’t worked air-dried and store-bought maple side by side, but I’ve worked plenty of both, and again, I’ll take the air-dried when I can (all else being equal).
I realize that not everyone has the time, or the space, to process their own logs into usable lumber; and that when you have a client with a timeline and highly granular specifications, you often must make a trip to the wood store, but when you get the chance, do yourself a favor and work some air-dried.
Excellent addition to the list! You are 100% correct. I’ve had similar experiences as what you describe here. And, not only does air dried wood typically work easier than kiln dried wood, in some cases (e.g. walnut), it’s prettier as well.