
American Chestnut Coat Rack Finale
Note: To read all of the posts in this series, click here.
Applying finish to the parts of a project before assembly of the piece solves some problems that can occur when finish is applied after assembly. In the case of the coat rack that I recently completed, pre-finishing made it much easier to apply the finish to the faces of the parts that would end up on the inside of the piece. Applying finish to inside corners is always an exercise in frustration. Applying the finish before assembly solves the problem.

Another reason that one might want to apply finish prior to assembly is to address issues that may later arise due to wood movement. This particular problem typically rears its ugly head where a panel meets a groove or rabbet. If finish is applied to the piece during warmer, more humid months of the year, when that panel shrinks in the cooler, drier months, it can contract enough to reveal the unfinished wood that usually lives inside of the groove or rabbet. Applying finish to the panel before assembly alleviates this issue.

However, pre-finishing isn’t a golden egg either. The assembly process usually results in some scuffs, dings or dents to the project, whether from tapping with a mallet to seat a joint, or pressure from the jaws of a clamp. When the project is finished after assembly, this isn’t an issue. The process of preparing the project for finishing removes any of the damage that occurs during assembly and makes the piece pretty before any finish is applied. When finish is applied before assembly, however, greater care must be taken during the assembly.
Case in point, as I was assembling this coat rack, the main assembled piece took a tumble off of my workbench onto the concrete floor as I was reaching for some clamps. This resulted in some pretty significant damage to the piece. Had I not applied the finish already, I could have glued the splits back together, planed and sanded the glued area, and, once the finish was applied, no one would ever have known that anything had happened at all.

However, because the piece had already had finish applied, I had to approach the repair similar to how one might approach the repair of a delicate antique. I repaired the piece to the point that it was solid and functional, and visually acceptable. However, the damaged area is still noticeable because I did my best to preserve the “original” finish.
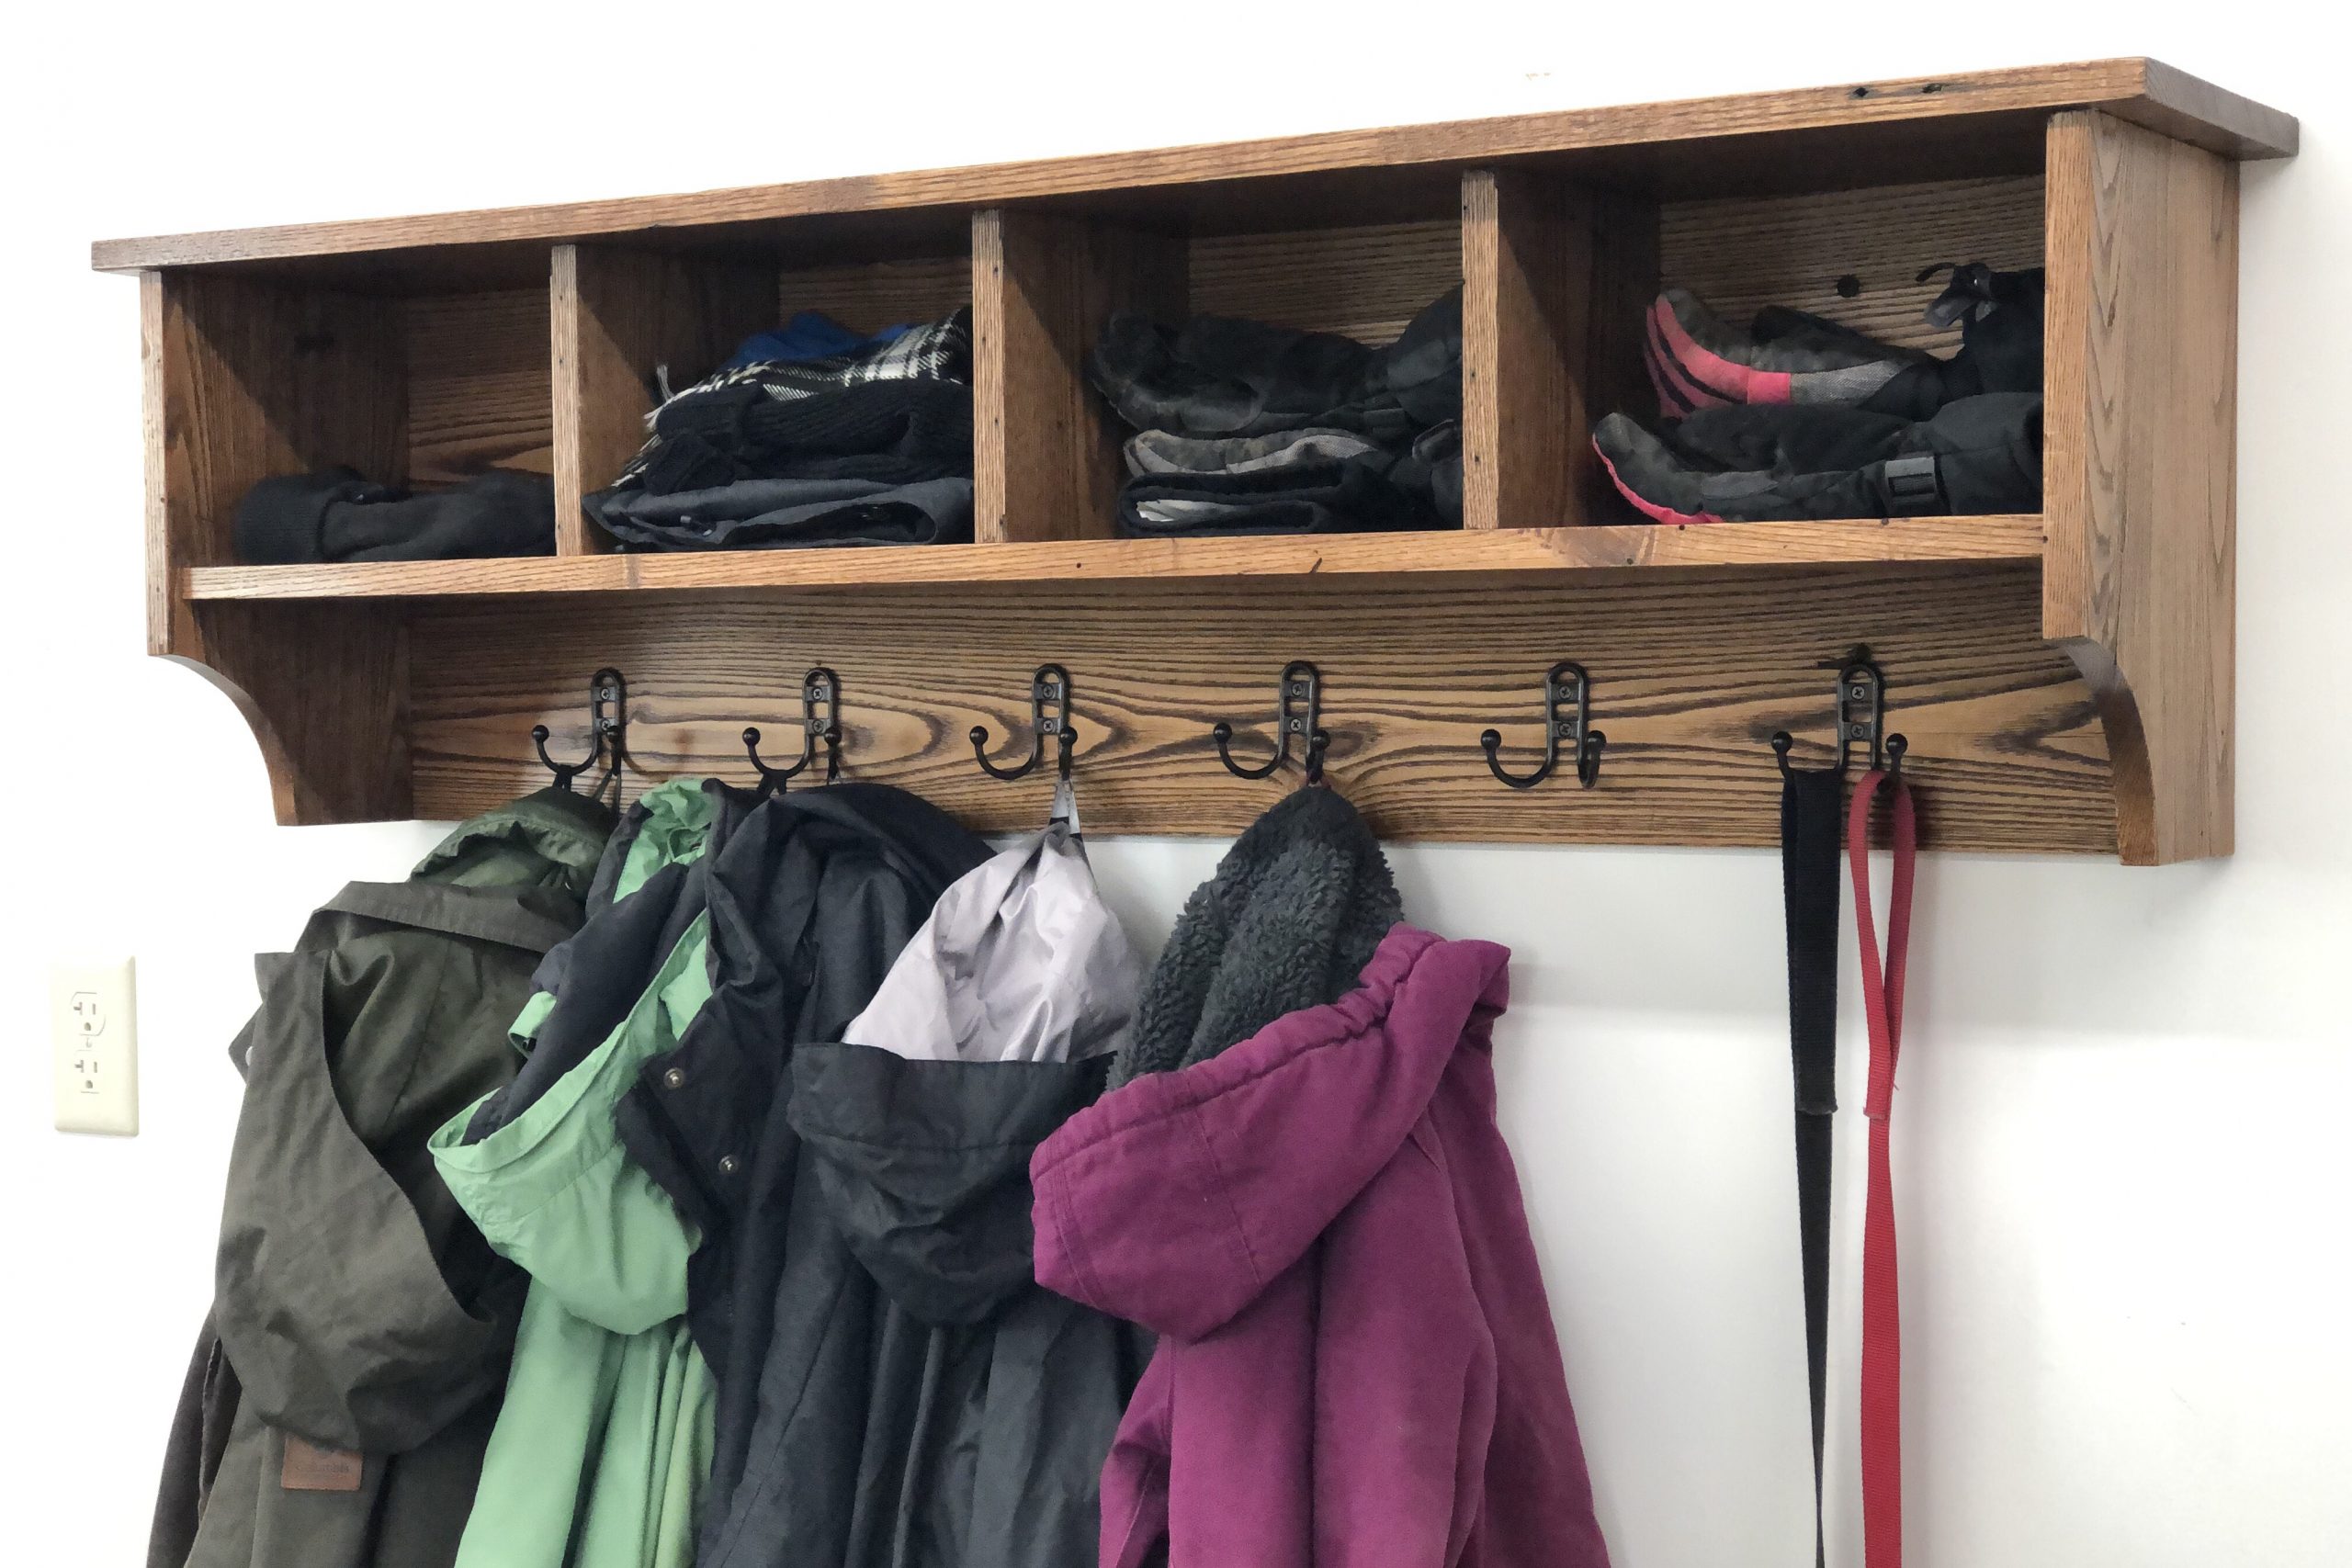
I also had to take greater care when nailing on the back and laying out the spacing of the coat hooks. Had the piece not had any finish applied, I could have just stepped off the location of the hooks, made pencil marks right on the wood, and not generally have worried about making marks since they would be removed as part of the finish preparation process. However, since the piece was already finished (and repaired) at this stage, I had to employ greater care when locating the coat hooks.

In the end, everything turned out acceptable. The piece serves its purpose, giving us a place to hang our coats, and store hats, gloves, and dog leashes. It also gave me the opportunity to experiment with the American chestnut lumber before I move on to building a table for my wife. While it didn’t turn out exactly perfect, I’ve been at this game long enough to know that nothing hand made is ever perfect. When I first started woodworking over 30 years ago, that would have really bothered me. These days, however, I prefer it that way.
