
Edge Jointing Using the Match Planing Method
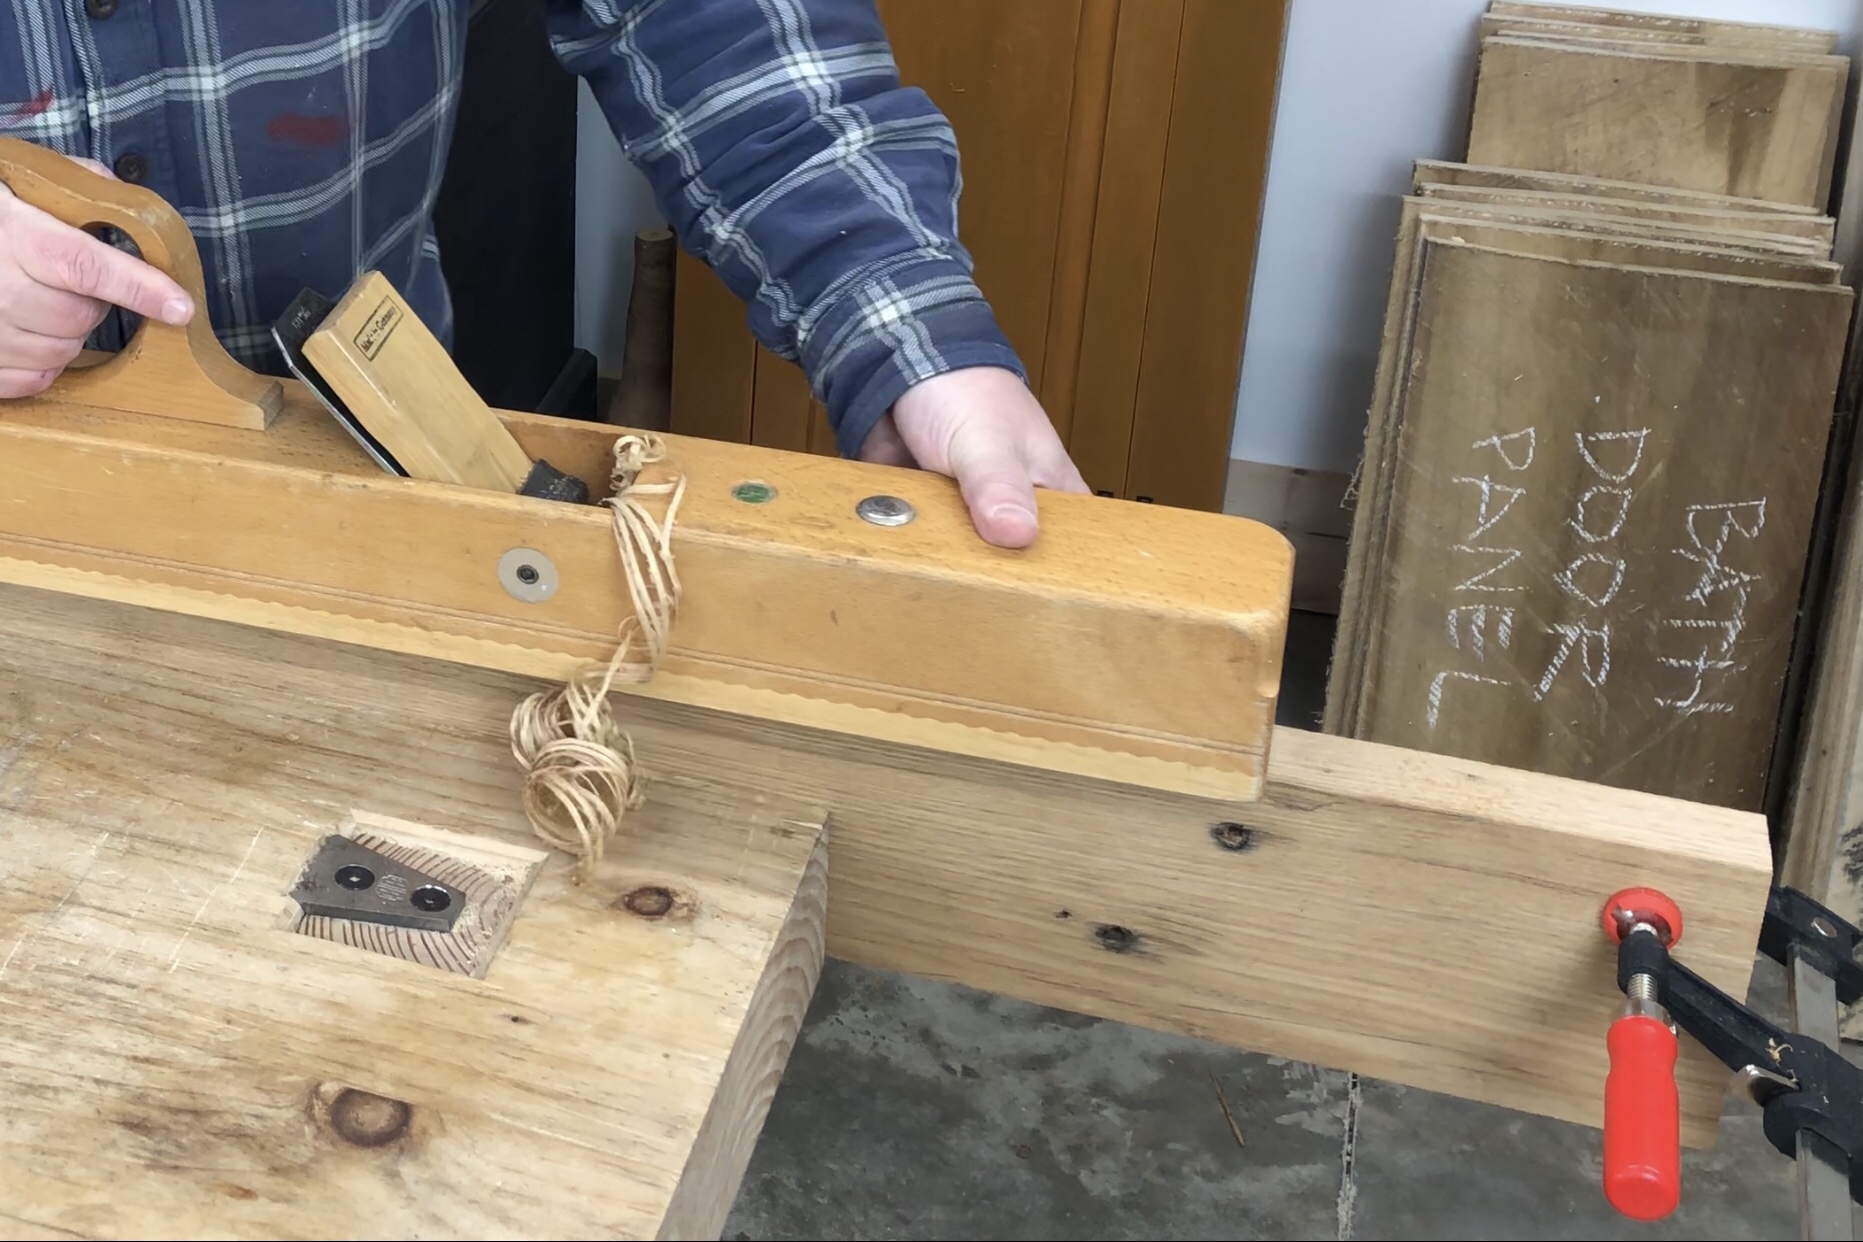
Several posts back, when I was preparing the stock for the chestnut coat rack, I used a method of edge jointing commonly referred to as match planing. Match planing is a method whereby two thin boards (typically less than 1″ thick each) are placed face-to-face and their mating edges are planed simultaneously. If you aren’t familiar with the technique, allow me to present you with a crash course.
DISCLAIMER: There are some folks who would argue against match planing, opining that match planing is a crutch for people who don’t want to take the time to learn to plane an edge straight and square. While I disagree with this perspective, it’s important to note that while match planing is a super fantastic technique (in my opinion), it is not a replacement for learning to joint the edge of a board straight and square to the face. There are many, many, many instances in woodworking where a straight, square edge will be required and match planing cannot be used. So use the match planing technique freely for its intended purpose – jointing thin mating board edges for gluing into a wider panel. However, learn how to plane the edge of a board straight and square to the face as well. Both are extremely valuable skills to master.
When joining two or more boards in an edge joint to make a wide panel, match planing has a couple of advantages over edge planing mating boards separately. The first advantage is stability. The narrow edge of a board, by its very nature, is not the most stable surface on which to balance a hand plane. A No. 7 sized jointer plane (probably the most common size jointer plane used) has a 2 3/8ʺ wide iron, a body that is about 2 3/4ʺ wide, and weighs in the neighborhood of 8 lbs. Trying to balance this tool on a surface that is little more than 1/4 of its width can be a bit of a challenge. However, by clamping two narrower boards together, face-to-face, you double the width of the surface that the plane has to balance on. This may not seem like a big deal, however, it can make a world of difference, especially if your stock is thinner than an inch.
The second advantage of match planing is that the angle of the edges can almost be ignored. In order to understand why this is, let’s take a trip back to high school geometry. Recall that the adjacent angles of any parallelogram will always add up to 180 degrees.

When the flat reference faces of two boards are clamped together and the two edges are planed simultaneously, the angles of the two edges will be the same. Match planing takes advantage of this simple geometric fact and eliminates the need to plane both boards at exactly 90 degrees.

After the two edges are match planed, the two boards are opened up like a book, placing the two edges that were just planed together. The rules of geometry tell us that doing this places the complementary angles in contact with each other, resulting in 180 degrees – a straight line, or in our case, a flat panel.

Of course match planing is not a guarantee that your edge joint will come out perfectly. There are still some pitfalls that need to be considered. The first is that the edge must be planed very close to dead straight from end to end or just the tiniest bit concave. Due to the nature in which the boards are oriented during match planing, any deviation from straight is going to be doubled when the joint is put together. If your edges are convex, the resulting joint will have twice as much gap at the ends. If your edges are concave, the resulting joint will have twice as much gap in the middle.
My goal when I match plane is to try and get the two boards as dead straight as possible when checked with my straight edge. If I can’t get them dead straight, I can settle for a tiny bit concave (and I mean tiny bit) as this will leave me with a spring joint that I can close with a clamp during assembly. I will not ever leave an edge convex as this will stress the ends of the glue joint and risk joint failure.
The other pitfall to be aware of is inadvertently planing a twist into the two edges. While clamping the faces of the two boards together does provide a wider bearing surface for the plane, it also makes it a little easier to plane the two edges into twist. I would suggest checking the edges with a pair of winding sticks before taking the clamps off to ensure that the resulting edges are not twisted.
Finally, I find that match planing works best when a plane with a straight, not cambered iron is used. Cambered irons are fantastic for helping to make edges square (that’s a post for another day). But when I’m creating a glue joint between two edges, I prefer that the edges are planed as flat as possible. Since I don’t care if the edges are square or not when I’m match planing, my preference is to use a jointer plane with a dead straight iron.
For a more in-depth look at match planing, here’s a video I made on the subject from 2010. This video clearly demonstrates the technique and why I like it so much.
Tag:Edge Joint, Match Planing
