
Efficiency with Hand Tools – Joinery
I’ve been discussing some ways in which we can be more efficient working with hand tools in a traditional manner. I’ve already discussed some of the historical evidence and records that provide us with an idea of just how fast our ancestors could work. I’ve also tied in lumber selection and it’s effect on working efficiently. Today, I want to discuss another “secret” to doing efficient hand work. Specifically, I want to talk about choices in joinery.
Traditional joinery, like dovetails and mortise & tenon, are not only the best choice for furniture made by hand because of their superior strength, but also because of the ease and speed with which they can be made if you are using hand tools. If we look at period furniture, the majority of the joinery was designed to be made easily with the tools that were available to the craftsmen at the time. Several famous woodworking instructors have demonstrated how through dovetails for one corner of a drawer can be cut in about 3-4 minutes. Half blind or lapped dovetails for a similar sized piece can be done in roughly twice the time it takes to make through dovetails. While they may not be perfect when cut at that speed, they are still just as functional as a perfect joint.

Period cabinetmakers weren’t typically concerned about making their joinery really pretty. Most joinery in period furniture was hidden inside a case or behind a molding. In period furniture, joinery was about function, not decoration. You can clearly see this thinking in action by peeking inside of many period drawers. As I mentioned, lapped dovetails typically take about twice as long to cut as through dovetails do. However, in a typical period case piece, lapped dovetails often times will far outnumber through dovetails, especially if the piece has a lot of drawers. To increase efficiency when cleaning out the pins in lapped dovetails, the saw cuts on the pin boards were often extended well beyond the baseline of the joint. This wasn’t sloppy craftsmanship, but rather a way to use the saw to remove more of the waste than could be removed by stopping the saw cut at the baseline. These saw cuts are usually most visible on the inside faces of drawer fronts. However, since the drawers are typically loaded up with items, and since the inside of the drawer front faces away from the person opening the drawers, the over-cuts are hidden from view, unless one pokes their head into the drawer.
Another clue to working efficiently by hand can be seen in the joinery (actually the lack of joinery) in wide panels. In period furniture, wide boards were the name of the game. Very rarely do we see a wide panel, the side of a case piece for example, made up of more than two edge glued boards. In fact, we often see one single wide board, except in the case of extremely wide panels like the tops of large dining tables. The reason is simple, speed. If you hand plane your lumber from the rough, you know that it takes just as long to plane the face of a 6″ wide board as it does to plane the face of a 16″ wide board. So by using the widest boards available, we save time because once the wide board has been planed flat, it’s ready for joinery. In contrast, gluing up a panel from multiple boards requires planing a face of each of those boards flat first, jointing their edges, gluing them together, and then re-flattening the panel after the glue dries before any joinery can be cut. This adds significantly to the time that it takes to build the piece.

One group of joints that don’t show up very often in period pieces are stopped joints. While these joints can be made with hand tools, they’re not made very efficiently. They require a lot of careful saw and chisel work, and leveling of the bottom with a router plane. So while stopped joints can be made with hand tools, they typically weren’t, because making through joints was much faster. So, for example, rather than making a stopped groove or rabbet to house a drawer bottom, a through joint was used and the exit of the joint was buried inside of the lapped dovetails at the front. At the back of the drawer, there was no groove or rabbet at all. Instead, the drawer back was narrower than the sides, only coming to the top of the groove or rabbet. The drawer bottom was then slid under the drawer back, and into the groove and/or rabbet in the sides and front. For small boxes with all sides being of equal width, rather than using a stopped groove or rabbet, through grooves or rabbets can be hidden inside of lapped dovetails at the corners, or if through dovetails are desired, the bottom tail and pin can be modified to hide the groove or rabbet. This is much faster and easier than making stopped grooves or rabbets.

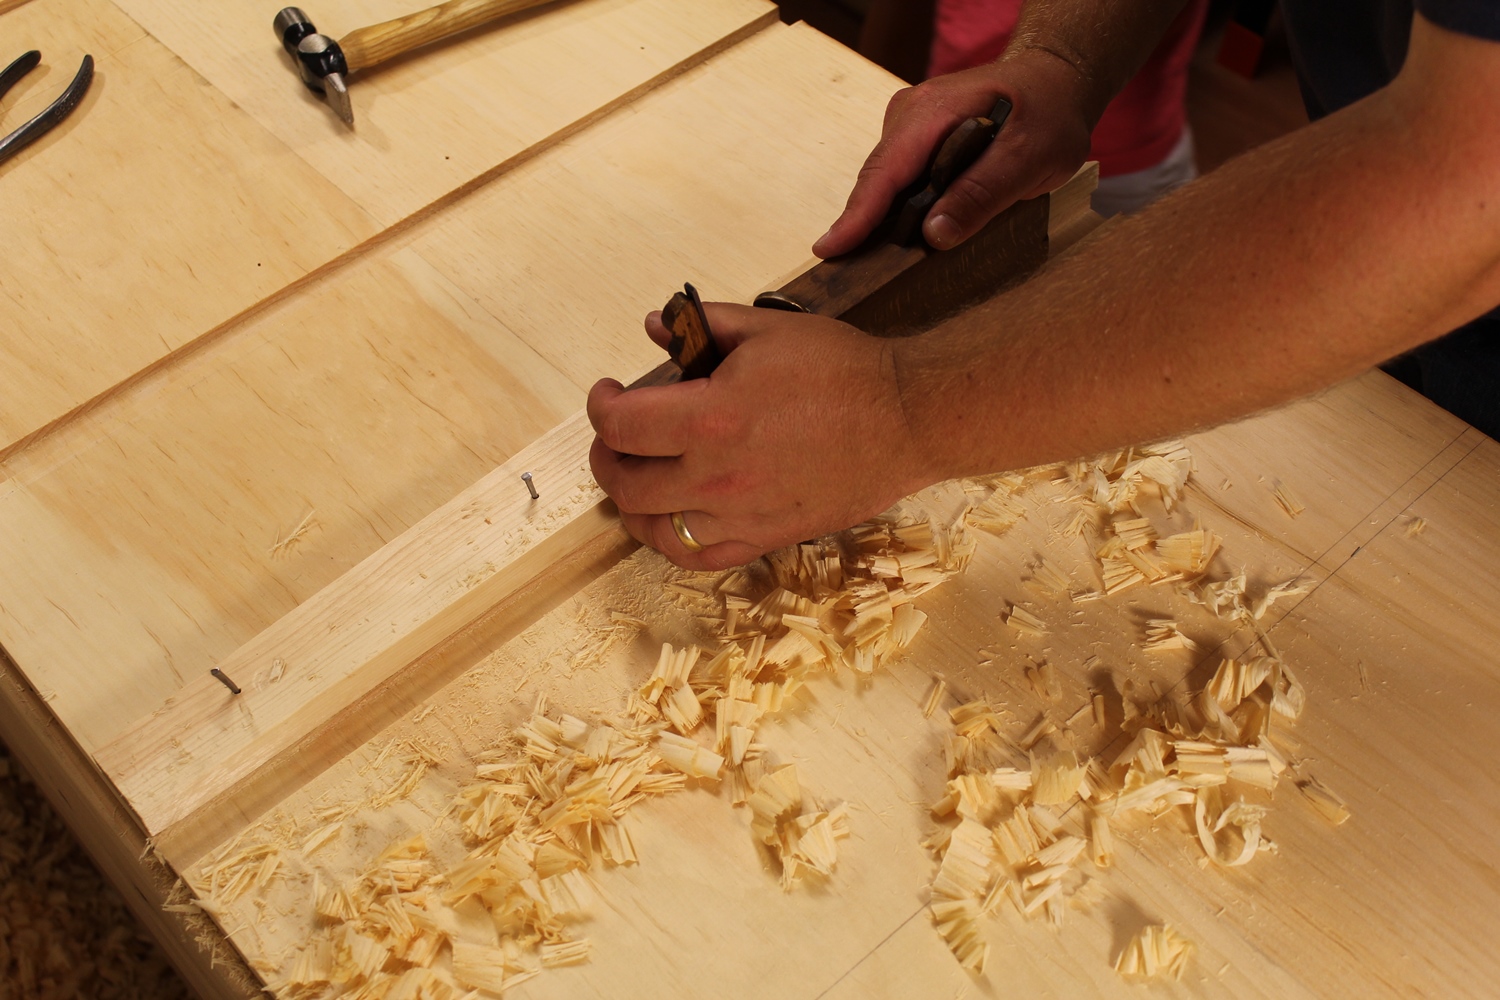
Where we do occasionally see stopped joints in period furniture is in a desk gallery. Often times, the partitions in the desk’s gallery are joined to the sides of the case with dadoes. Because these partitions are much narrower than the case sides, stopped dadoes are required in these situations. However, this is more of an exception rather than the rule. In almost all other instances where dado joints may be used in a period case piece, the joints were cut through in order to make them easy to cut with a plane. If you enjoy using hand tools and you’ve never used a dado plane, you owe it to yourself to try one. There’s no faster or easier way to make a properly sized dado than a proper dado plane.
So as a student of traditional woodworking, it is very beneficial to study period furniture. Even if you don’t like the style and have no intention of ever building a period piece, studying the construction techniques of these pieces will go a long way toward helping you to become more efficient with your hand tools. Once you understand how traditional joinery was used, you can adapt it to any style of furniture that you like. Then, when you see something like a contemporary piece in a magazine or gallery that you really like, you can easily switch out the inferior biscuits and pocket screws for stronger, traditional joinery methods, and still be able to build the piece in a reasonable amount of time using hand tools.
Tag:Dado, Dovetails, Groove, Rabbet, Working Efficiently

4 Comments
If you’re going to cut a half lap to mount an apron to the side of the legs of a workbench, what would you use to plough a groove wide enough to accomodate the width of a 10-12″ apron?
Hi Rick,
I’d use a saw. Here’s a video I did about 10 years ago on doing just this. https://youtu.be/S_7Jwja0uQg
Thanks for the response Bob. I guess I did mine in a weird sort of way. I left length above my apron for a tenon to go into the top. The tenon will be a different thickness than the half lap portion of the leg that receives the apron. Mine is basically a big dado. Im using a big router right now and it’s annoying and messy. I was thinking I might saw down the marking gauge lines. Chip out the waste with a chisel and then clean up the escarpment with the chisel. I don’t have a rabbet plane, and my router plane can’t reach the bottom of the escarpment.
Gotcha. As I read I was going to say saw the sides and center, chisel the waste and use a router plane with a long auxiliary base to span the dado. But if the router plane blade won’t reach the bottom of the lap, that obviously won’t work. So I’d carefully and deeply gauge the depth. Then saw the ends of the dado. Then make some kerfs through the waste to just shy of the gauged depth. Bust out most of the waste with a chisel, then clean up with paring cuts with a sharp, wide chisel. You can use the blade of a square or a ruler, etc., to check that your dado bottom is flat from edge to edge. A little hollow is ok but you don’t want a hump in the middle. You can probably even use a smoothing plane in the dado if it’s wide enough and then just clean up the edges where the plane won’t reach with the paring chisel.