
Efficiency with Hand Tools – Mindset
I’ve been discussing the topic of working efficiently with hand tools. We know from historical evidence that it is certainly possible to work very quickly by hand. But how exactly do we get there? Careful selection of your material is certainly an important piece of the puzzle that we’ve already discussed. Your choices of joinery too can help make you more efficient, or alternatively, slow the whole process down. However, having the right material and choosing the right joinery does not ensure an efficient process.
Working efficiently by hand requires a bit of strategy as well. We need to get into the right mindset in order to put all of the pieces together. I’m not talking about zen meditation or being one with the tool. That might make you feel all warm and fuzzy about using hand tools, but it isn’t going to get the job done any more efficiently. What I’m talking about here is a mindset about how to do the work.
Let me back up a minute. When most of us got our first taste of woodworking, it’s very likely that there was a process that we were introduced to. That process probably involved some precision machines, a tape measure, and a set of plans with a cut list. All we had to do was dimension all of the stock accurately according to the cut list, and then put the whole thing together. Of course there’s a little more to it than that, but you get the general idea.

This process is a mindset. It’s an idea about the order of operations, or a set of assumptions if you will. For example, in this mindset, all of the stock was exactly 3/4″ thick. All of the stock was made perfectly flat and all four corners were jointed to perfect 90 degree angles. The plans you were working from were drawn under those assumptions. So as long as you understood those requirements, and followed the plan precisely, everything worked out OK. However, if you deviated from the plan, things just wouldn’t work out so smoothly.
It is certainly possible to work with this mindset and follow this order of operations using hand tools. However, you will find that working this way by hand will be anything but efficient. In fact, I think the number one reason that hand tools get the undeserved reputation of being slow is that they’re being used similarly to how a machine would be used, and are subsequently being compared to the speed of a machine for that operation. Machines will always win in a production/batch processing approach. To work efficiently with hand tools requires a change in mindset. However, changing one’s ideas about how things should be designed and built can be a challenge. As Master Yoda advised, we need to unlearn what we have learned.
If you’re a brand new woodworker, you’re actually at an advantage, because you have no preconceived notions about the process. However, regardless of your experience, learning to think about the process with the proper mindset can greatly increase your efficiency. Here are just a few strategies that I have used successfully over the years to improve my own efficiency.
Use Wide Boards
There is a nasty myth that has plagued woodworkers for years that claims that a panel glued up from narrower boards is more stable than one glued up from wide boards. Well, this is just plain silly. Wood moves in two primary directions; tangentially (parallel to the growth rings) and radially (perpendicular to the growth rings). Tangential movement is proportionally greater than radial movement for any given species of wood. This is what causes flat sawn boards to cup. The board expands and contracts parallel to the growth rings more than it does perpendicular to the growth rings. This proportion does not change with the width of the board or the way it was sawn.

Therefore, regardless of whether a panel is made from a singe 12″ wide board or glued up from four 3″ wide boards, the boards in that panel are going to move X% tangentially and Y% radially, equating to the exact same amount of tangential and radial movement in both panels, provided all the boards were sawed the same way. So the theory that the panel glued up from narrower boards is more stable is bogus. The common practice of using narrower boards and alternating the growth rings in the glue up also does not result in a more stable panel. All this practice results in is a panel that develops a wave of alternate cupping instead of a cup in a single direction.
Using wide boards is advantageous to the hand tool user. It takes just about as long to dress the face of a 4″ wide board as it does to dress the face of a 12″ wide board. So by making your panels from wider boards, you save time. Furthermore, in my opinion, panels glued up from a bunch of narrow boards look terrible. Nothing says Ikea like a table top glued up from a bunch of 2-3″ wide strips.
Finally, since hand tools have no width capacities, there’s no limit to how wide of a board you can work with. Many old pieces used single wide board case sides and tops and they are still intact today. If we choose our lumber and grain patterns carefully, there’s no reason we can’t do the same.
Don’t Plane to Standard Thickness
Using a power thickness planer, it’s easy to plane all of your stock to a consistent 3/4″ thick, whether it needs to be or not. With hand tools, it’s a lot of sweaty work. Well, what if I told you that you didn’t have to do it? Feel a little better now?
It’s important when making the mindset change to really ask the question Why? Planing all of your parts to a standard thickness is one of the first why’s that a new hand tool user should ask. Unfortunately, it’s usually so ingrained in our thick skulls that it’s a difficult habit to break. Here’s the thing. Rarely in hand work is planing all parts to a standard thickness absolutely necessary. No one is going to notice that your table top is 13/16″ thick and not 7/8″ thick. If your drawer fronts are each a different thickness, it really doesn’t matter. If one side panel of your chest of drawers is 1/32″ thicker than the other, the world is not going to end. So think about it before you go to the trouble and extra time of planing everything to a uniform thickness. Maybe you really don’t need to do so.
Just Plane the “Money” Side
The phrase “Turn your face to London” describes this tactic perfectly. In a typical piece of furniture, every surface does not need to be dead flat and free of tearout. Case backs, the backs of table aprons, the undersides of drawer bottoms, the undersides of table tops, and many other surfaces don’t need to be planed to the degree that the show surface of a table top does. They may not need to be planed at all. A table apron could just be planed on the outward face and the bottom edge. All of the joinery would be marked referencing these two faces. Once the table was assembled, the top of the apron could be planed flush with the tops of the legs and the back of the apron could be left in the rough. No one would ever know. Look at the non-show surfaces of old furniture and you will see this was common practice.
Don’t Shoot
Shooting boards are a popular shop appliance for squaring up the ends of stock. They do a wonderful job of it too. However, the more pieces I build completely by hand, the less I find myself reaching for my shooting board. It’s not because I can saw so squarely and cleanly, but because the ends of pieces often just don’t need to be square. A table apron is a good example. The shoulders of the tenon need to be square, but the ends of the tenon don’t. When the apron is cut to length, there’s no need to shoot the ends square. Mark the tenon shoulders with a square and leave the tenon ends alone and you have saved valuable time by not performing an unnecessary task.
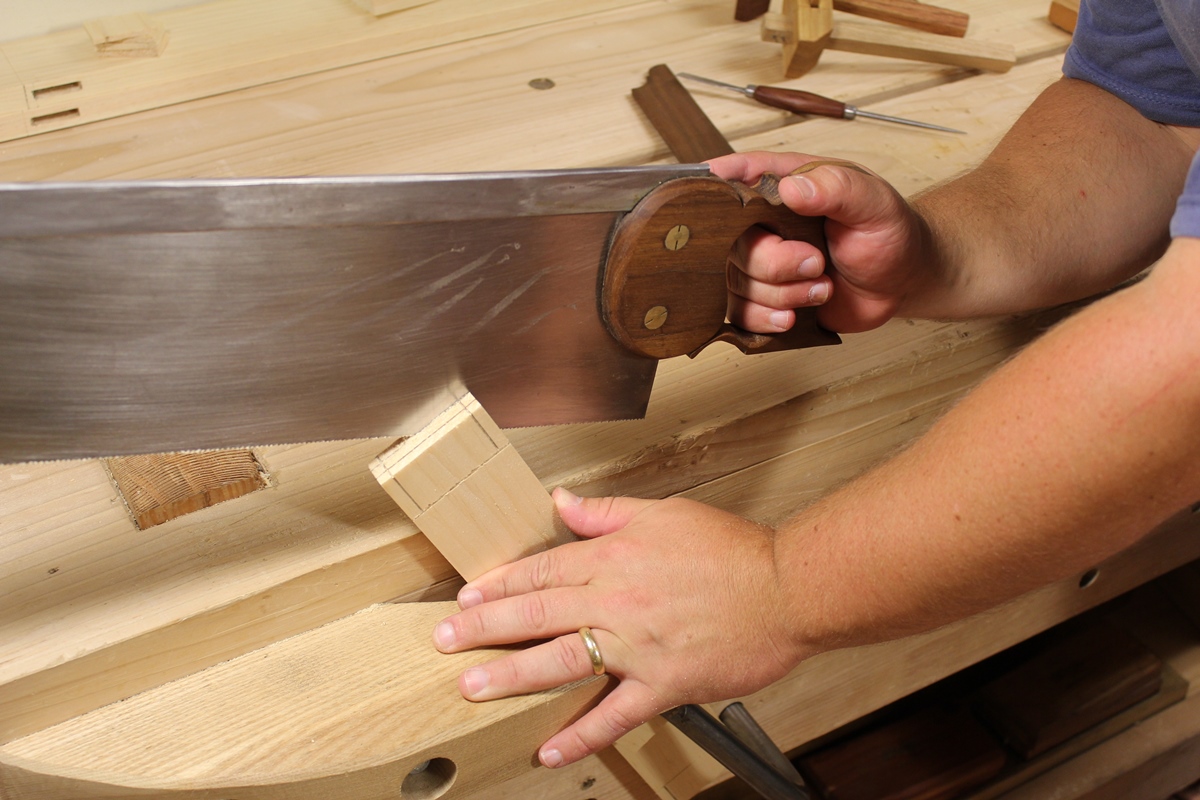
Saw to the Line
This is a no brainer. If you saw your joinery (dovetails, tenons, etc.) “fat” of the line and then “clean up” the surfaces with a plane or chisel, you waste a lot of time tuning the fit. It does take some practice to get the hang of it and gain confidence in your sawing abilities, but I can assure you it is time very well spent. Don’t be afraid of miscuts. They will happen. When they do, fix them. Repairing one or two loose tenons is still faster than having to adjust the fit of every single one. The more you saw to the line, the better you will get at it and the less fixing and fitting you’ll have to do. This tip alone can save you hours. Literally.
Use the Right Tool and Set it Up Correctly
No tool will make you a better woodworker. However, the right tool, properly set up, can make you more efficient. Joints like rabbets, dados and grooves can be made with saw and chisel and cleaned up with a router plane. It’s not efficient though. Having the right tool makes these joints much more efficient to cut. For rabbets, use a rabbet plane. For dados, use a dado plane. For grooves, use a plow plane.
Most importantly, set the tools up correctly. These tools were designed to work fast, so set them up to take a relatively thick cut and remove material quickly. You shouldn’t have to make 100 passes with the plane to make a rabbet. It’s a job that should be done in a matter of seconds, not minutes.
Final Thoughts
It can be challenging to change mindsets once we get used to doing things a certain way. But if we strive to be more efficient with hand tools, changing mindsets is not an option. Study period furniture and period books on craft. Even if you don’t like the furniture, a lot can be learned about work habits by studying how old furniture was built. Period craftsmen were a benchmark for efficiency. They were fast because they had to be. We can be too, but we have to learn from the work that they have left behind. Producing furniture that looks like it came off of a machine will always be more efficiently done using machines. To be more efficient with our hand tools, we need to think about the work differently. Only then can we begin to understand the secrets to the efficiency of our ancestors.
