
How to Plane the Edge of a Board Square
I’ve been writing a series of posts about milling lumber by hand. Today, in continuation of that series, I want to look at the process of planing the edge of a board square to its face.
When looking at the edge of a board, it may seem like a simple surface, but that edge can be in various states relative to the board’s face. The edge can be square to the face but not straight from end to end. Conversely, it can be straight from end to end but not square to the face. It can be both square to the face and straight from end to end. Or it can be neither square to the face nor straight from end to end.
When milling lumber with machines, it’s usually critical to make sure that every face and edge is flat, straight, square and parallel, because those surfaces are all used as references against machine tables and fences. But then again, when milling lumber with machines, it’s very little extra work to make every face and edge perfectly flat, straight, square and parallel.
When performing these tasks by hand, “four-squaring” every single board is extremely labor intensive, time consuming, and inefficient if every board doesn’t actually need to be “four-squared”. However, by considering when a square or straight edge really matters, and when it doesn’t, the amount of hand planing required can potentially be reduced and the process can be made much more efficient.

Once again, the process starts by asking questions. Is the edge destined to become one half of an edge joint? Then maybe square isn’t so important (we already talked about match planing), but straight certainly will be. On the other hand, the end of a shelf that will fit into a through dado joint needs to be dead square to avoid gaps at the front of the joint, but it’s OK (maybe even preferable) if the end is a hair concave from edge to edge because it will be hidden inside the joint. For doors or drawers, both straight and square are very important for a good fit in their opening. For the edges of a tabletop, neither straight nor square is important.
When square and/or straight edges are required, though, you had better know how to get there efficiently or you could be chasing your tail for a long time. When it comes to squaring and straightening the edges of a board, the processes are related. However, the end goals are different enough that I typically try and encourage beginning hand plane users to focus on only one concept at a time. I find that teaching the process this way makes it easier for my students to grasp the two different concepts and have the greatest success.

IF the edge of the board needs to be square to the face, then I will typically start by squaring the edge because the process of squaring the edge usually begins the process of straightening that edge as well. The opposite, is not necessarily true, so I find it best to work on squaring the edge first.
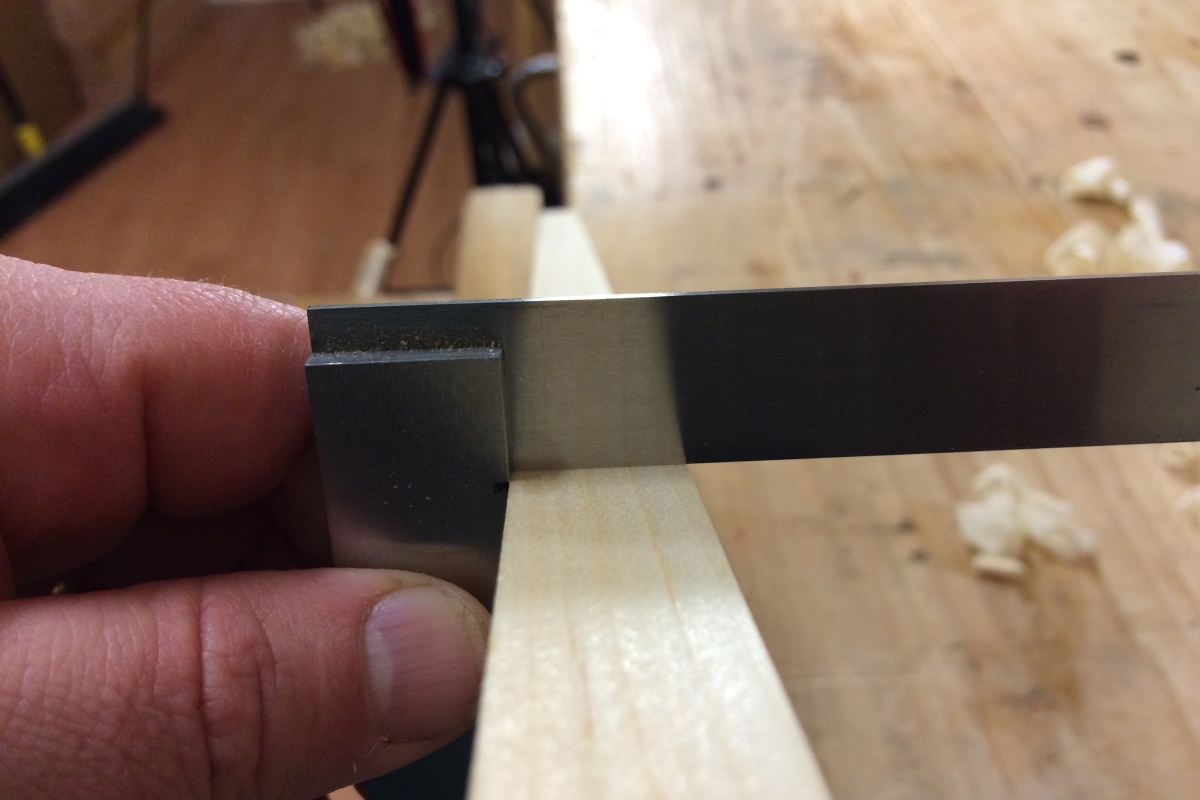
In order to make the edge of the board square to the face, we first need to know the current condition of that edge. Is it out of square all in the same direction, or is it twisted (high on opposite sides at opposite ends of the board)? Is it out of square consistently from end to end, or is it just a hair out of square at one end and a quarter of an inch out of square at the other? It can be helpful to mark the board with a pencil as you check for these conditions if you need to do so. The goal will be to remove wood only where necessary to make the edge square.

After identifying where the wood needs to be removed, we can start planing, but it’s critical to understand how the plane works based upon how it is set up. The wood can be marked as precisely as possible, but if we remove more wood than necessary, we’re headed for a tail chase.
While any plane can be used to square an edge, attempting to plane an edge square with a plane that has straight ground blade is kind of like patting your head and rubbing your belly at the same time. It’s possible, but it takes some special skill, coordination, and lots of practice. A straight blade cuts a consistent depth across its entire width. Therefore, we have two choices when using a straight blade to square an edge.
The first is to use the lateral adjustment of the blade to skew the depth of cut toward the high side of the board’s edge. This works fine if the board is consistently out of square in the same direction down the entire length of the board. But if the edge is twisted at all, this method requires lots of stop cuts and resetting of the lateral adjustment to change the skew from one side to the other.
The second option for squaring an edge using a straight ground blade is to hold the sole of the plane perfectly square to the face of the board. You then use the even projection of the blade to only remove the high spots by holding it perfectly square as you move down the board (think power jointer fence). This sounds logical in theory, but doing this by hand without any kind of fence is quite a challenge for even the most experienced of hand plane users.
So while I do use a jointer plane with a straight ground blade when I’m planing edges that are bound for glue joints, I prefer a try plane or a fore plane with a cambered blade for squaring edges. Compared to using a plane with a square ground blade, using a plane with a cambered blade simply requires you to understand and take advantage of the cutting geometry.

The advantage of using a plane with a cambered blade for squaring edges is that it does not cut with a consistent thickness across the width of the plane. This may sound counter intuitive at first, but when you consider what you’re trying to accomplish when squaring an edge, it makes perfect sense.
In order to bring an out of square edge into square, more wood needs to be removed from the high corner than is removed from the low corner. With a cambered blade, this is accomplished by moving the part of the blade that takes the thickest cut (the center) directly onto the area of the board’s edge that needs the most wood removed. The shaving tapers off to either side of this point on the blade, so the high spot will be reduced the most with less and less material being removed the further from the high spot you get. This is exactly the kind of cut that is needed to bring an edge to square, no head patting or belly rubbing required.

Furthermore, this method makes it a piece of cake to remove twist from the edge of a board without messing with the lateral adjustment of the blade or having to hold the plane perfectly square to the board. By simply shifting the plane left or right while working on the edge, the plane can be directed to plane the high spots while barely touching the low spots.
So if you’re having trouble planing a square edge with a plane that has a straight iron, try grinding the edge of the blade to a camber and see if you don’t have an easier time of it. Using a cambered iron really does make the task easier.
Alternatively, you can use this as an excuse to buy another plane – as if you needed an excuse.
