
How Much Camber Do You Put on That Plane?
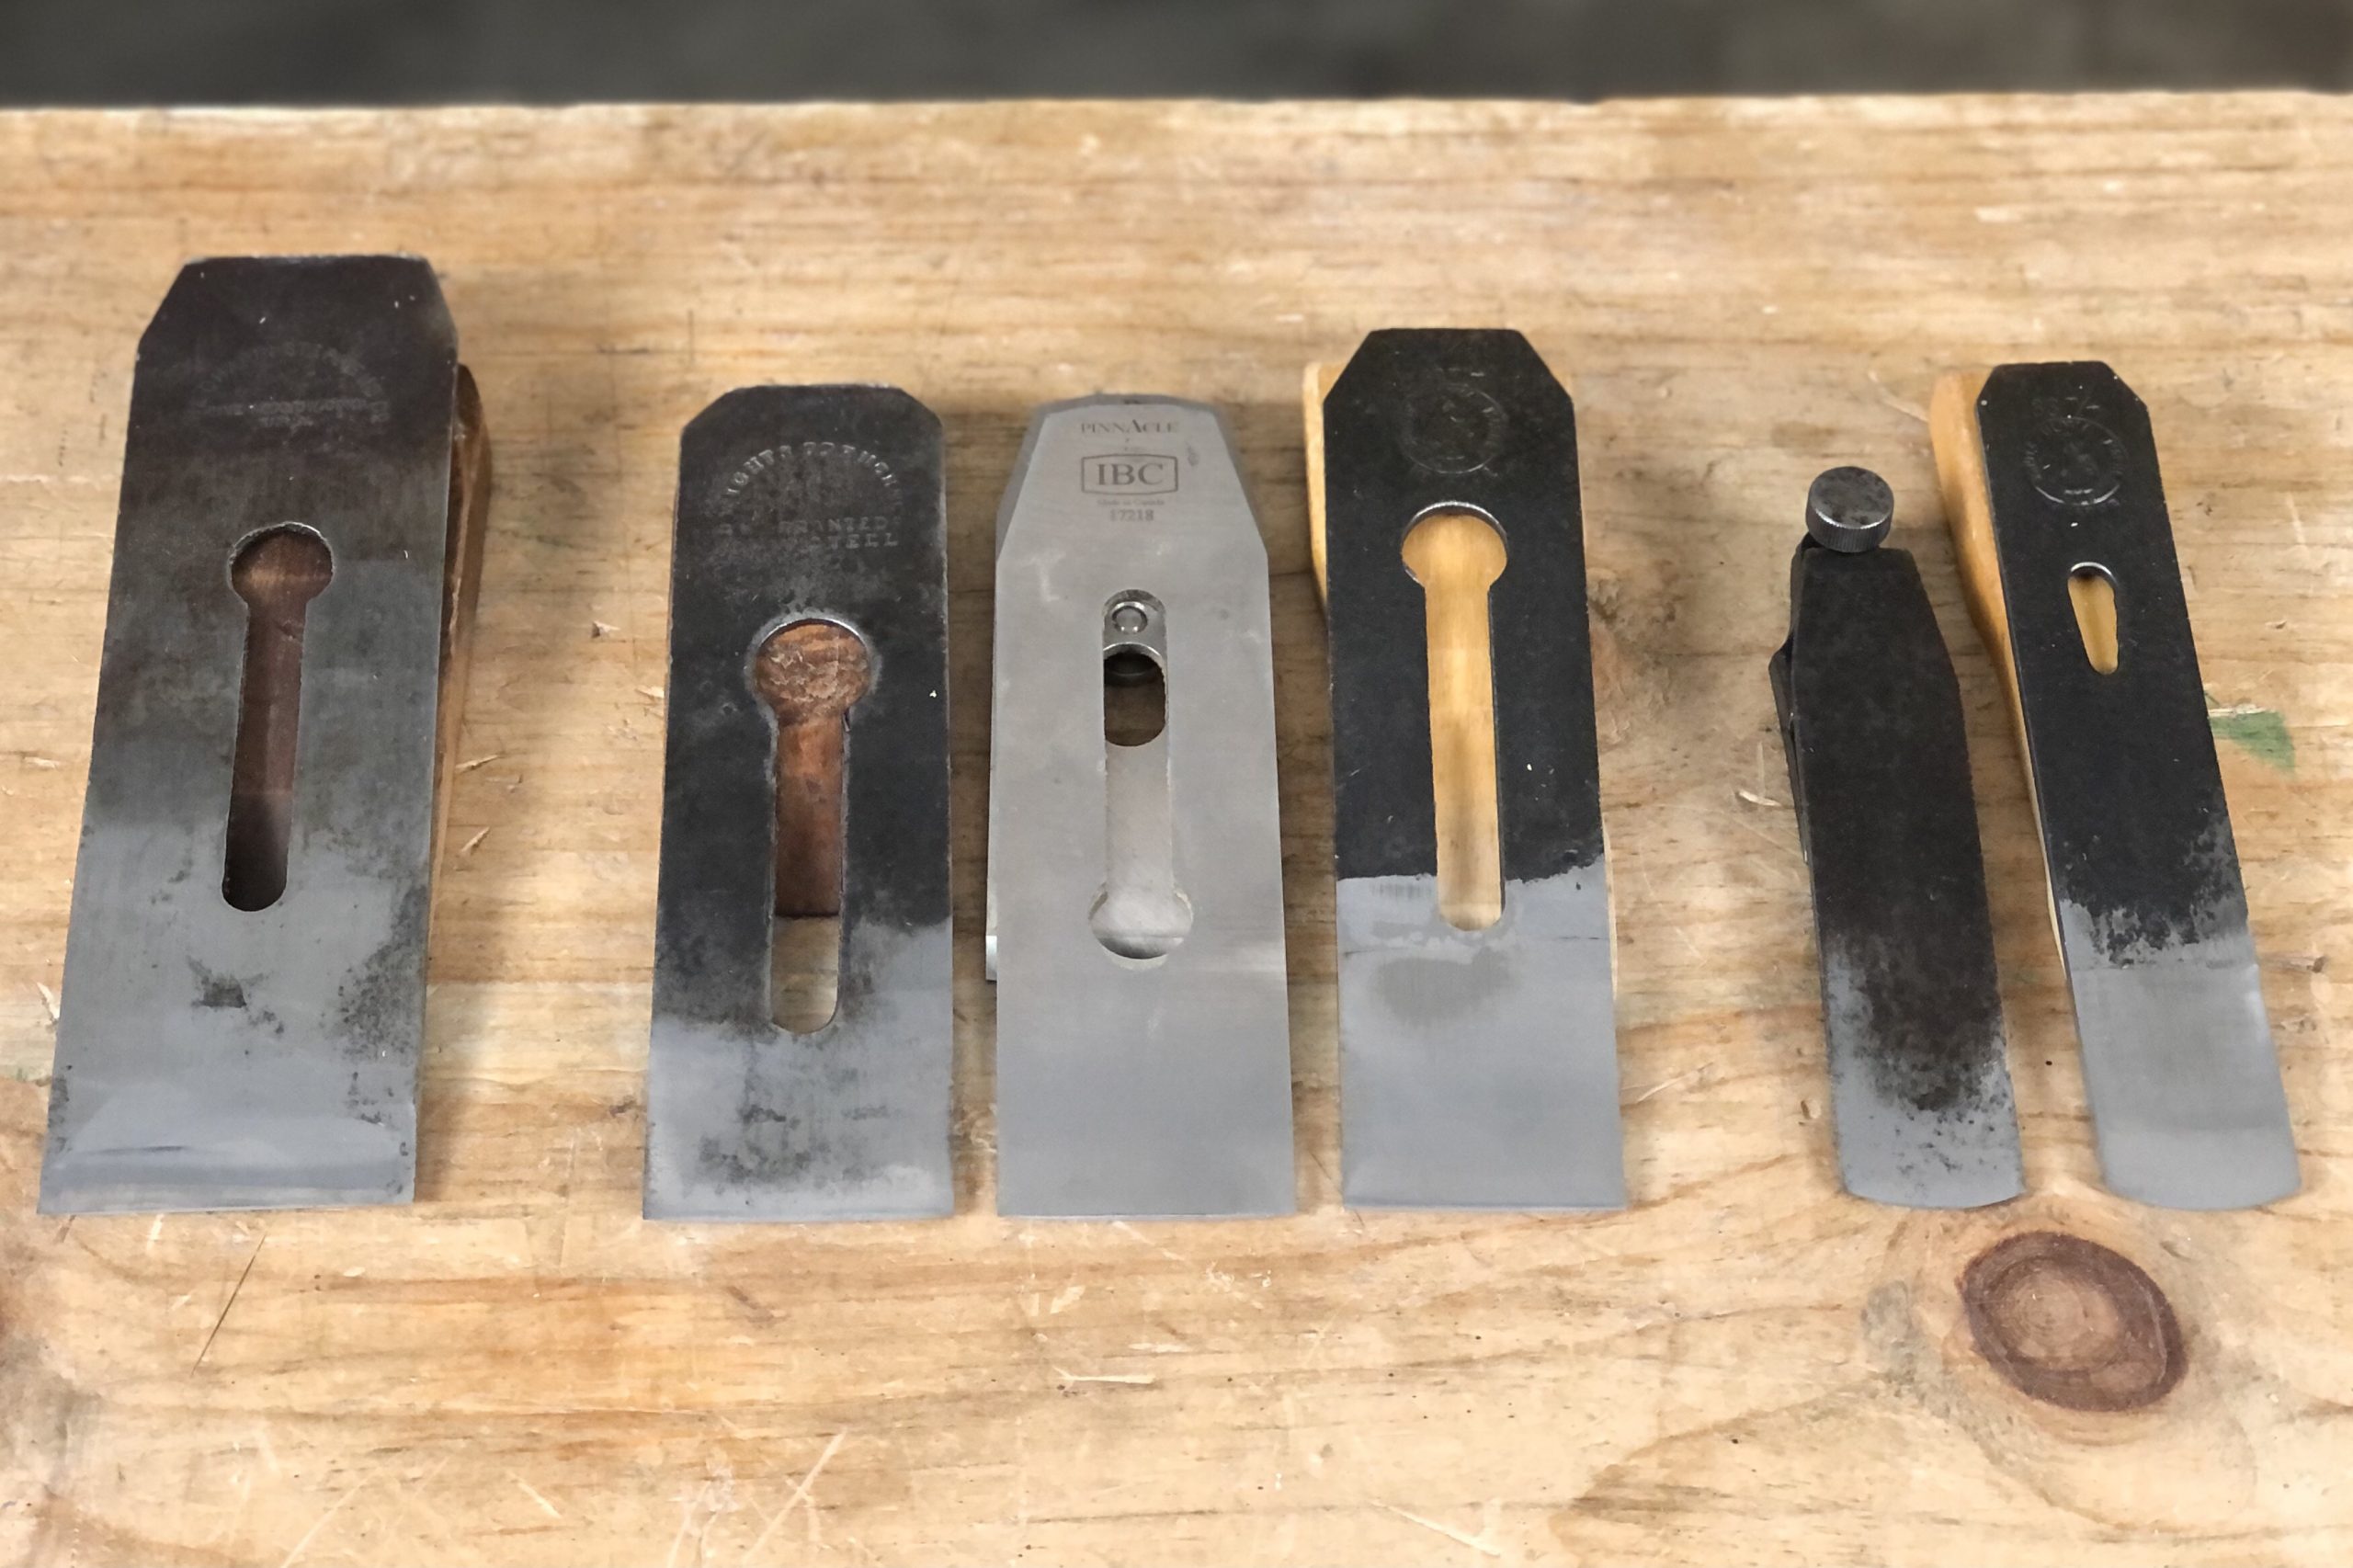
Throughout my series of posts on milling lumber by hand, I used several different hand planes. Each of the planes that I used was chosen for the specific tasks that they excel at. The jack plane is the perfect size and weight for taking a moderately thick shaving and quickly dressing the face of a board. The try plane, with it’s long length and wide iron, is ideal for taking relatively thin shavings and making the face flat. The jointer plane, with its straight, wide iron is perfect for straightening edges and match planing boards for edge joints. The scrub plane, with its short sole and very narrow blade, removes thickness in a hurry.
However, none of these planes would be able to do the work that they do properly if they weren’t set up correctly. A major part of the setup is the shape of the cutting edge of the blade. The blades in each of these planes have varying degrees of camber, which, along with their relative length and width, make them ideal tools for the tasks that they were designed for.
What is Camber?
Camber is nothing more than a convex curve that is sharpened into the edge of the blade. The purpose of camber is to prevent the corners of the blade from digging into the wood and leaving tracks or splinters when planing a surface that is wider than the blade. The amount of camber in the blade is dictated by the desired maximum depth of cut. The thicker the shaving the plane is intended to take, the more camber the blade has to have.

But there is also a limit to how deep of a cut a plane can actually take and still be capable of being pushed by the average woodworker. It’s one thing to hog off 1/16ʺ or more per pass with a scrub plane that has a 1¼ʺ wide blade. But if you tried to use a #6 Stanley “fore” plane to take that same 1/16ʺ pass, you’d need to be built like Franco Columbu (being short and half Italian myself, I’m more partial to Franco than Arnold).
So how much camber should a plane blade have? I can’t answer that question for you personally. You have to decide for yourself how you like to work, what planes you like to use, and how much additional strength training you want to do when you’re not woodworking. But I can tell you how I go about determining how much camber to put on each of my own personal planes. If nothing else, my guidelines for myself might be a good place for you to start. Then you can experiment with your planes and see what works best for you.
Measuring & Marking a Blade’s Camber
To determine how much camber to grind into a particular plane blade, I decide the maximum depth of cut that I want a particular plane to take, and I base the camber on on that. I don’t worry about radius, or bed angle, or formulas, or anything like that. You’re welcomed to do the trigonometry if you really have to know the numbers. The math isn’t difficult to do. I just choose to take a simple, practical approach, that works for any combination of bed angle and blade width, even if you don’t know the bed angle or blade width.

To determine the camber for a particular blade, I mark it directly from the plane. First, color the back with a permanent marker. Then, put the blade in the plane and extend it to the maximum depth of cut that you want the plane to take. You can measure the projection of the blade below the sole with a caliper, or with a feeler gauge, or you can just eyeball it like I typically do. Once the blade is at the desired depth, use a sharp scribe, like an awl, or the scribe from a combination square, and scribe the point where the iron meets the sole of the plane. This mark indicates the depth that you need to grind to at the edges of the iron. Now you can take your blade to the grinder, or use a honing guide and coarse stone to shape a smooth camber.
But How Much Should the Blade Project?
I base the amount of blade projection, and therefore, the amount of camber, on the function of the plane. Planes for rougher work will take deeper cuts and therefore have more camber. Planes for finer work will take thinner cuts and therefore have less camber. In general, the wider the blade, the finer the work, and the less camber it should have. Smoothing planes are the exception to this rule as they typically have relatively narrow blades but they will have minimal camber as they are used for the finest work.
Here are the general guidelines that I follow for my own planes:
The Scrub Plane

The scrub plane is generally a short plane with a very narrow iron – 1¼ʺ wide or so. I use these planes primarily for removing width or thickness from a board as quickly as possible. Therefore, I have my scrub planes set up for a maximum cutting depth between 1/16ʺ and 1/8ʺ. Some people prefer to make scrub planes out of old jack or smoothing planes with 2ʺ or wider irons. I find planes that wide very tiring to push at a cutting depth of 1/16ʺ or more. I tend to wonder if the folks making scrub planes with 2ʺ wide irons are using the full width of the iron, or if they are taking cuts that deep.
The Jack or Fore Plane

The fore plane (also called a jack plane) is generally quite a bit longer than the scrub plane (at least in the English tradition) and also has a significantly wider iron than the scrub plane, usually 2 to 2¼ʺ wide. I mostly use fore planes for the initial facing of a rough milled board and for squaring board edges. I typically set my fore planes up for a maximum cutting depth of about 1/32ʺ. I’ve landed at this cutting depth through trial and error over the years, but interestingly, 1/32ʺ is pretty much exactly what is recommended in Moxon (a 17th century shilling is a fat 32nd while a 17th century groat is a scant 32nd).
But if you ask me how rank your Iron ought to be ſet? I anſwer, If your Wood be ſoft, and your Stuff free, and frowy, that is, evenly temper’d all the way, you may ſet the Iron to take a ſhaving off the thickneſs of an old coined Shilling, but ſcarce thicker; whereas if your Stuff be hard, or curling, or knotty, you ſhall ſcarce be able to take a ſhaving off the thickneſs of an old Groat.
-Joseph Moxon, Mechanik Exercises, 1703
The Try Plane

“Try plane” and “jointer plane” are terms that are often used synonymously. However, in my shop they are two distinct tools. Both are long planes, generally 22-24ʺ long, and their irons are generally 2⅜-2⅝ʺ wide. However, they differ (in my shop) in the way that their irons are set up. The try plane has a cambered iron, while the jointer plane does not.
I use try planes primarily for the final flattening of board faces, and also for squaring board edges if the fore plane is removing too much material. Therefore, the try plane will have significantly less camber than the fore plane. In fact, the camber in the try plane iron is often visually not detectable until a straight edge is held up to the blade.
While it is extremely difficult to measure, my try planes are typically set for a maximum projection of about 1/256ʺ (that’s about 0.004ʺ). Needless to say, you can’t really draw this amount of camber onto the face of the blade. In fact, I don’t typically grind the camber on my try plane irons. Instead, I start with my coarsest stone and add the camber by honing the corners and areas closer to the outside edges of the blade more than I do the center of the blade. It’s not an exact process, but it works fine.
The Smoothing Plane

To say that my smoothing plane blades have any camber at all would be a real stretch. Rather than a true camber, the shape of my smoothing plane irons is probably better described as straight with softened corners. The maximum projection of the blade in my smoothing planes is usually no more than 0.001-0.002ʺ. This is so thin that the shavings can be transparent. To achieve such a mild softening of the edge, I hone a few extra strokes on the corners of the iron using only my finest stones.
The Jointer Plane
As mentioned earlier, in my shop, the jointer plane is not a bench plane used for milling lumber. Rather it is a joinery plane, just like the rabbet, dado, plow, and match planes. Therefore, the iron of my jointer plane is not cambered at all. Instead, it is honed with a dead straight cutting edge. In my experience, I have an easier time creating edge joints and making edges dead straight by using a plane with a straight iron.
Experiment for Yourself
These guidelines are not set in stone. In fact, this may be the first time in history that they’ve been written in this way (but probably not). This is just what I’ve found works for me after 20+ years of experimenting in my own shop with my own tools and processes. So I encourage you to experiment for yourself and not take what I’ve written here as rule. There really are no rules in woodworking.

4 Comments
Great stuff. I have a #7 set up as a Try plane with a camber. A #5 1/2 with a straight iron for shooting, and will give it a test for jointing. Thanks for making me think in a new way.
Hi Bob. This is great article, very helpful for me as I get started in wood work. Thinking of a jointer/try plane not necessarily as different planes but as the same plane set up with different cambers is certainly helpful.
I have a jointer/try plane related question regarding blade width.
In looking at a jointer/try plane I have been looking at the wooden jointers by ECE and noted 2 different blade widths. The 600mm/24in jointer has a 60mm blade and the 550mm/22in short jointer has a 48mm blade. Seems odd to me, only 2 inches shorter on plane length and taking 1/2in off the blade width.
Other than the number of passes being different, what’s the difference here on the blade width, in terms of actual use?
I’m looking here: https://www.fine-tools.com/rauh.html
I noted the iron jointer planes on this site all have 60mm blades.
Thanks, Russ
The difference in width will limit the width of the edges you can joint when match planing. If you want to match plane two boards that are each 3/4″ to 1″ wide, it would be a challenge with such a narrow blade. A 48mm blade is less than 2″ wide. To me that’s too narrow for a jointer, but would be OK for a try plane.
For what it’s worth, I have the 600mm Ulmia jointer, which is basically the same plane as the ECE 101S, and it has a 60mm blade. I like the plane a lot.
Thanks Bob, that’s helpful information. I took some advice on my first plane purchase to buy a second iron so I could have jack plane and smoothing plane functionality with only one plane. When I saw ECE’s short jointer I thought, if that’s also a 48mm iron, I could make one of those (I’ve been wanting to make a plane) and use my same 2 irons in that for jointing and trying.
It seems silly to me to have a 550mm and a 600mm plane, but I’m thinking I might just build a 550mm try plane anyway, that way I don’t have to buy 60mm irons right now, then I can build a 600mm plane later when I get to a project where I need to match plane for jointed edges. The task at hand that I was thinking a longer plane would be good for is when I get to flattening the top planks of the Nicholson bench I will be building.
Thanks for your resources here, Russ