
Making Kitchen Cabinets – The Drawer
Note: Click here for all the posts in this build series.
Let me start by saying that I’m not a huge fan of making kitchen cabinet drawers. Not because I don’t like making drawers. I actually quite enjoy the process of making and fitting drawers – for traditional furniture. Making drawers for cabinets with mechanical slides/glides is more of a pain in the rump because I can’t follow my typical process of relative dimensioning.
To describe my typical process briefly, I size the drawer sides to the height of the drawer opening and make them an inch or two shallower than the depth of the case. I size the drawer front and back to the exact size of the drawer opening. This is all done by putting the parts in the opening and marking them directly from the piece. There is no ruler involved in the process and it is very quick and easy.

Mechanical slides, however, require a lot of measuring and figuring. In a traditional case piece, the drawer just needs to fit the opening. When mechanical slides are used, the space required for the slides to operate must be accounted for, so the drawer box can’t just be made to the size of the opening. Careful measurements and calculations have to be made to make sure that the proper clearance for the slides being used is included. Too little or too much clearance and the drawer either won’t fit the opening properly, or won’t operate correctly.
Such is the case with this kitchen cabinet. I’ve chosen to use undermount full extension ball bearing slides for the drawer. For the single pull out shelf below, I’ll use side mount full extension ball bearing slides. The more persnickety of the two are the undermount slides, so I’ll discuss those today.
Building the Drawer
The slides I’m using are available from my local home center. Blum slides are the most commonly discussed and recommended, however, as the slides I’m using are from the parent company of Blum, it’s safe to assume that they’re virtually identical to the Blum slides. The slides come with a single sheet of instructions, however, they’re not the easiest to understand. Most of the information is there, but you really have to translate the drawings to your own project.
The end goal is to build a drawer box that will be the exact required length and width for the specific slides being used and the specific drawer opening it needs to fit. The tolerance of length and width for a properly functioning drawer is very tight when using mechanical slides. So double and triple check measurements and calculations before cutting any stock.

The drawer box length is the easy part. The drawer box should be as long as the specified size of the drawer slides. In my case, I have an interior cabinet box depth of 22½ʺ. I’m using a pair of 21ʺ slides, as the interior depth of my cabinet falls within the range specified for these 21ʺ slides. Therefore, my drawer box will need to be 21ʺ long.
To determine the drawer box width, I need an accurate measurement of the drawer opening. In my case, this measurement is exactly 16 inches. Using these drawer slides, the critical dimension is the inside width of the drawer box. To determine what the inside measurement of the drawer box must be for these slides to mount properly, the instructions say to take the width of the drawer opening and subtract 1⅝ʺ. That leaves me 14⅜ʺ for the inside width of my drawer. The outside width of the drawer box doesn’t matter, as long as my drawer sides don’t exceed ⅝ʺ in thickness (according to the instructions).
Knowing what the inside width of my drawer has to be, I can figure out the outside width of my drawer box by adding the thickness of the drawer sides. I decided to go with ½ʺ thick drawer sides because anything more looks too thick to me. So the width of my drawer box needs to be the inside drawer box width + (2 x drawer side thickness). Using ½ʺ thick drawer sides, my drawer box needs to be 14⅜ʺ + (2 x ½ʺ) or 15⅜ʺ wide.
Here’s the summary for determining the width of the drawer box.
Kitchen Drawer Box Width Calculations
| Drawer Opening Width [A] | A = 16ʺ |
| Required Inside Drawer Width [B] | B = A - 1⅝ʺ B = 16ʺ - 1⅝ʺ B = 14⅜ʺ |
| Drawer Thickness (max. ⅝ʺ) [C] | C = ½ʺ |
| Drawer Box Outside Width [W] | W = B + (2 x C) W = 14⅜ʺ + (2 x ½ʺ) W = 15⅜ʺ |
| Calculations for drawer box outside width for use of Richelieu 21" (533 mm) Full Extension Concealed Slides for Face Frame Cabinets with Soft Close Model T815457 (or Blum equivalent). | |
|---|---|
Now that I know the length and width of the assembled drawer box, I can determine the actual lengths of the individual parts. The lengths of the individual box parts will vary depending upon the joinery used to make the box. So draw the box to scale if you must and figure the lengths carefully. In my case, since I’m using through dovetails at all corners, the lengths of the individual parts are the same as the length and width of the finished drawer box.
The last dimension needed is the height of the finished drawer box. Once again, this requires careful calculation to allow clearance for the slides as well as clearance at the top of the drawer box. I start by accurately measuring the height of the drawer opening, in my case 4½ʺ. From this I subtract the height of the drawer slide itself (11/16ʺ). This gives me the height to the drawer bottom (the drawer bottom rests on the slides). However, the drawer sides need to extend below the drawer bottom to add a groove for the drawer bottom. The instructions allow for a maximum of 15/32ʺ for the drawer sides to extend below the drawer bottom, so I add 15/32ʺ back to the height of the drawer sides (let’s call this the notch height).
Clearance is also required at the top of the drawer box. I like about ½ʺ of clearance when using mechanical slides, so I subtract ½ʺ from the height. If you’re playing along, that leaves a drawer box height of about 3⅜ʺ for my cabinet.
Here’s a breakdown of the drawer height calculation.
Kitchen Drawer Box Height Calculations
| Drawer Opening Height [O] | O = 4½ʺ |
| Drawer Slide Height [S] | S = 1 1/16ʺ |
| Drawer Slide Notch Height [N] | N = 15/32ʺ |
| Drawer Box Top Clearance [T] | T = ½ʺ |
| Drawer Box Height [H] | H = O - S + N - T H = 4½ʺ - 1 1/16ʺ + 15/32ʺ - ½ʺ H = 3 13/32ʺ = ~ 3⅜ʺ |
| Calculations for drawer box outside height for use of Richelieu 21" (533 mm) Full Extension Concealed Slides for Face Frame Cabinets with Soft Close Model T815457 (or Blum equivalent). | |
|---|---|
“But wait, there’s more!” At this point I know the dimensions of all of the parts, but I can’t quite put them all together yet. I still need to know where to put the groove for the drawer bottom. Per the instructions, the drawer bottom rests on the slides, therefore, the drawer bottom must sit up 15/32ʺ above the bottom edge of the drawer sides. So I can plow the groove for the drawer bottom, leaving 15/32ʺ of wood below the groove.
I also like to rip the drawer back to the top of the groove, like a traditional drawer, so that I can slide the drawer bottom into the box after assembly. If the drawer back is left the same width as the box sides and front, notches will need to be cut for the slides during installation. Cutting the notches isn’t a big deal, but I prefer my way.
Once the drawer box is assembled, I can bore the 9/32ʺ diameter holes in the back of the drawer to accept the tabs on the slides, per the location in the instruction sheet. Then I clean up the drawer box with a bit of hand planing, install the drawer bottom, and the drawer box is done.

Installing the Slides
Phew! All that and the drawer still isn’t installed in the cabinet. That’s the next step, and it involves a bit of forethought – again. The slides need to be installed just as precisely as the drawer box was made, or the drawer won’t align properly. Where to install the slides will depend on what kind of drawers you are building.
If you are building overlay drawers, where the drawer fronts sit outside of the face frame, then everything just mounts to the face frame. However, I’m building inset drawers, which makes things a bit more fussy, because I can’t mount my slides to the face frame. Instead, I need to add blocking behind the face frame for the slides to mount to. If you recall when I built the cabinet box, before the face frame was added, I put in a plywood strip where the drawer divider was to be mounted. This additional strip will help tremendously with installing the slides. However, the slides attach to the sides of the face frame, so I also had to add additional vertical blocking behind the face frame to provide a mounting point for the slides.

To locate the slides at the front of the box, I use a little jig that I made. The slides have to be positioned exactly 5/32ʺ back from the front edge of the face frame. However, since my drawers are inset, they need to be set back 5/32ʺ from the front edge of the inner face frame, aka, the blocking. The jig positions the slide in the correct spot.

To locate the slides at the back of the case, I use some scraps of wood that are cut to precisely position the slides. I use one block temporarily screwed to the first slide to position it the appropriate distance from the side of the cabinet. A second scrap positions the height at the back of the slide. Once the first slide is installed, I use a scrap between the two slides to maintain a consistent distance between the slides from front to back while installing the second slide.
Installing the Drawer

The last thing to do before the drawer can be installed is to attach the mounting clips to the bottom of the drawer. These clips lock the drawer box onto the slide rails and allow for easy installation and removal of the drawer box. They also provide for a little vertical adjustment of the drawer. They attach to the front of the drawer box with a couple of screws.

With the clips installed, the box is positioned on the slide rails and pushed back into the case until the tabs at the back engage with the holes in the drawer back and the clips at the front click into the mechanism. If everything aligns well, the drawer should open and close very smoothly. About 2ʺ from fully closed, the soft closing feature should engage and pull the drawer the rest of the way closed.
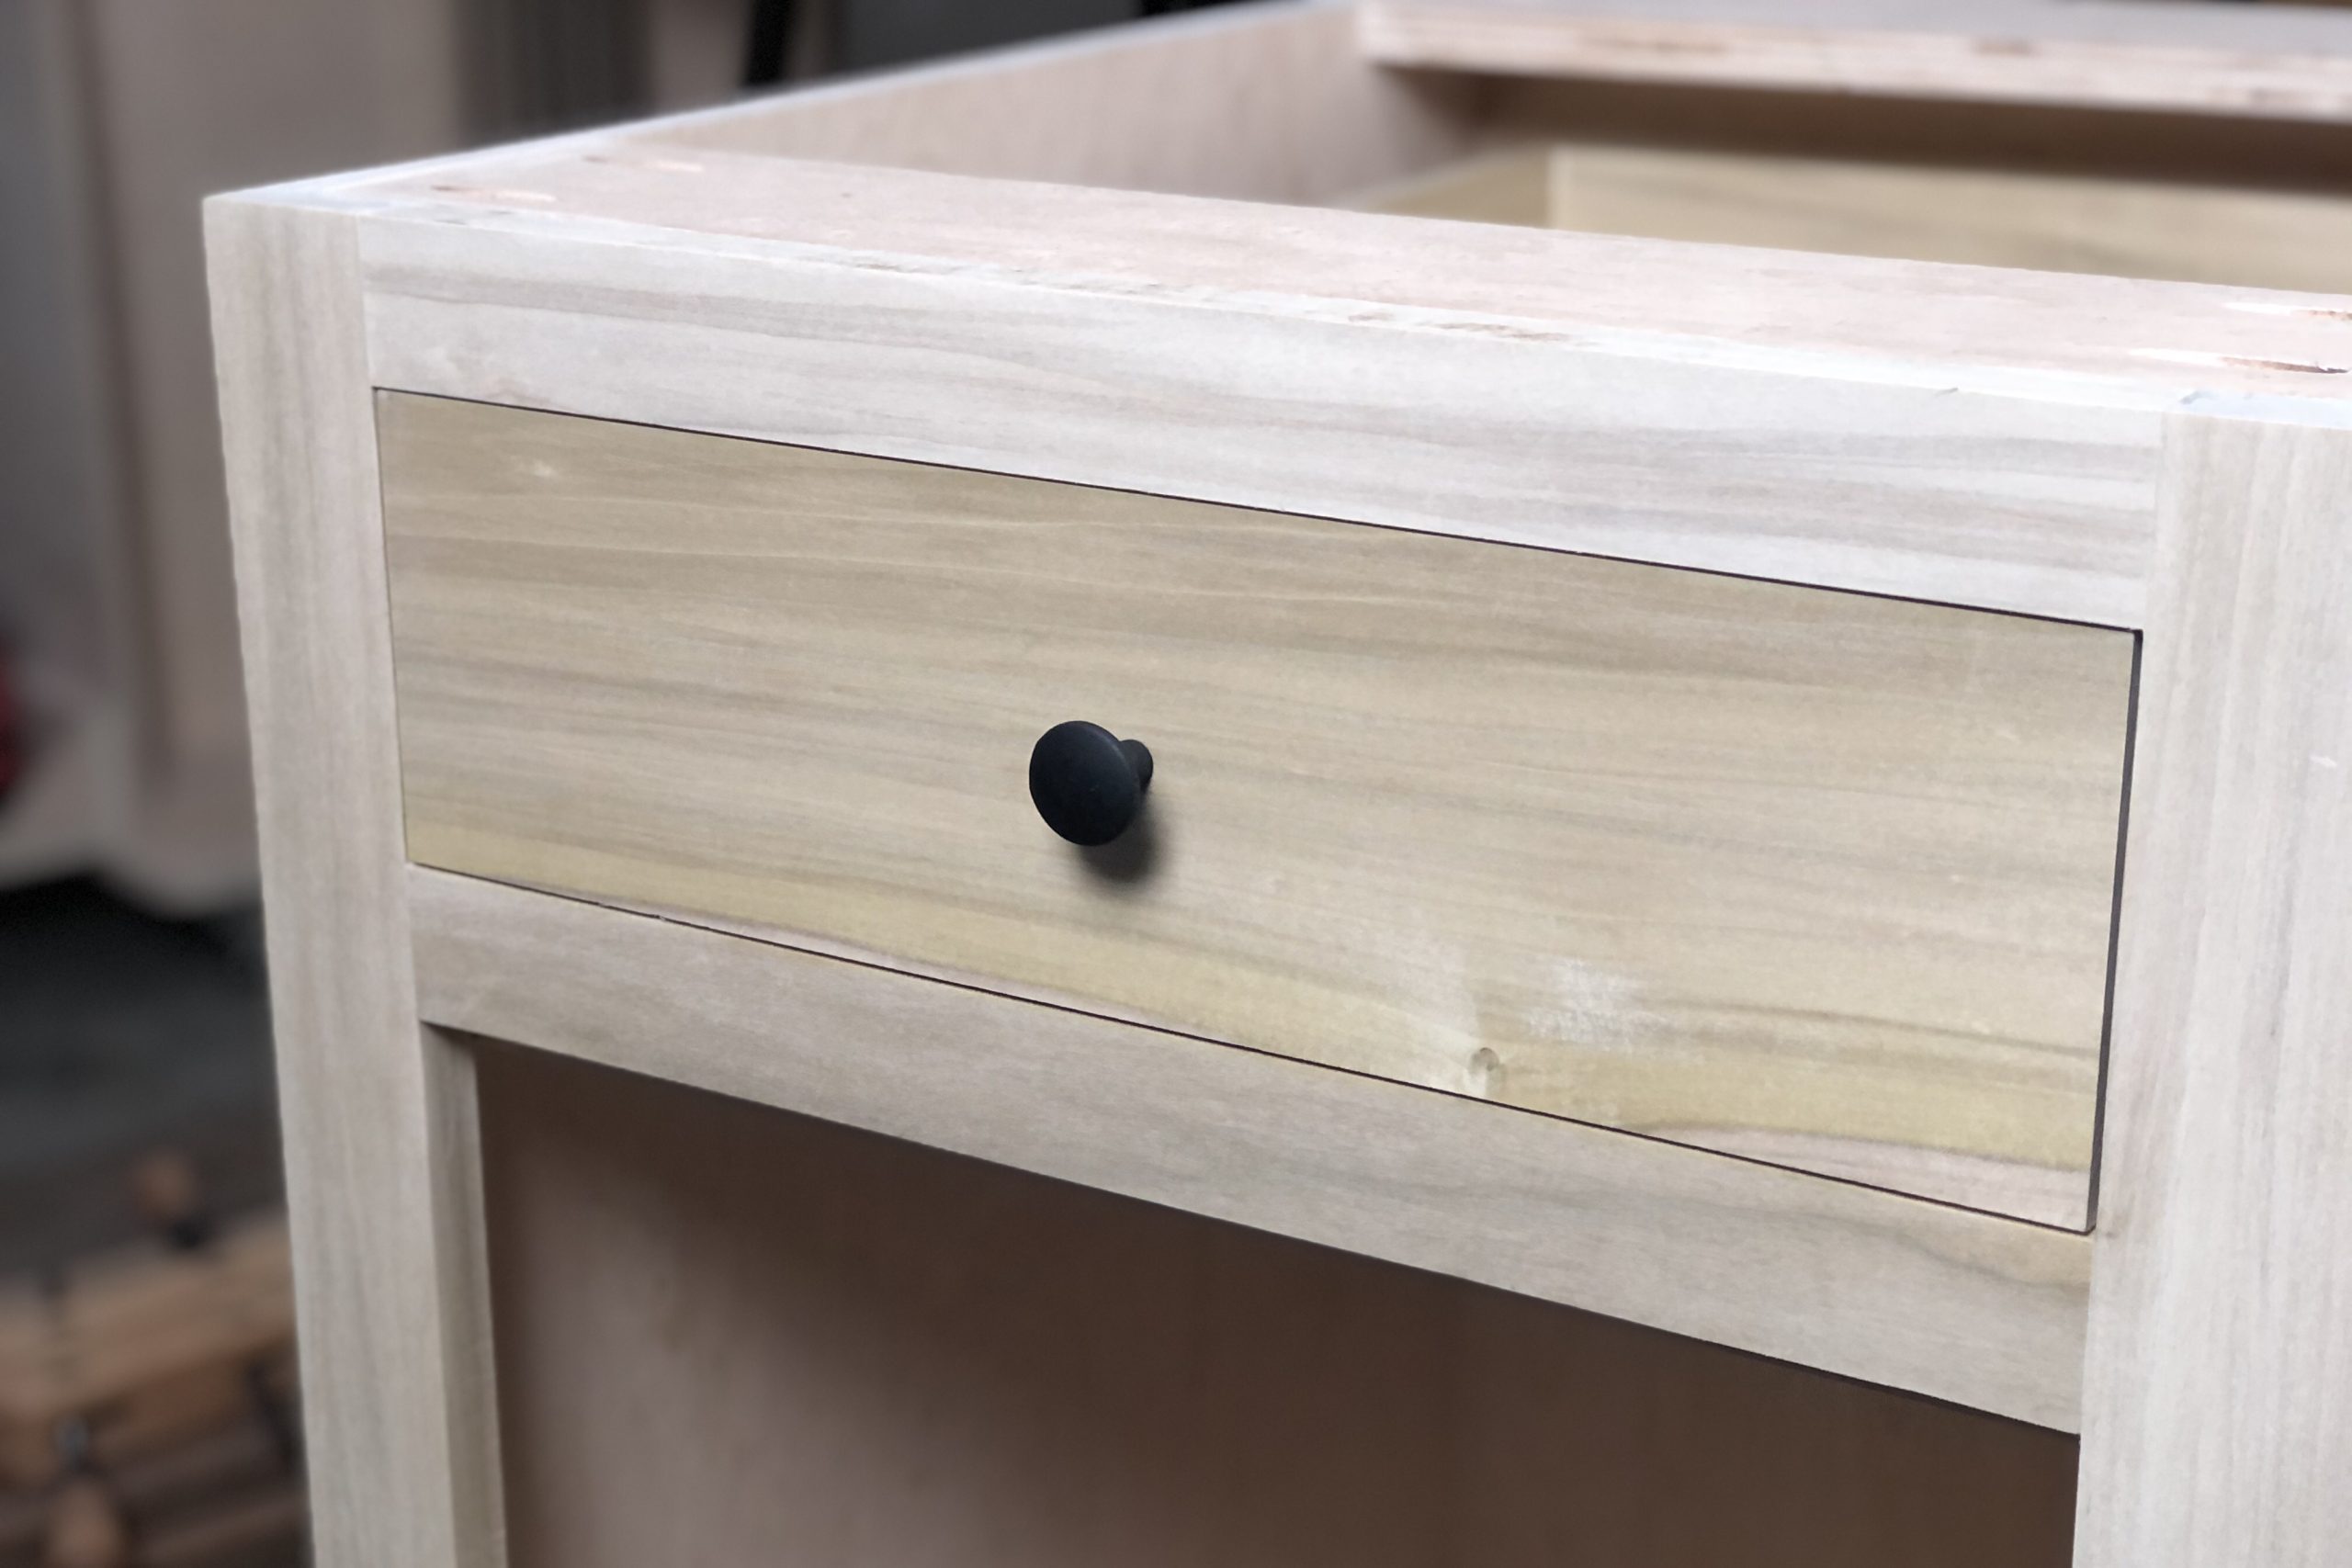
The last thing to do is size, position, and attach the false front. This is fastened to the drawer box with a couple of screws from the inside of the box. After mounting the drawer pull, I can finally call this one done.
The pull out shelf is next. After installing these undermount slides, the side mounts are a piece of cake.

2 Comments
Thank you for sharing this process, Bob. Tackling my kitchen is a project that’s been on my list for a long time. I’m really enjoying this series and feel more confident with each post!
Thanks Nathan! It’s a big project for sure. Someday I’ll actually finish it 🙂