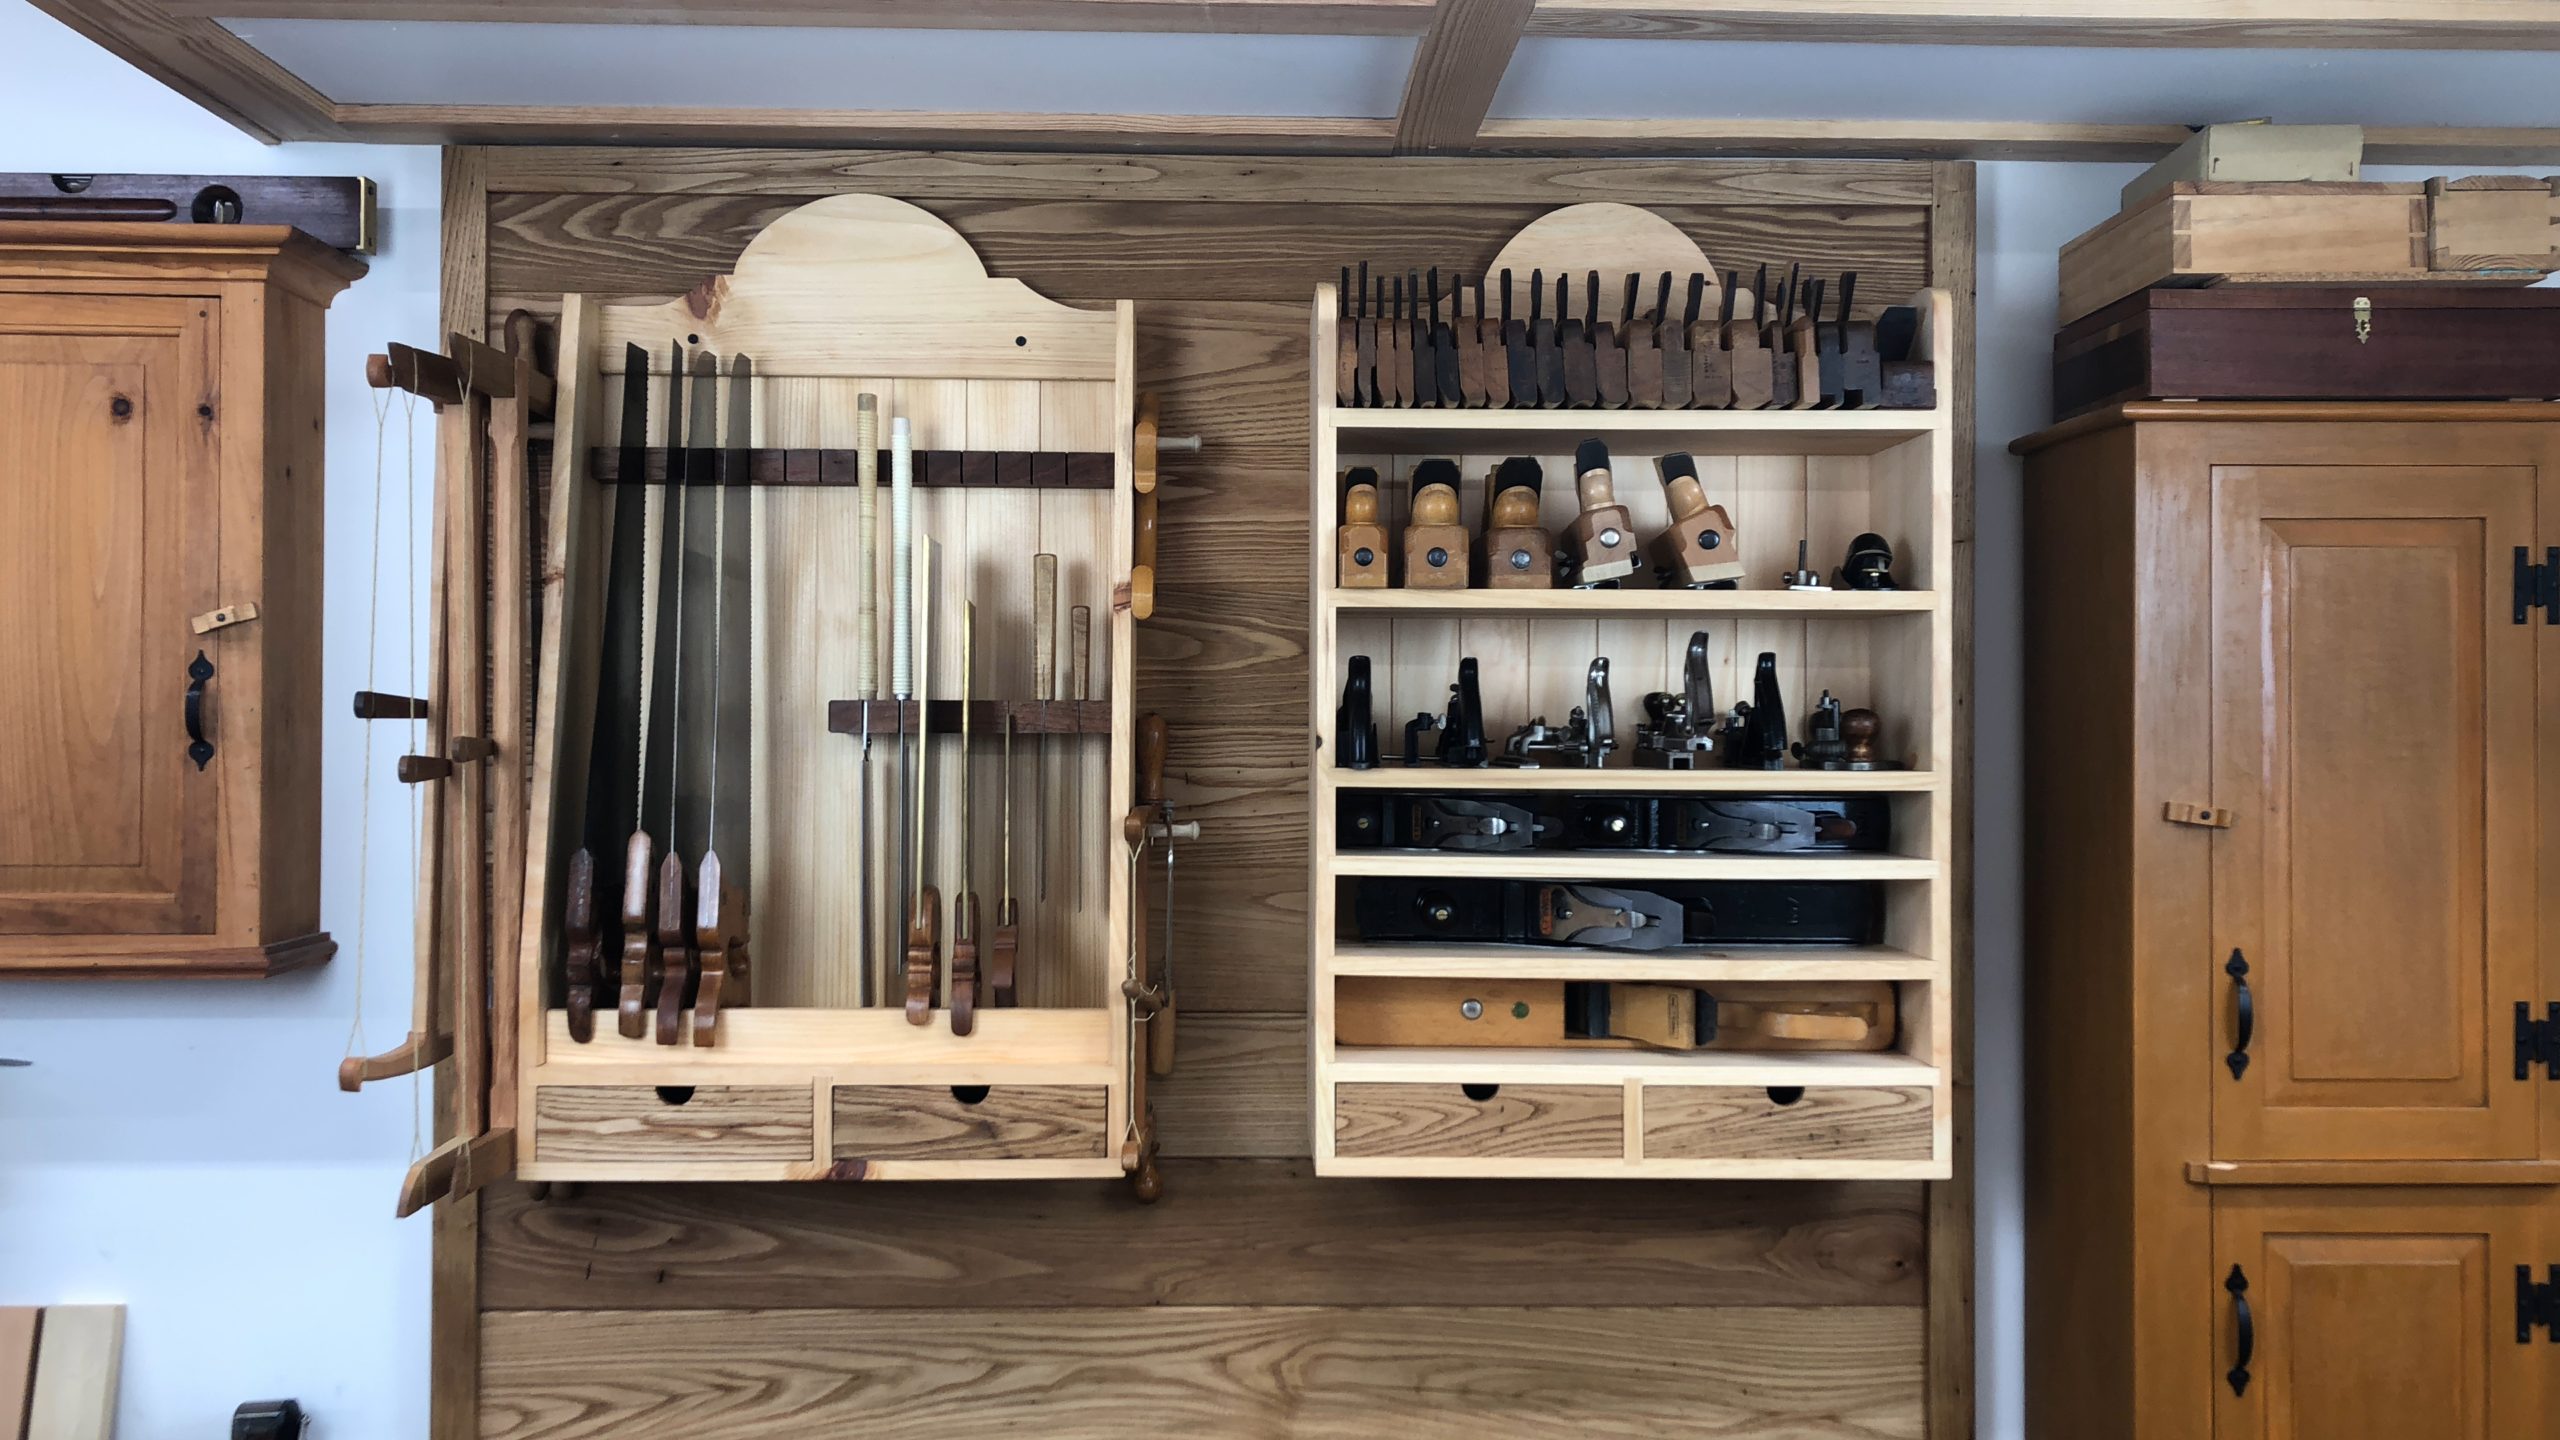
All the pine for my new hand plane shelf started off life as 4 x 10 roof rafters. Turning them into boards required planing, resawing, and more planing.

All the pine for my new hand plane shelf started off life as 4 x 10 roof rafters. Turning them into boards required planing, resawing, and more planing.
I started writing this yesterday, and it ended up entirely too long for a single post. So today is the second half of my novella on storing hand tools.
I’ve been woodworking now for over 30 years. In that time, I’ve tried just about every solution you can imagine for storing hand tools.

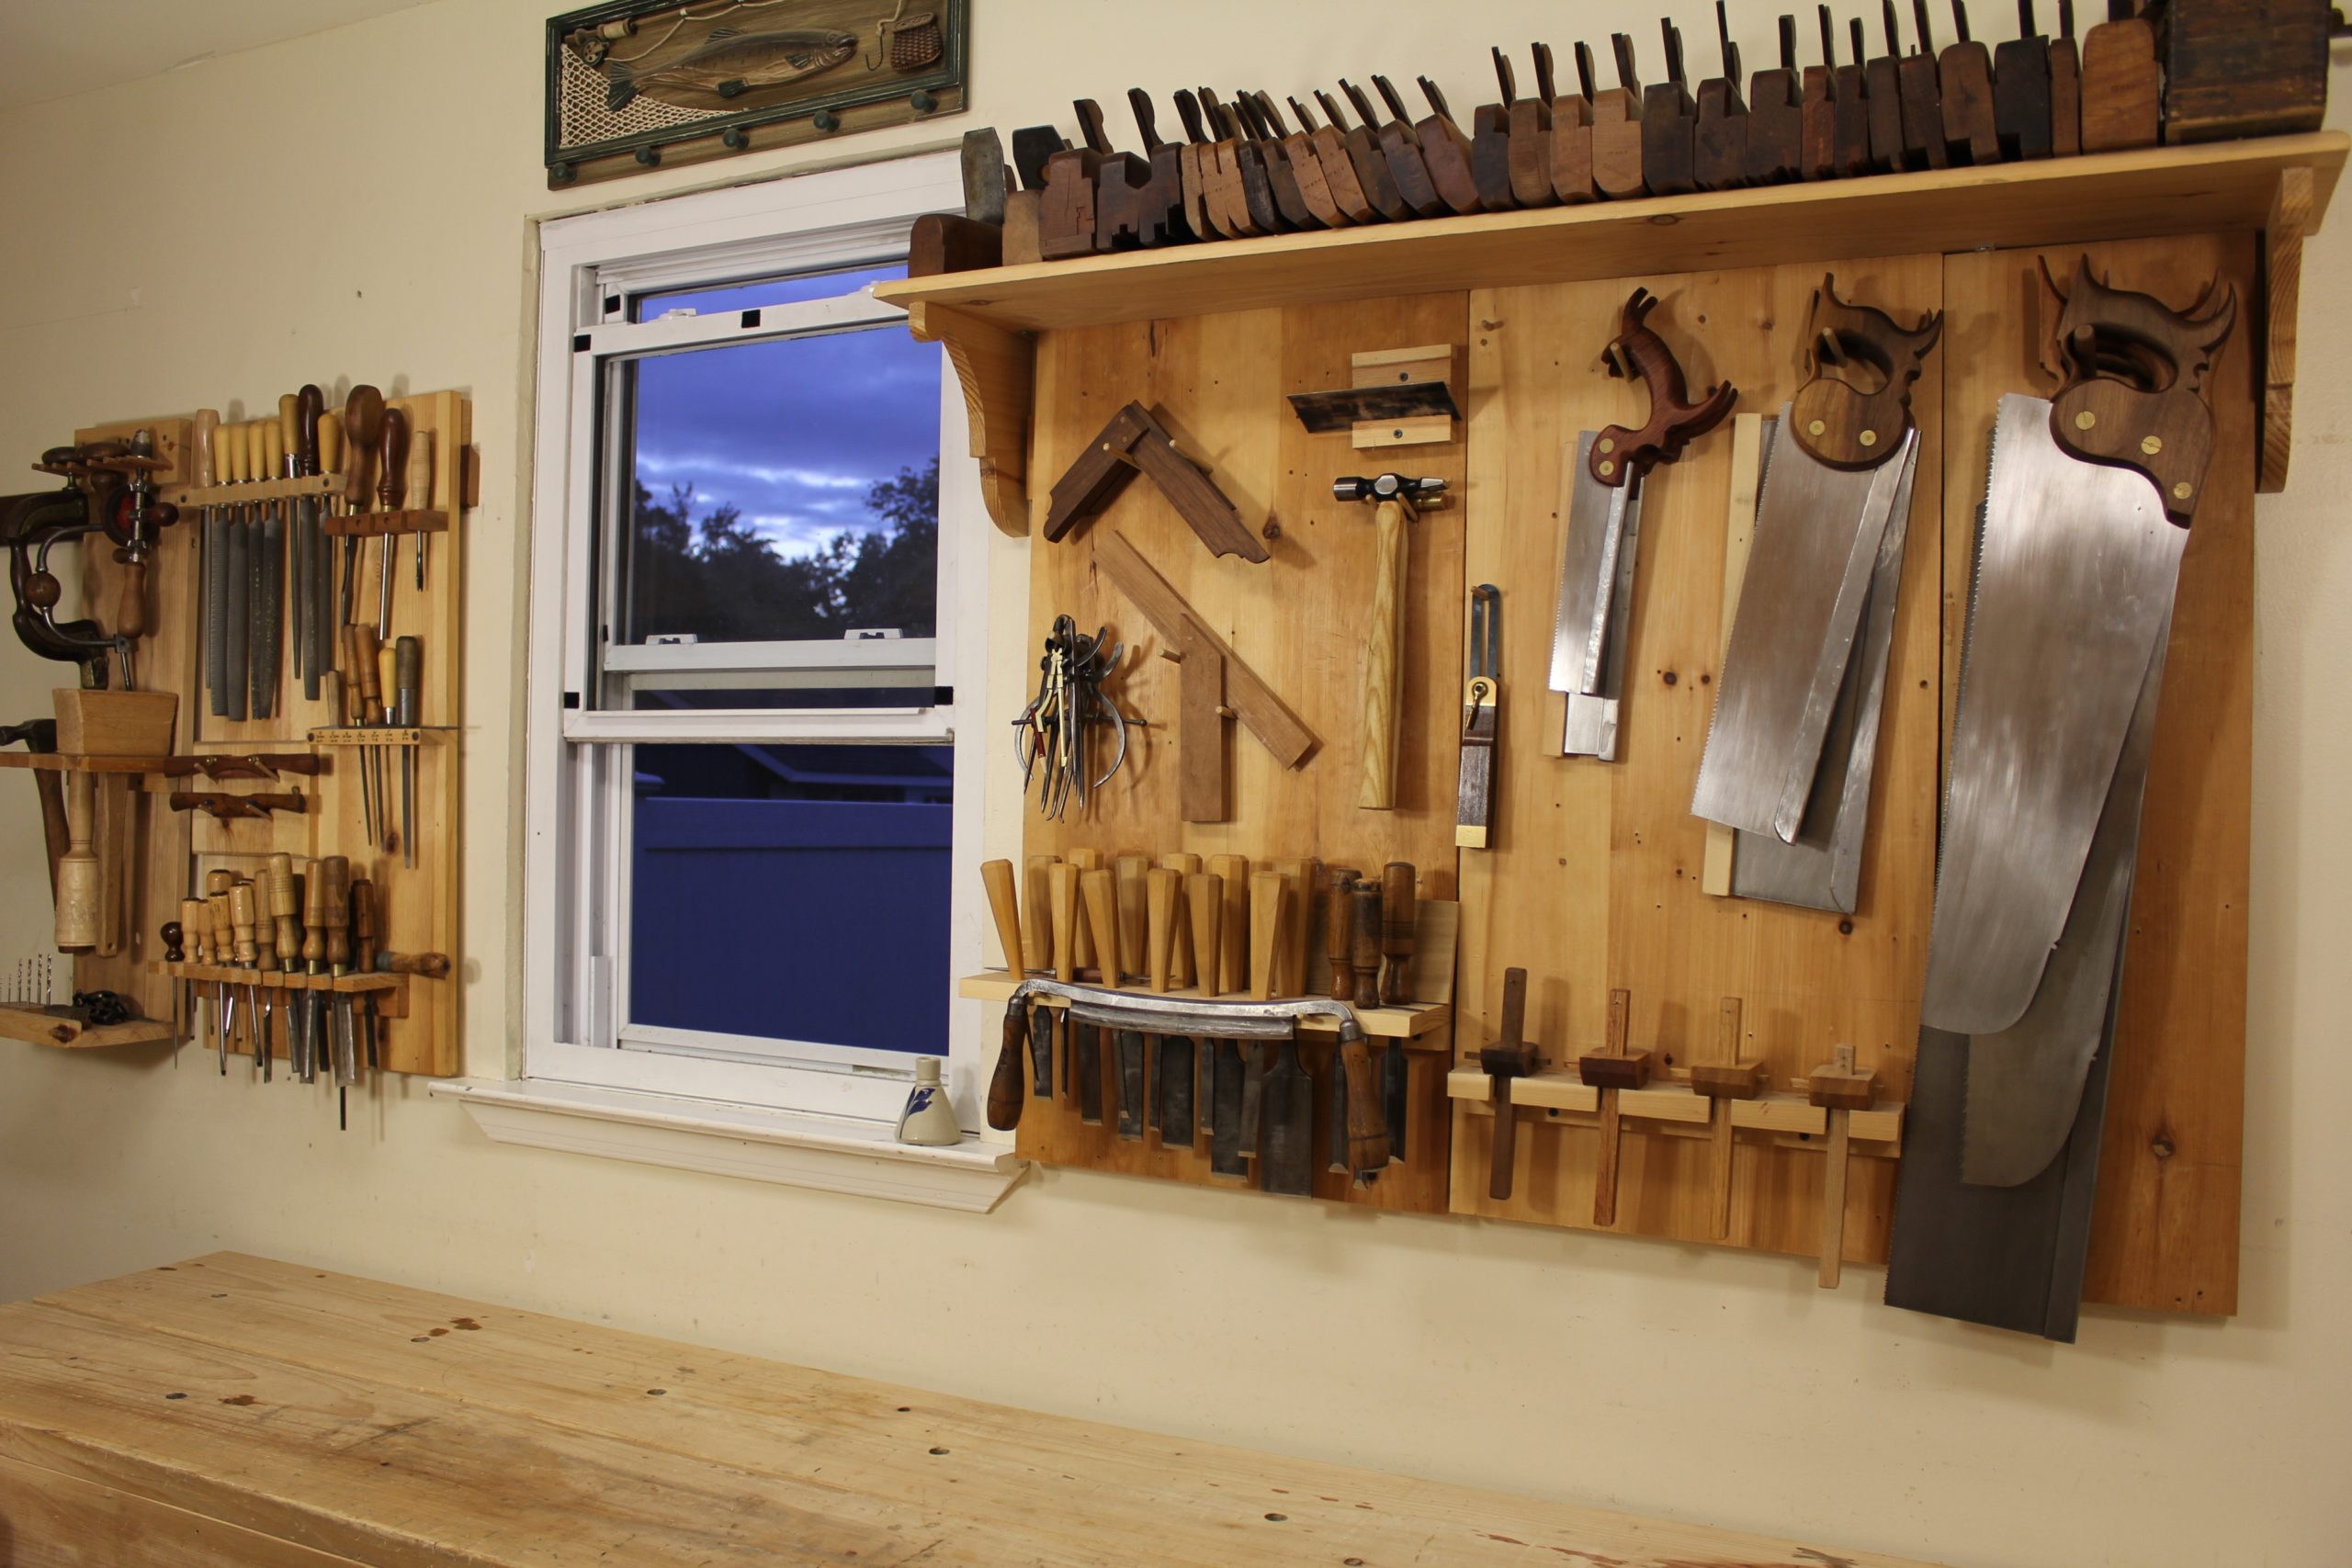
My shop is much different today than it was when I started making videos over 12 years ago. So today, I give you my shop tour from 2009, and some storage and organization ideas that I used back when I worked out of a much smaller space.

I’ve received a lot of requests for a tour of my new shop space over the last couple of years. I’ve finally gotten around to putting one together, so in today’s video, I take you on a tour of the new space.

On today’s show, I discuss woodworking in a small corner of the house/apartment, old woodworking books, auger bit lead screw pitch, and the basics of designing your own projects.
On today’s show, I discuss workbench vises, four squaring lumber with hand planes, insulating basement walls, preventing sagging bookshelves, and shooting boards and planes.
On today’s show, I discuss lead screws on auger bits, single vs. double iron wooden planes, stair saws, and considerations when setting up a new workshop.
On today’s show, I discuss a method for ensuring that large workbench leg mortises are square, controlling rust on items that can’t be stored in a tool chest, saw wrests, and and proper use of reference surfaces.
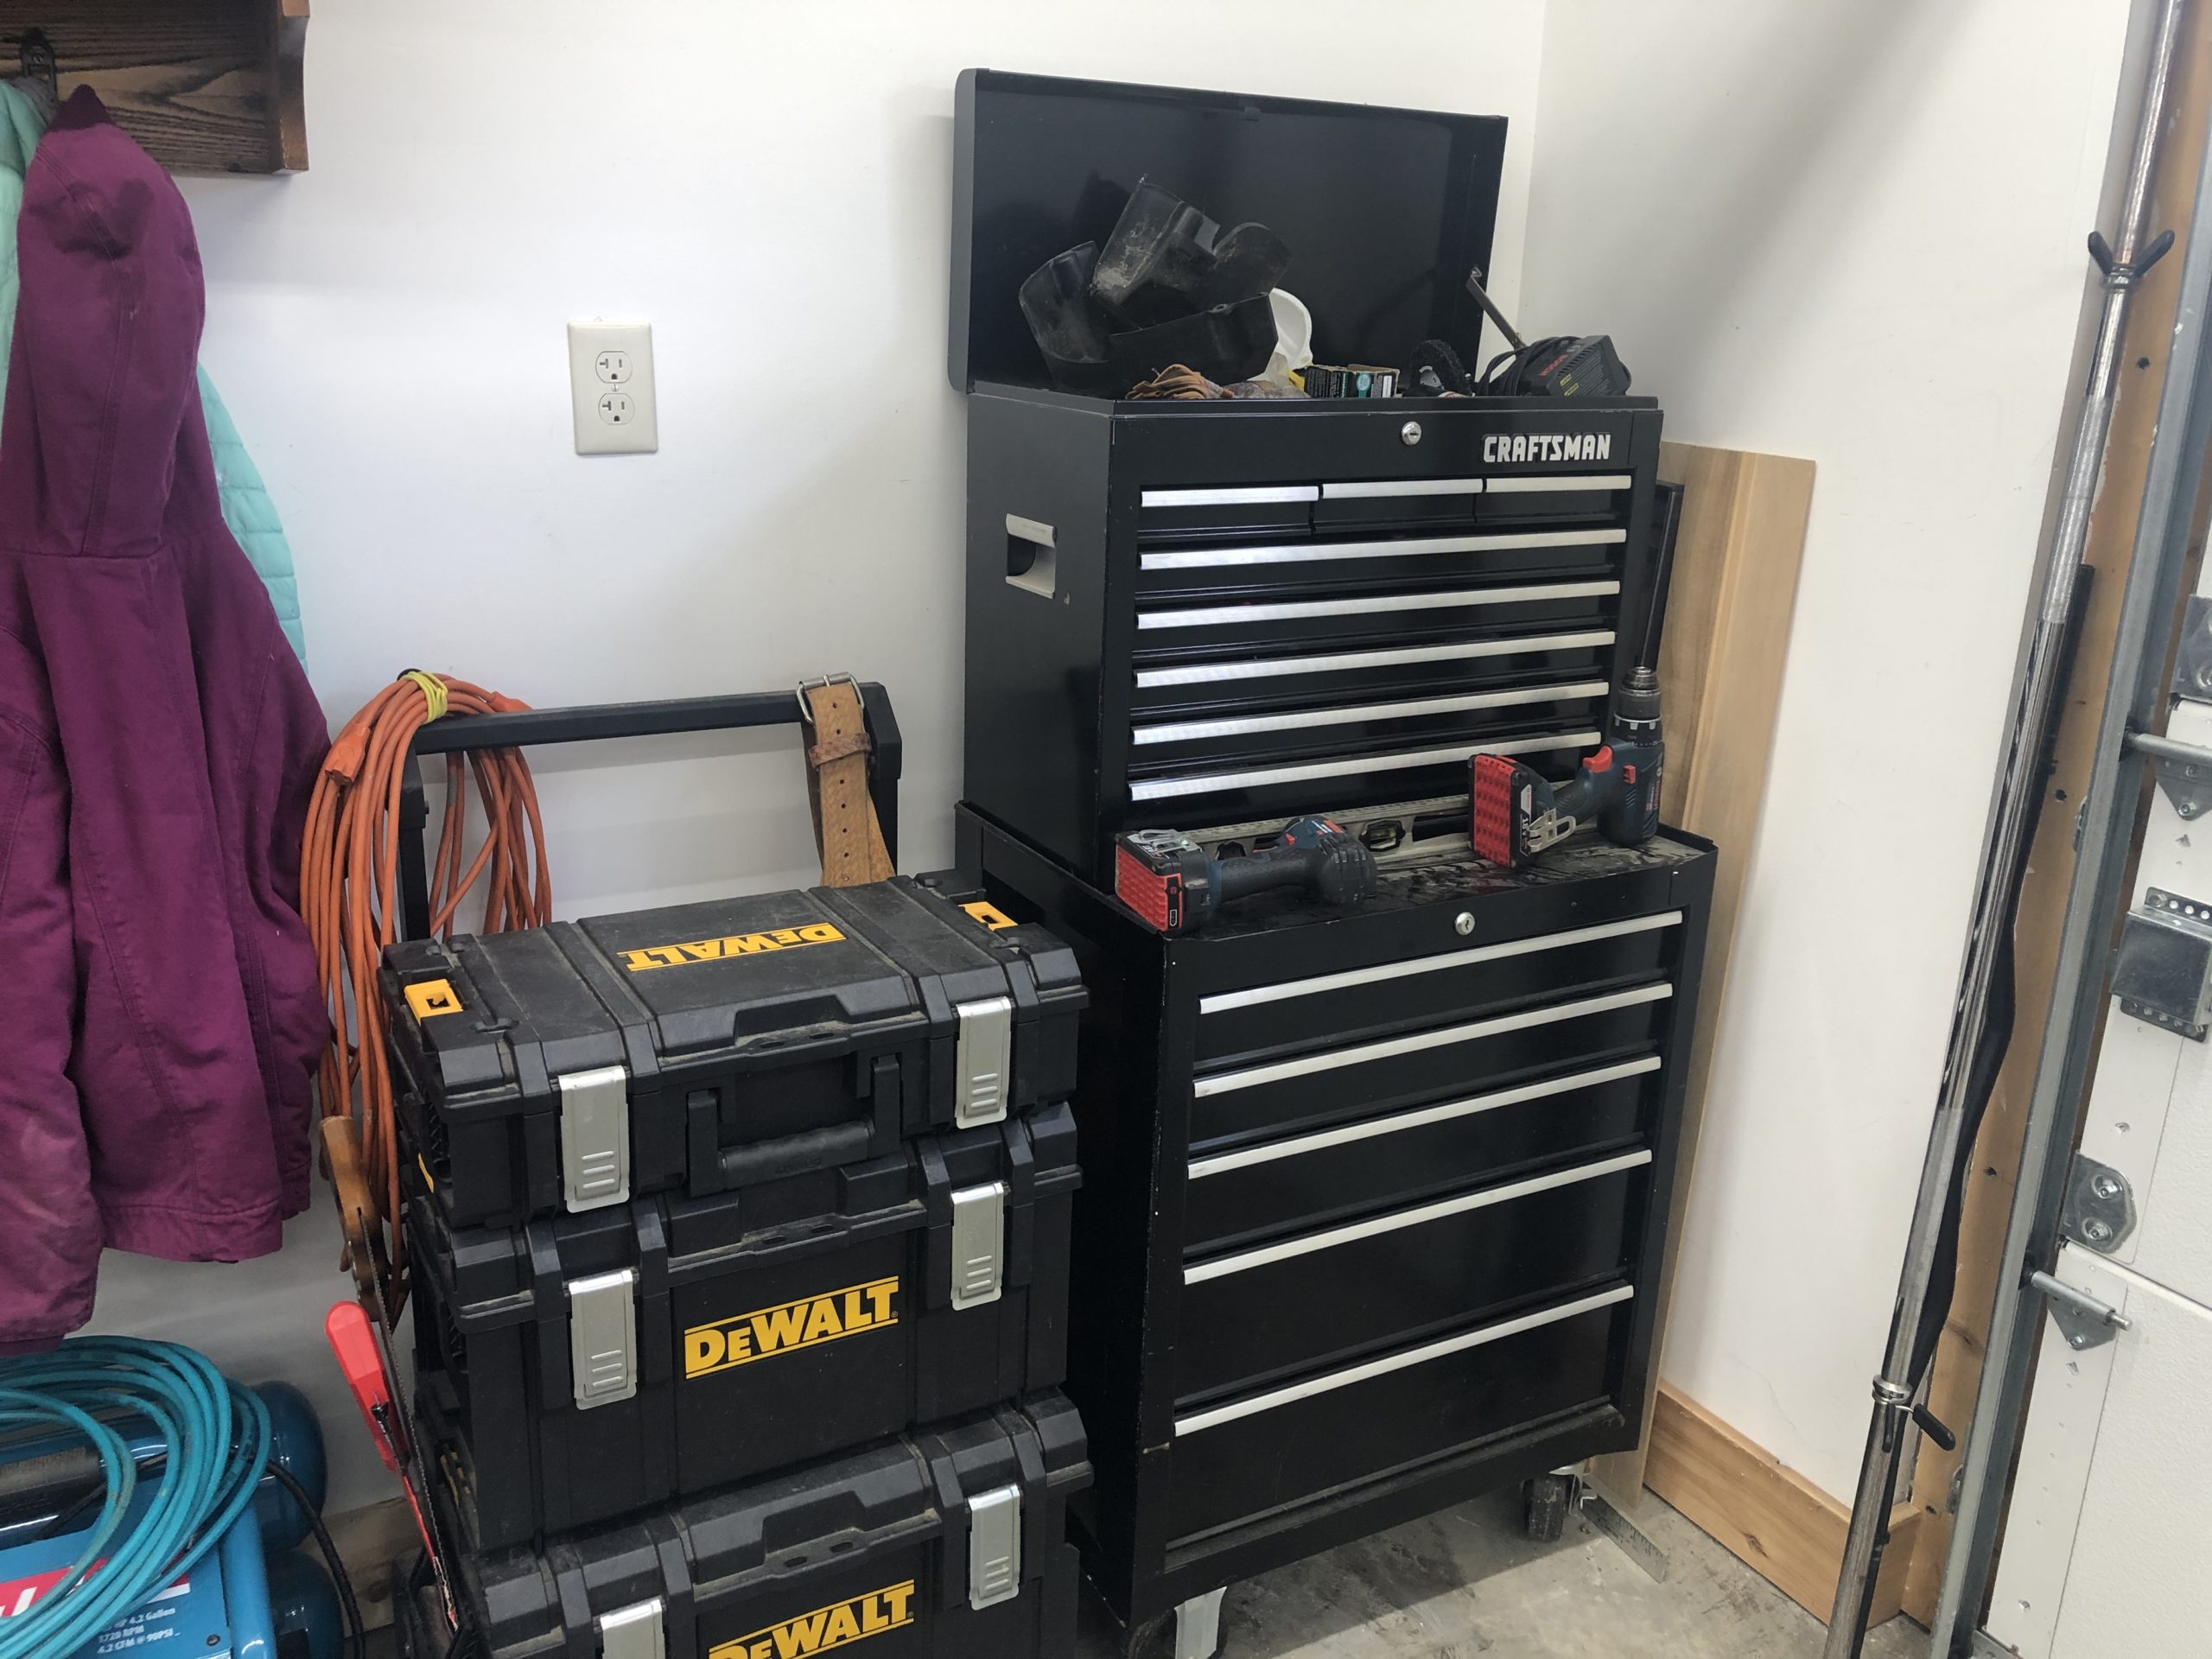
How small of a space can you really work with?
On today’s show, I discuss hand planing vs. sanding before finishing, shoulder planes, working with long stock, side hung drawers, and moving your shop.
On today’s show, I discuss multiple irons for a try/jointer plane, clarifications on the fore plane, tips for planing square board edges, building a stand alone shop, and hammer veneering.