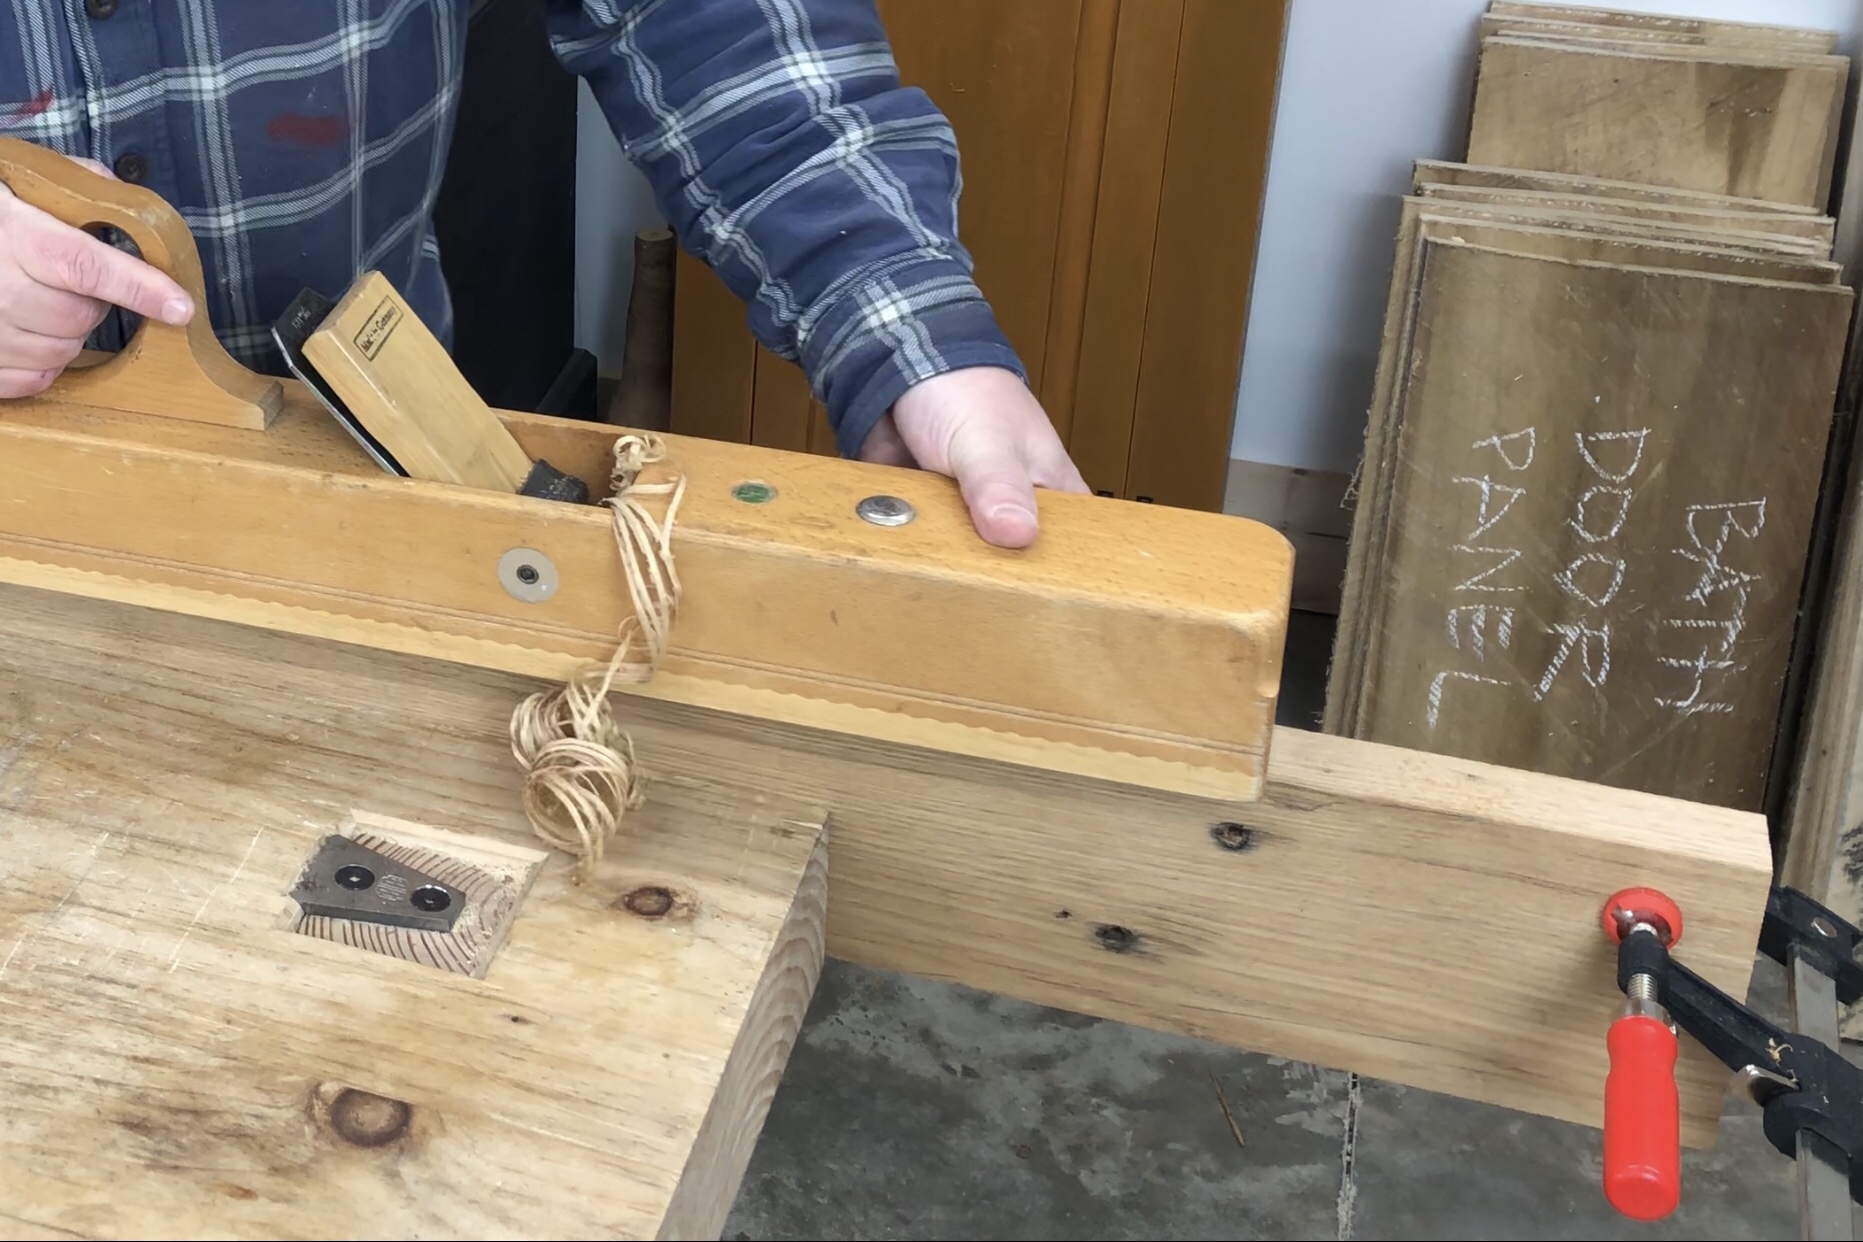
Why Learn to Flatten and Square Boards by Hand?
Several posts ago, I talked about a method of edge jointing boards commonly referred to as match planing. In that post, I mentioned that the technique can be used for boards that will be glued into a wider panel, but that it was not a replacement for learning how to straighten and square the edge of a board to its face. There are many instances in which a board’s edge must be straight and square, therefore, it is imperative that this skill is learned in addition to the match planing technique.
However, before we can match plane or joint an edge straight and square to the face of the board, the face of the board itself has to be flat – no cup, no twist, no bow. If you have a power jointer, and flatten board faces on it, you might think that knowing how to do this task by hand is useless, antiquated knowledge. However, there are several reasons why I recommend you learn this valuable skill.

First, it’s less expensive than buying a machine. If you’re new to woodworking, the price of “necessary” machinery that most books and magazines recommend can add up to thousands of dollars really quickly. Just considering the two machines “required” to mill rough lumber, a basic, 6″ jointer costs roughly $700-$1000, and a bench top planer costs roughly $300-$600. By contrast, a used Stanley jack plane can be had for about $50, and a used Stanley jointer plane can be had for $100 or less. Add in some sharpening supplies and you can be doing the work of two machines by hand for less than $200. If you’re just starting out, that’s a lot of money that can be put towards other necessities.
But what if you already have a jointer and planer? Well, if your jointer is only 6″ or 8″ wide, as most hobby shop jointers are, what do you do with boards that are wider than that? Sure you can rip them into multiple pieces, face and edge joint the pieces separately and then glue them back together. But what if that board is a piece of 15″ wide figured walnut or cherry? Ripping it into multiple pieces just so it will fit on the jointer seems like a sin to me. Even with great care that panel will never look like a single wide board again.
I suppose you could remove the guard and only joint a portion of the board before putting it on a platen and passing it through the planer. But, personally, that would be way out of my power tool comfort zone. I like my fingers where they are, thank you very much. Plus, what if your board is wider than your planer? Most bench top planers are only 12-13″ wide. That 15″ wide piece of figured walnut or cherry wouldn’t fit through the bench top planers commonly used in hobby shops. It would barely fit through a 15″ wide planer.

The point that I’m trying to make is that even if you use a machine to do the initial flattening of board faces most of the time, there will eventually come a board that defies the capacities of your machines and their jiggery. Wide boards are awesome, and you shouldn’t turn down the opportunity to use them in your work because of the limitations of your machines. If you have the skill to do the job with a hand plane, then you will be able to do that board justice.
In fact, even though I’ve added a thickness planer to my shop, I have not felt the need to add a jointer because the initial job of flattening a face and squaring an edge by hand is so second nature to me now that a jointer less than 12″ wide seems like a waste of money to me. I commonly use boards 12″ wide and wider in my work. I have the skill to mill those wide faces by hand so I don’t have to resort to the rip saw or some complicated jig to do the initial stock prep.
Finally, flattening the first face is the easy part. Reducing a board’s thickness is where the work starts, IF any significant amount of thickness has to be removed. There’s a reason that boards, historically, were sold in thicknesses less than 4/4, and that most furniture parts in old furniture were thicker than 3/4″. Removing 1/4″ or more of thickness from a board by hand is a lot of work. However, it’s easy to plane one face nice and flat, removing 1/16″ of material or less.
Once the fist face is flat, if you have a thickness planer, the board can be finished with the machine. If you don’t have a thickness planer, you can still do the job by hand. Before you do, however, seriously question whether or not you really need that board to be 3/4″ thick or if you just need the second face parallel to the first. You might be surprised at how often “standard” thickness is completely unnecessary.
So have I convinced you that milling boards by hand is a valuable skill to learn, even if you choose not to do it all the time? Excellent! So, how do we go about actually doing it?

1 Comment
Its the context that you bring to this that is so valuable i.e. what is your wood (rough vs lumber store “regular” vs lumber store S4S); what is your wood like now (what has the temperature and moisture done to it?), what are you going to do with this piece of wood (affects which and how many sides need to be flat and square). And then how would you accurately determine where the undulations are and how do you effectively remove them and avoid adding more undulations? I’m new at this, but have already learned that it is often the lack of understanding of the broader context and what the goals should be in a given situation that causes the problems. Hand Saw Foundations was excellent for bringing out the whole context around the act of sawing. I’m looking forward to Hand Plane Foundations. Thanks